Well no surprise there, we all know that Land Rovers leak, even my Puma gets the occasional puddle in the passenger footwell if the wind is blowing in the wrong direction.
This is nothing compared to the Biblical floods in the front of the Perentie, and thats just on a cloudy day…..
With the Dashboard all out, what a perfect time to investigate such leaks, with full access to the bulkhead.
So, with the help of my dad with a hosepipe outside of the car, I sat on the inside to identify position of the leaks. Well so much water came in that I had no hope of spotting all of the problems in one go. We tried again, gradually moving water flow up from the bottom of the footwell, to the windscreen – lots of work to do than!!!!!
Someone in the past had added the silver foil type sound insulation to absolutely everything with gay abandon including the inside of the bulkhead and the footwells, preventing the easy removal of the plates under the mat and the gearbox tunnel. If you have ever tried to get this off you will know that it is a long and arduous job, the mastic sealant is difficult to remove and the foil will slice through your skin given the slightest opportunity. It was cold so this did not help, a hot air gun did help a bit though, but it did add the possibility of laceration with hot foil, rather than the standard cold!
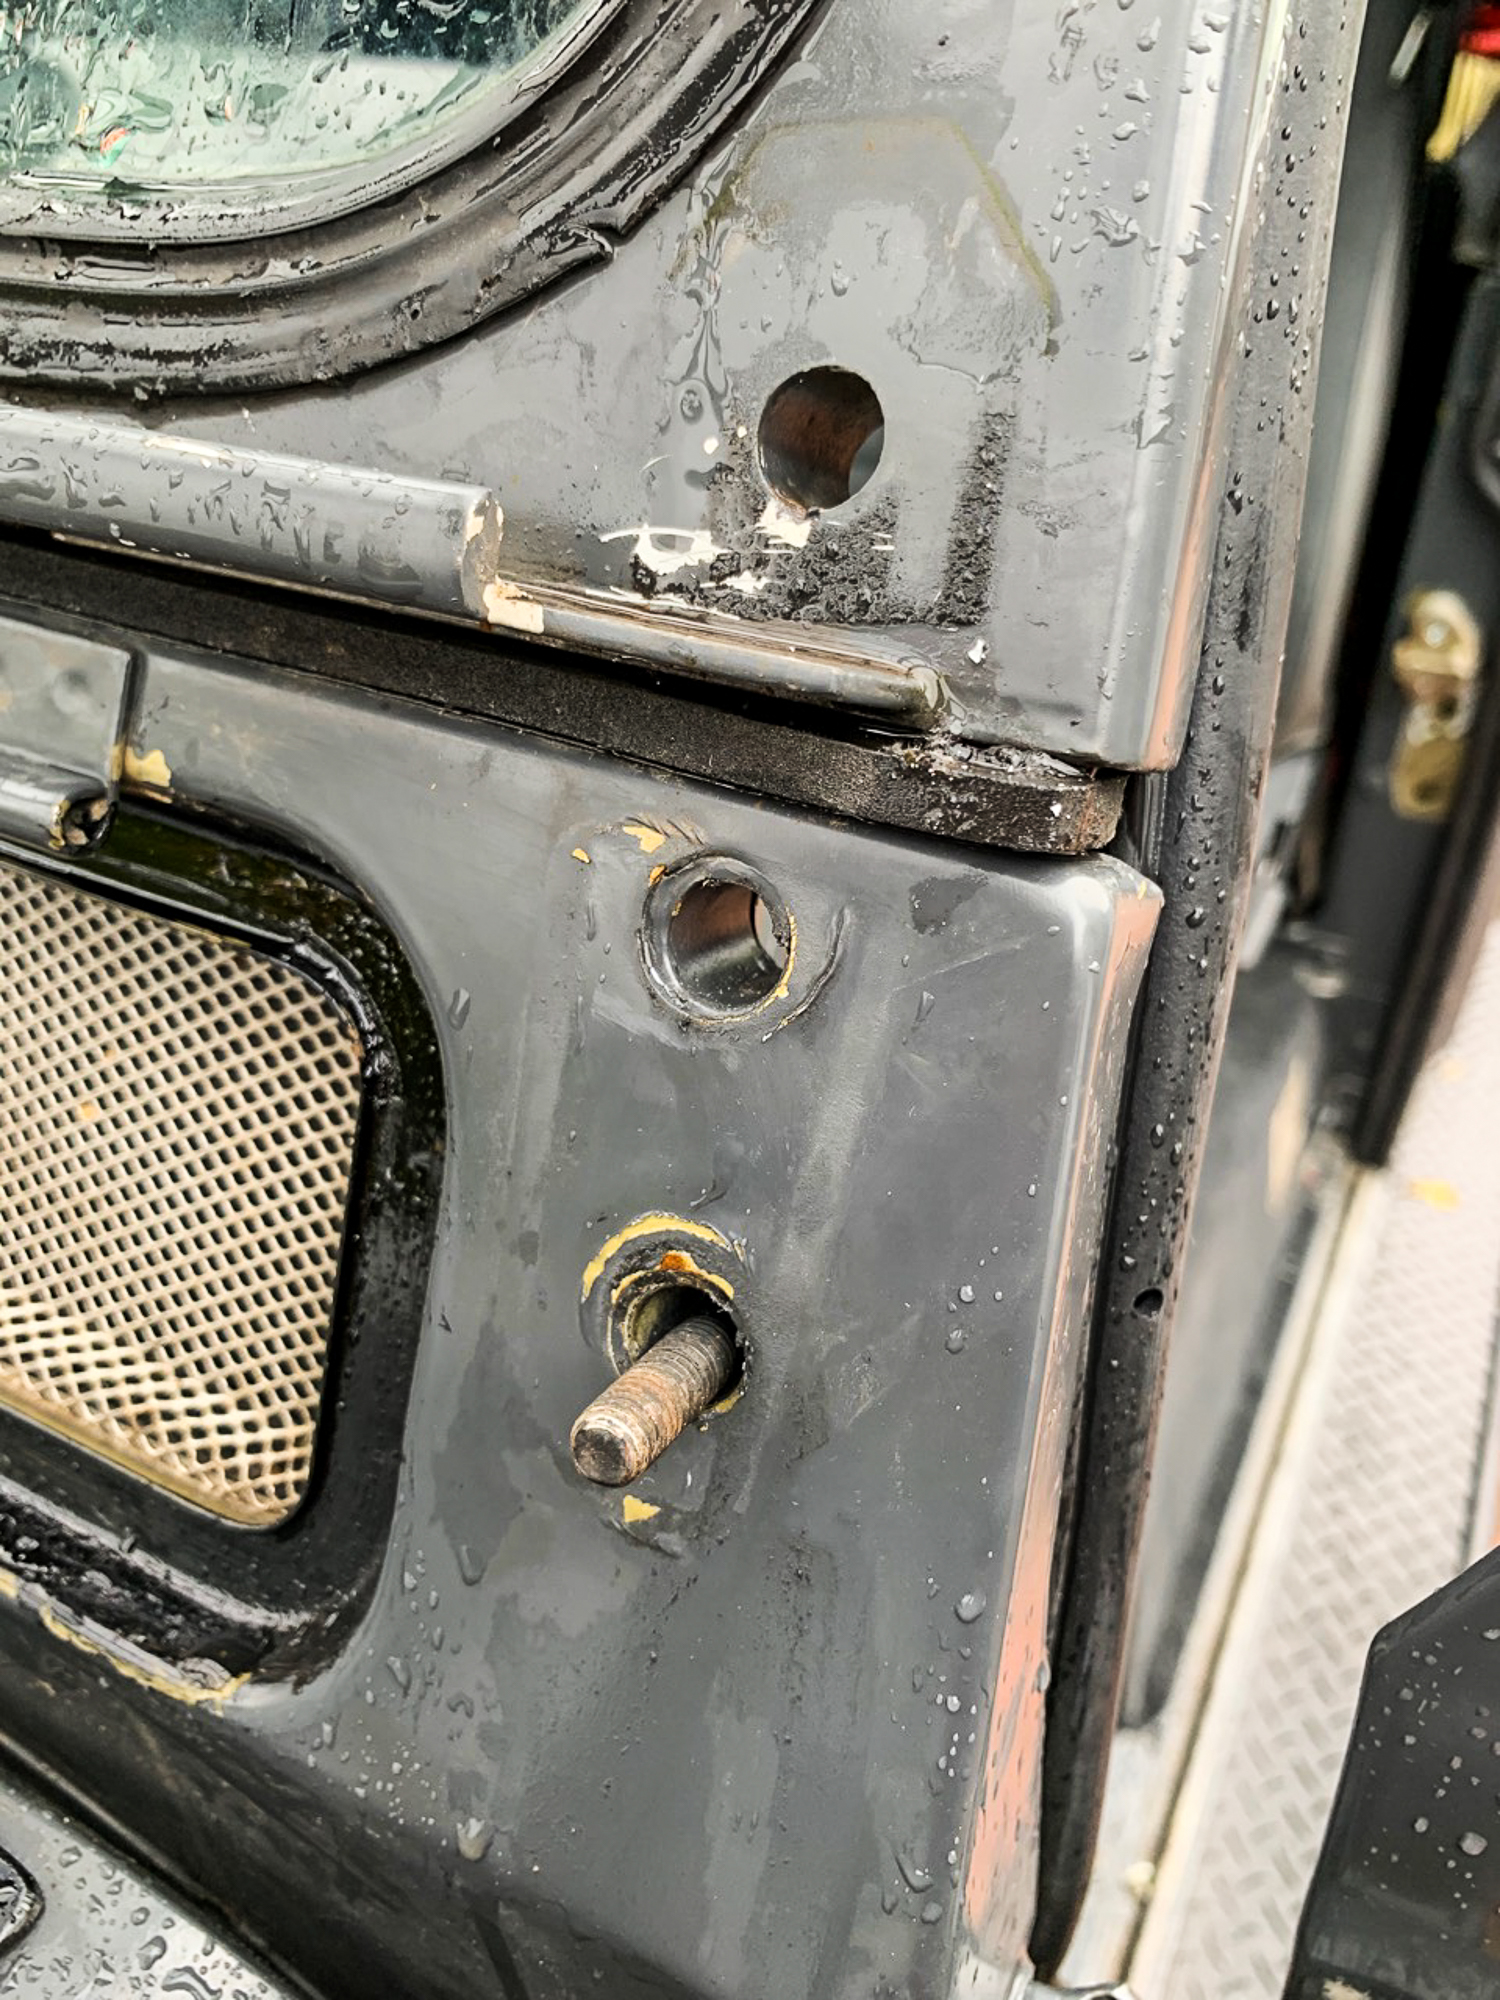
With most of the foil removed numerous holes were revealed, not the usual rotten bulkhead, that was in fine fettle having lived in Australia all of its life, but just when nuts bolt and screws had come and gone over the years.
The windscreen seal was leaking as were the seals on the front vents. There was no storm seal on the bottom the doors and the actual door seals has split where they have to bend around the door frames.
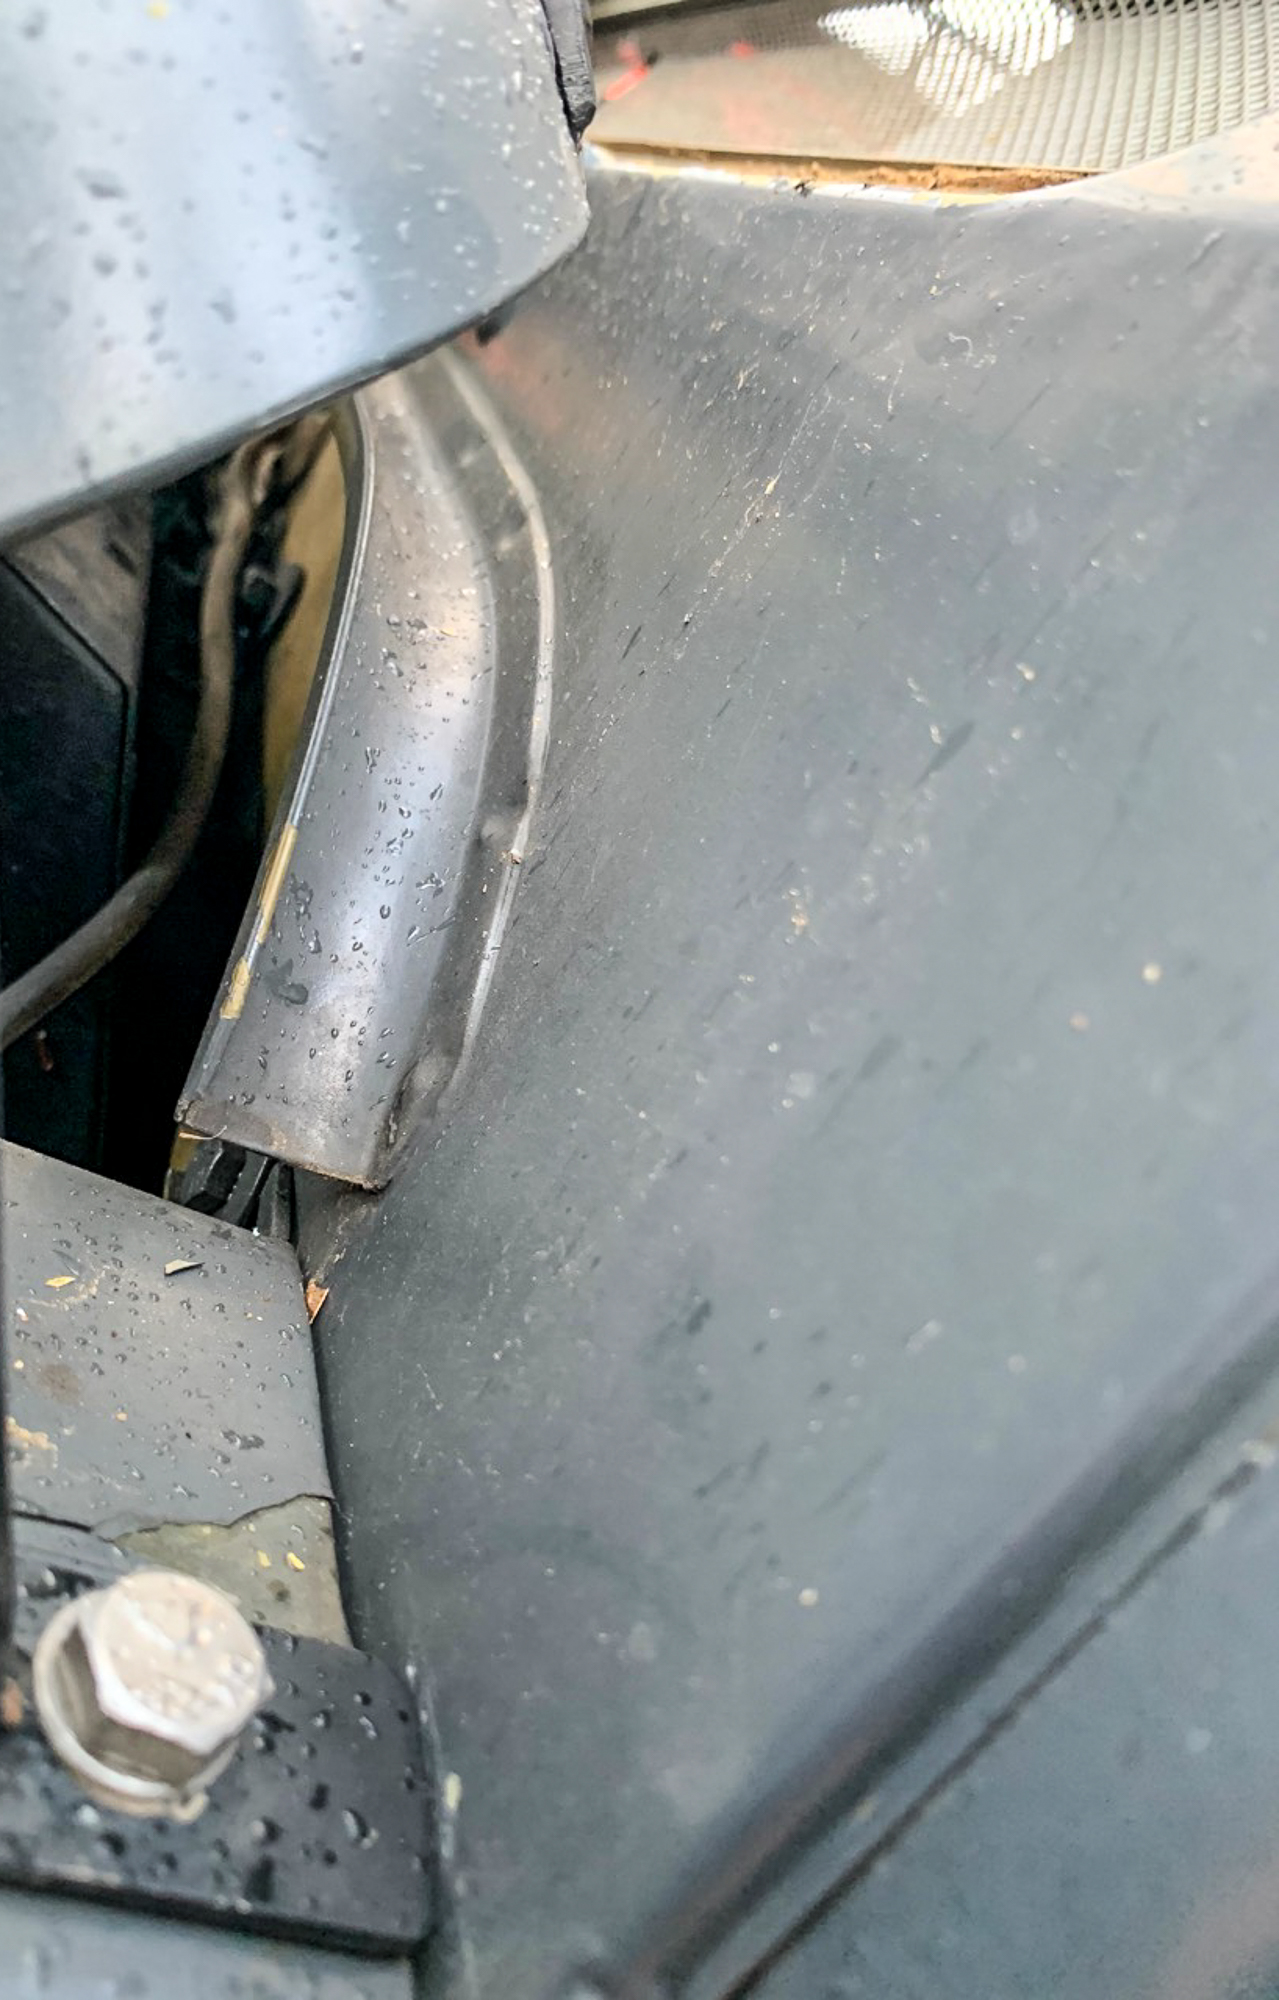
There was no seal on the bulkhead behind the rear of the bonnet. As you can see below there is a bit of a design fault as the water running from the channel under the windscreen runs straight into the front of the vehicle, seal or no seal!

The brackets that hold the windscreen surround to the body were also a major source of water, so these would have to be removed. Note to self, if you ever do this again, do one side at a time – note to get back on……..is an understatement as the top of the car rises slightly. I had Benita sitting on the roof to get them back in.
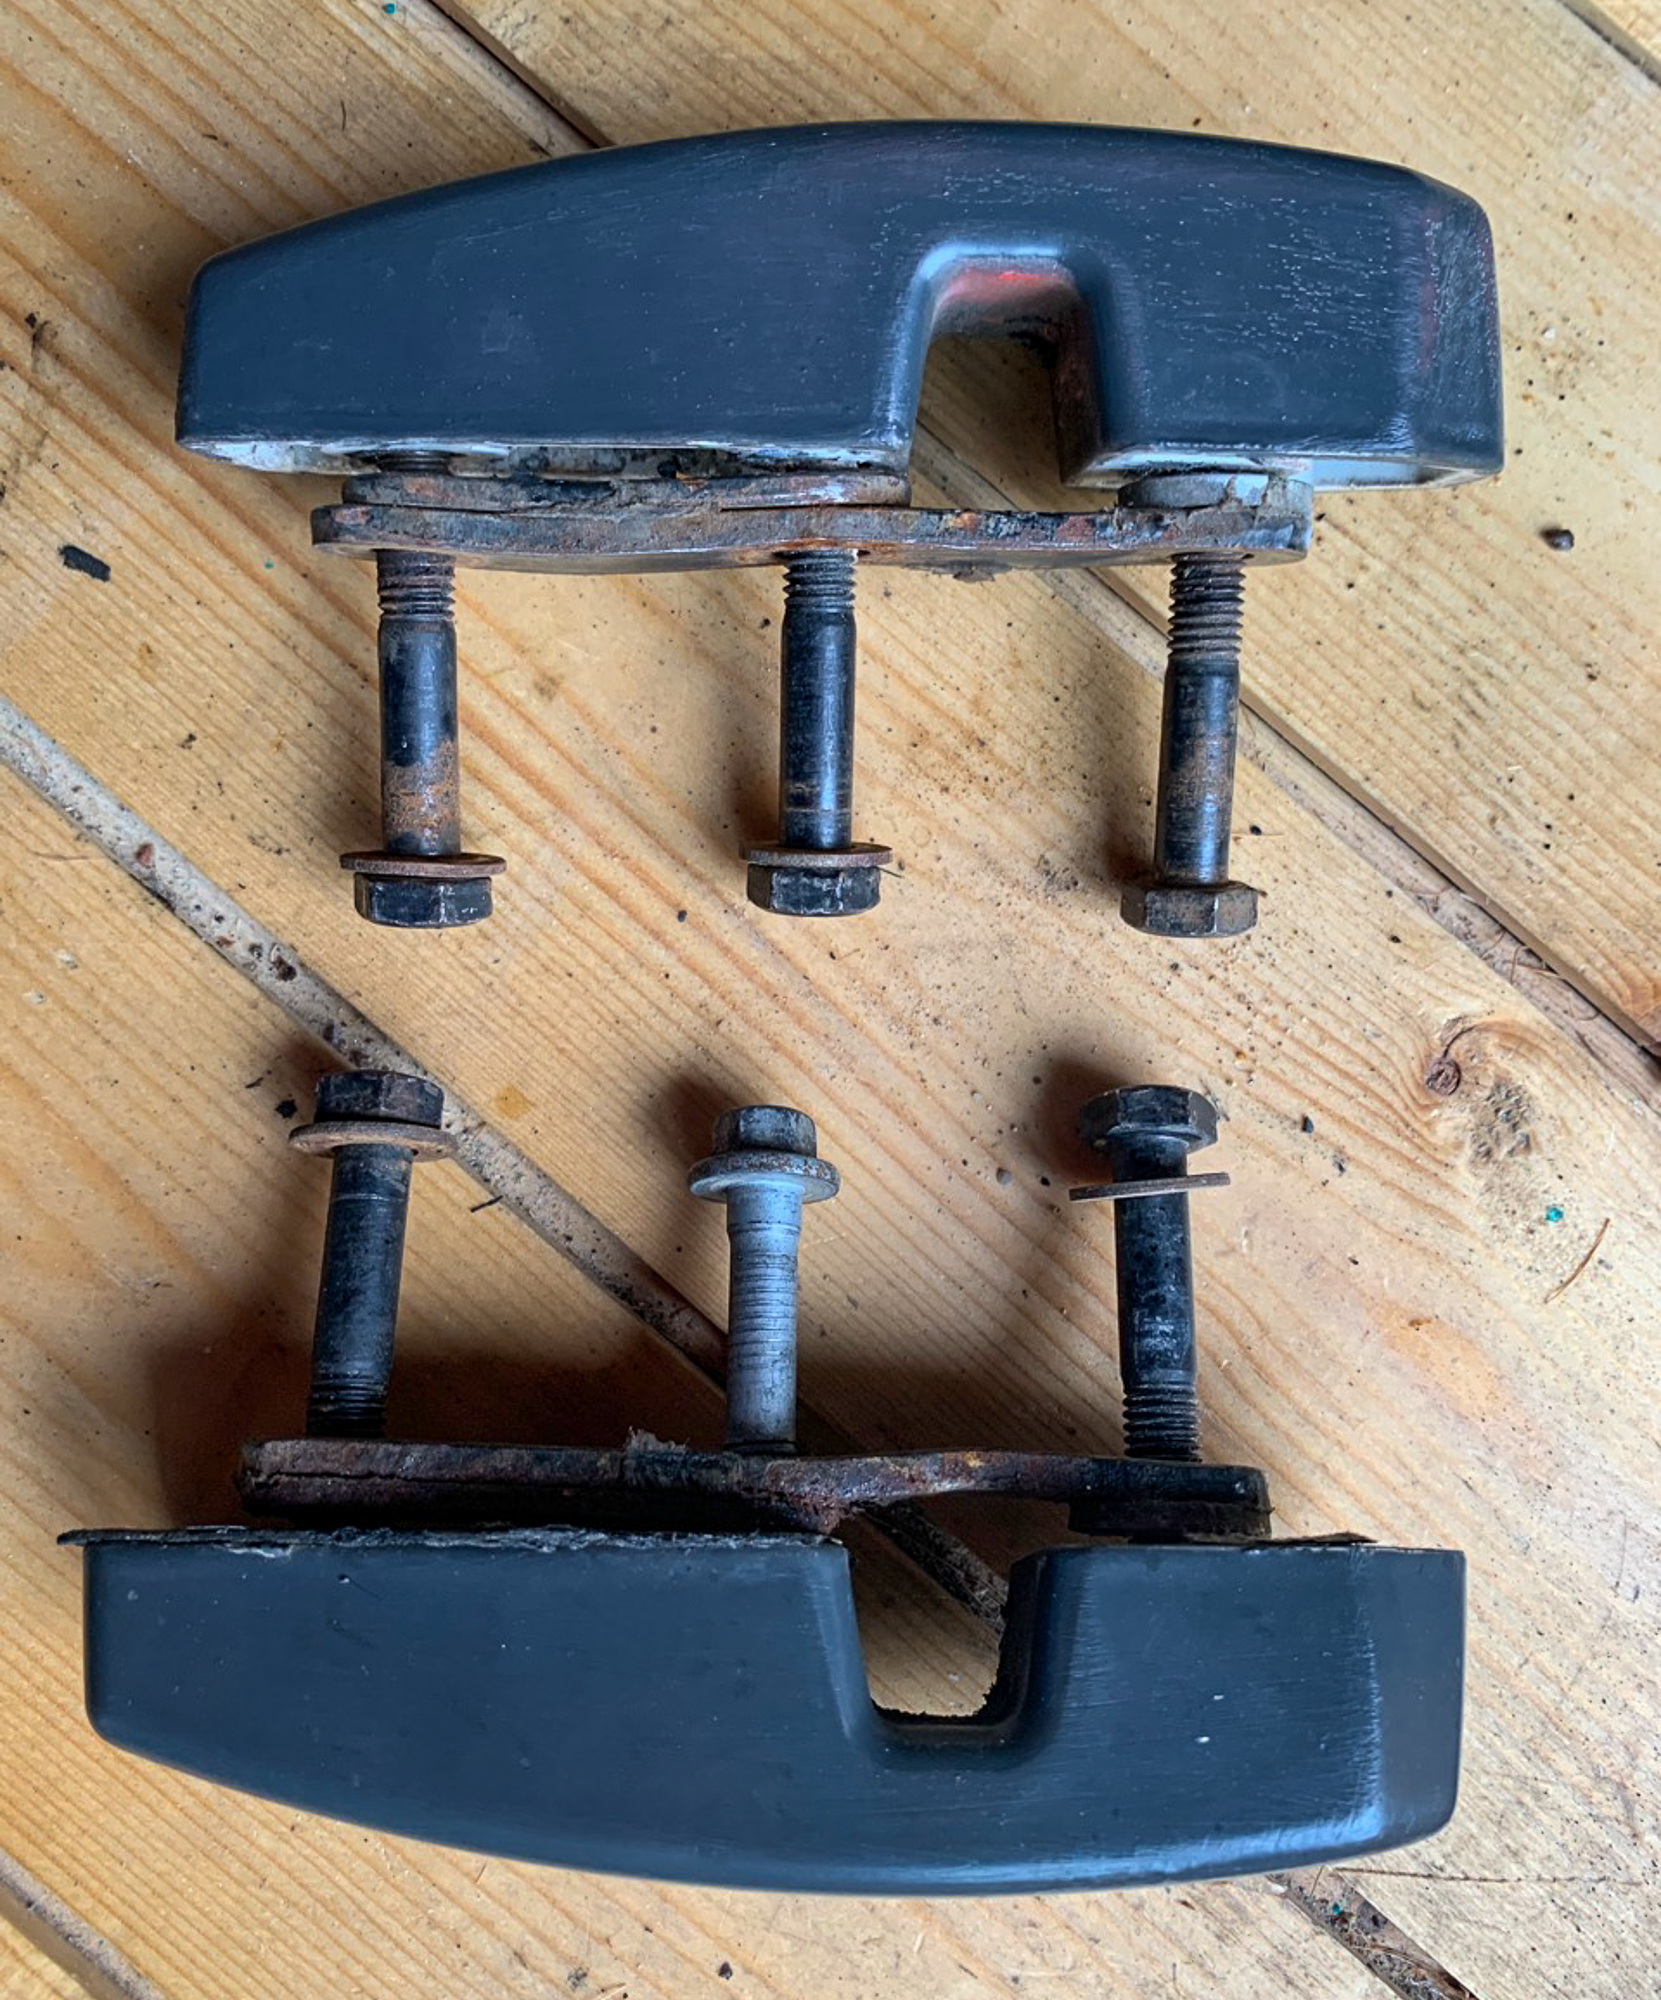
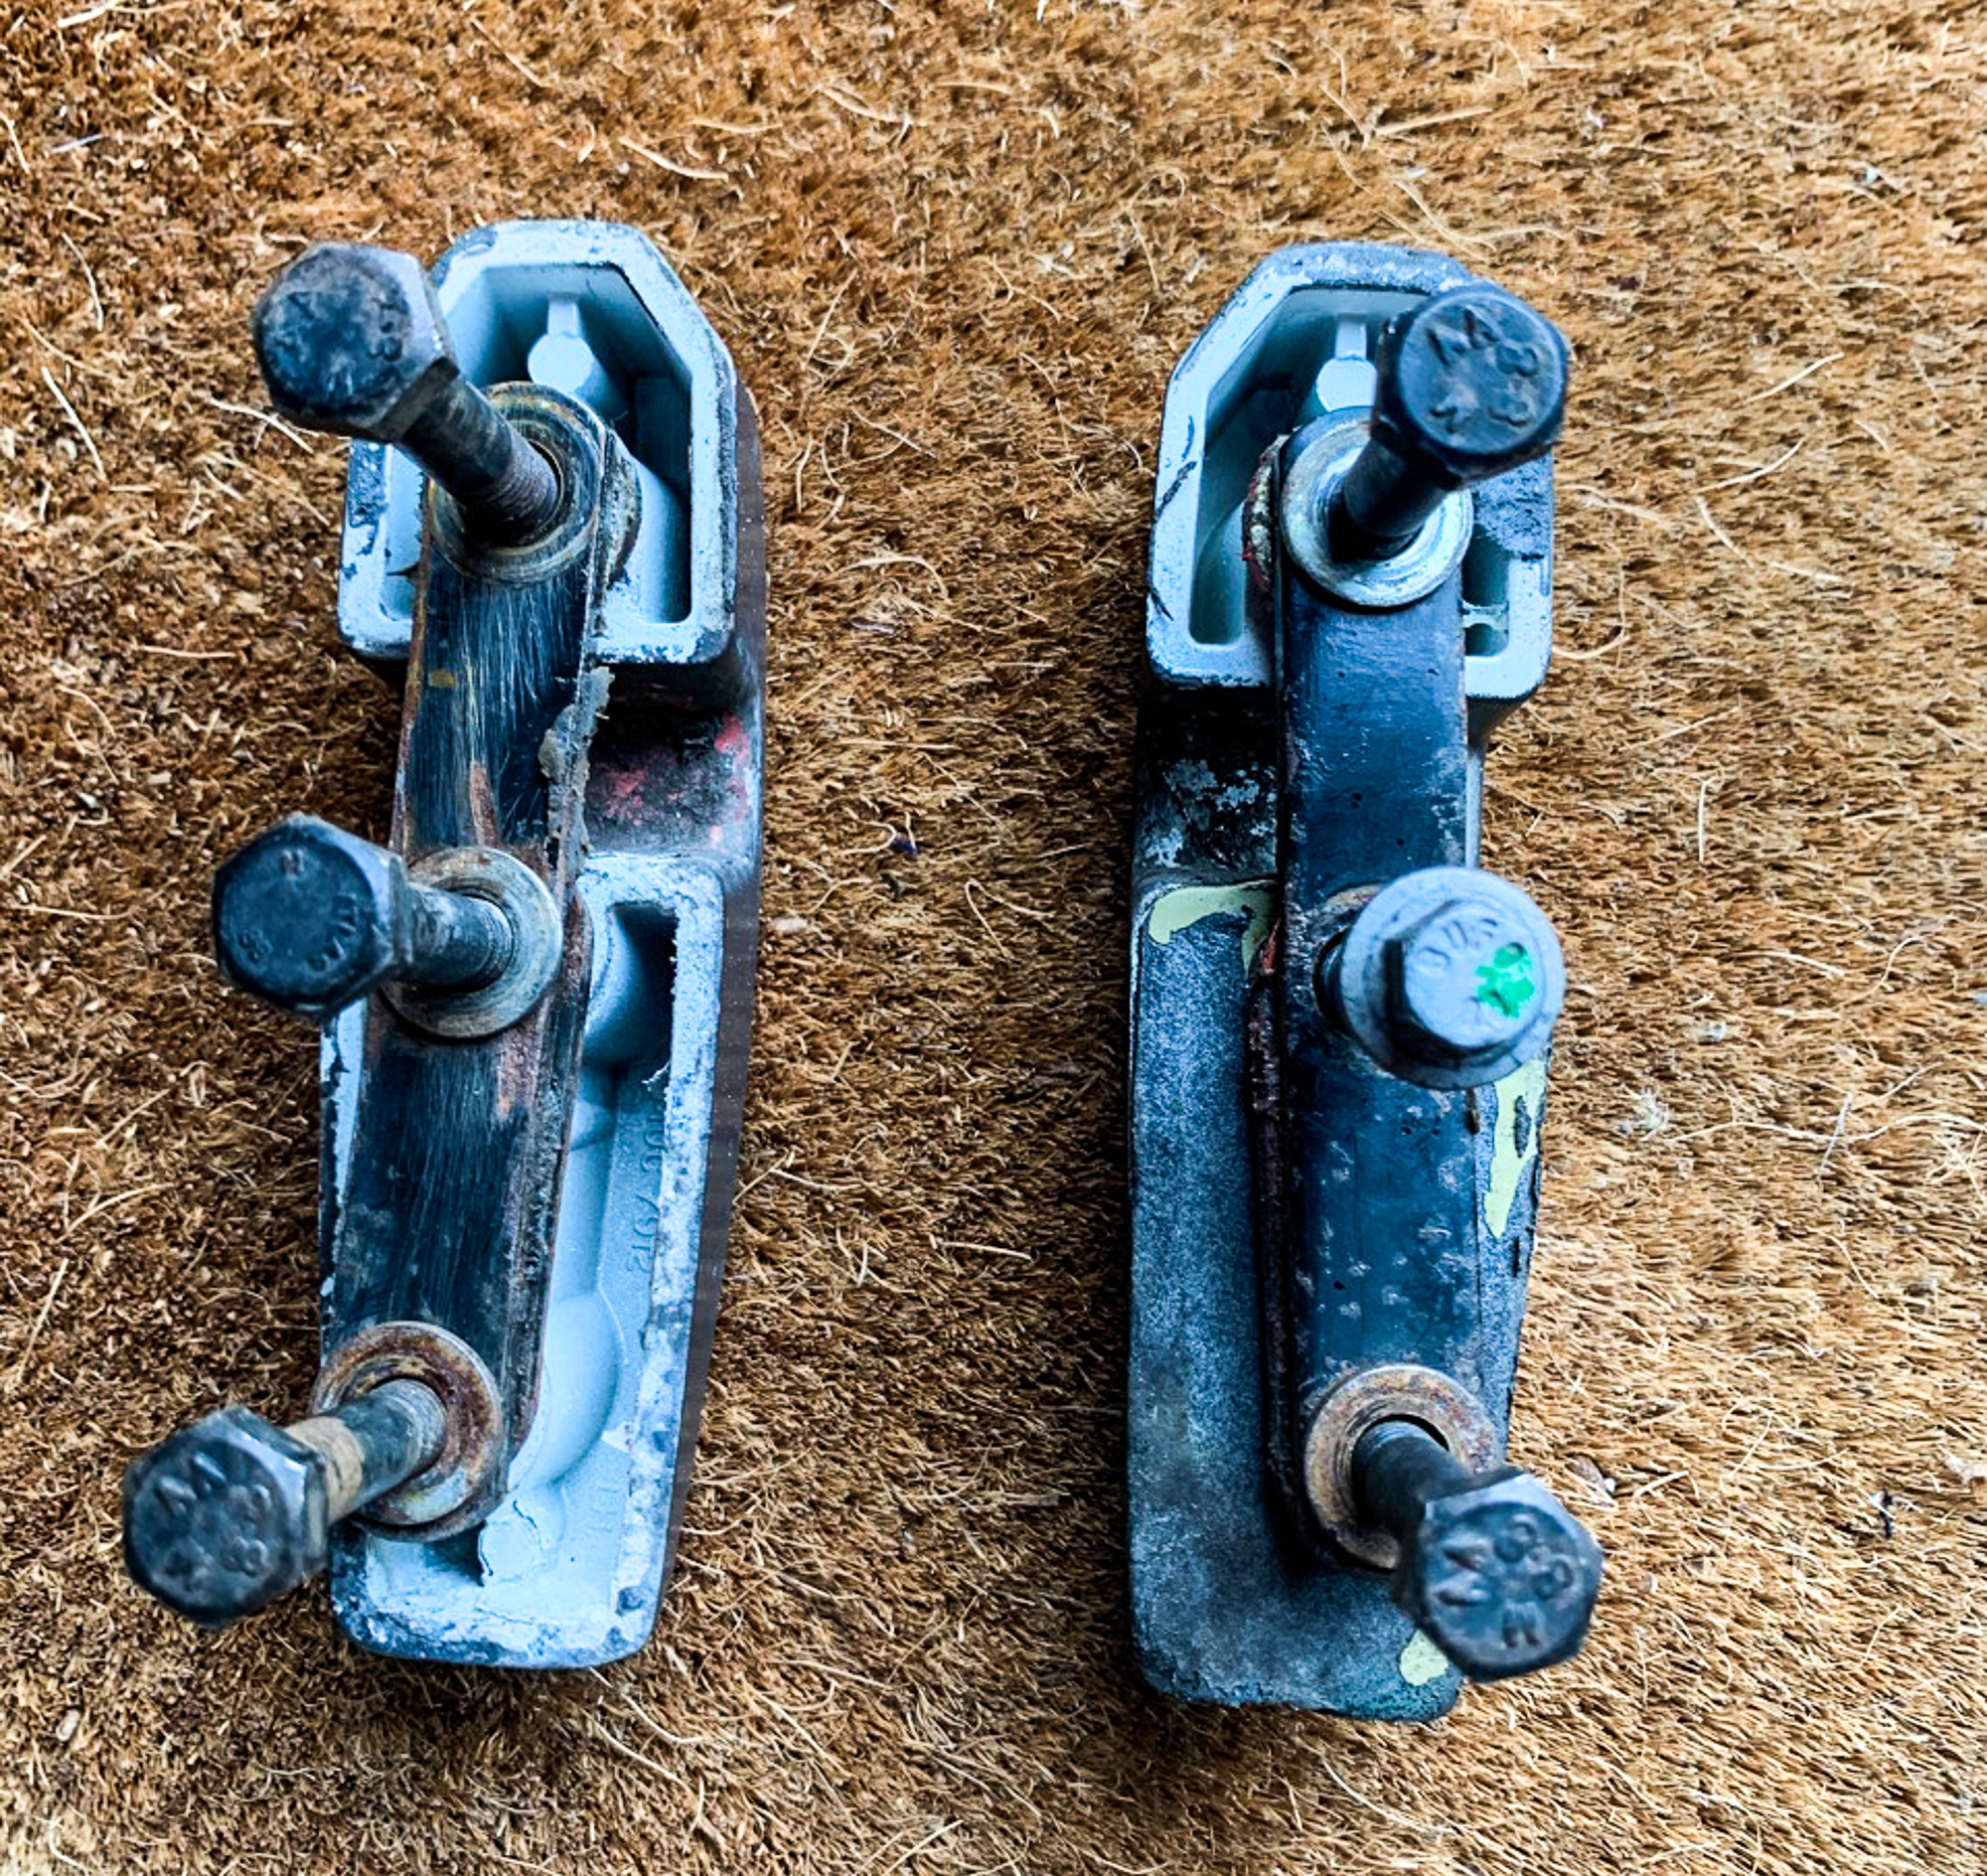
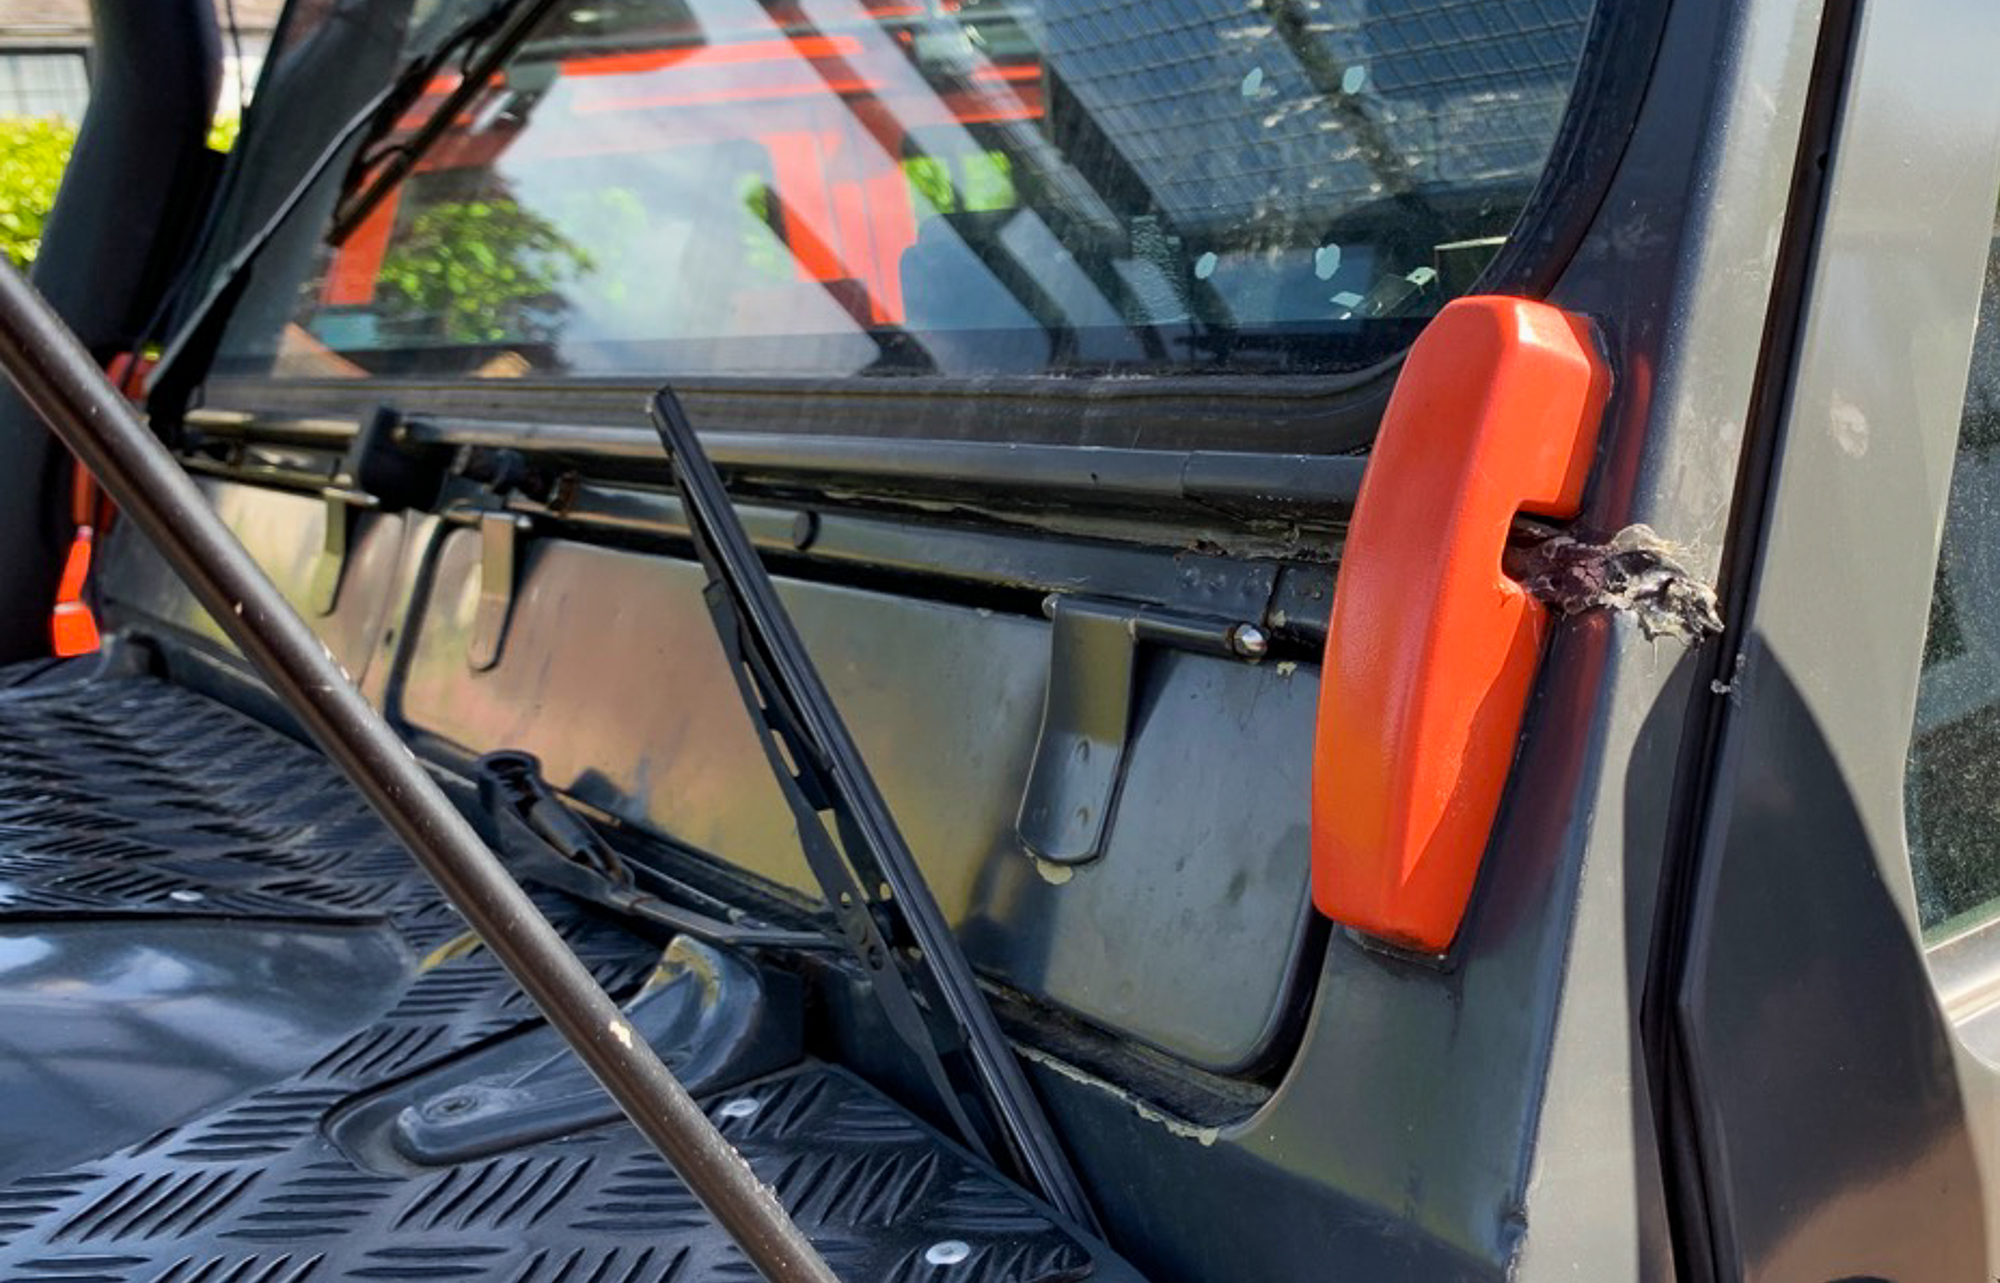
So these are the brackets, for a start the seal that goes between the car and the bracket is missing. Also, the bolts are a much smaller diameter than the hole that they go through. Can’t be right I thought, must be the wrong bolts, no wonder it leaks. No I was wrong, according to Paul Light Land Rovers, they were the correct bolts, they give you sufficient wiggle room the get the brackets back on, if they were a perfect fit you really would struggle………I filled the holes with Sikaflex when I put it all back together. Not pretty, but it does not leak.
I also took the opportunity to paint them Tangiers Orange as a nod to the G4 vehicles, not sure is was the right decision, but they are done now.
I replaced all of the rubbers and took the opportunity when the screen was out to replace it with a heated one – wiring to be done later.
Guess what – no leaks – job done.
Paul Light Land Rovers are based in Hordle, Hampshire and a mile from where I live. Perfect, half way through a job and need a part – you have it 10 mins later. Paul deals mostly with Series Land Rovers and Defenders now and specialises in Re-Builds. If he does not have the part in stock, and mostly he does……….it can be obtained overnight.
A fantastic person and business, always happy to help and give advice.
Paul does not have a web site, he does not need one, but can be reached on 01425 620626

