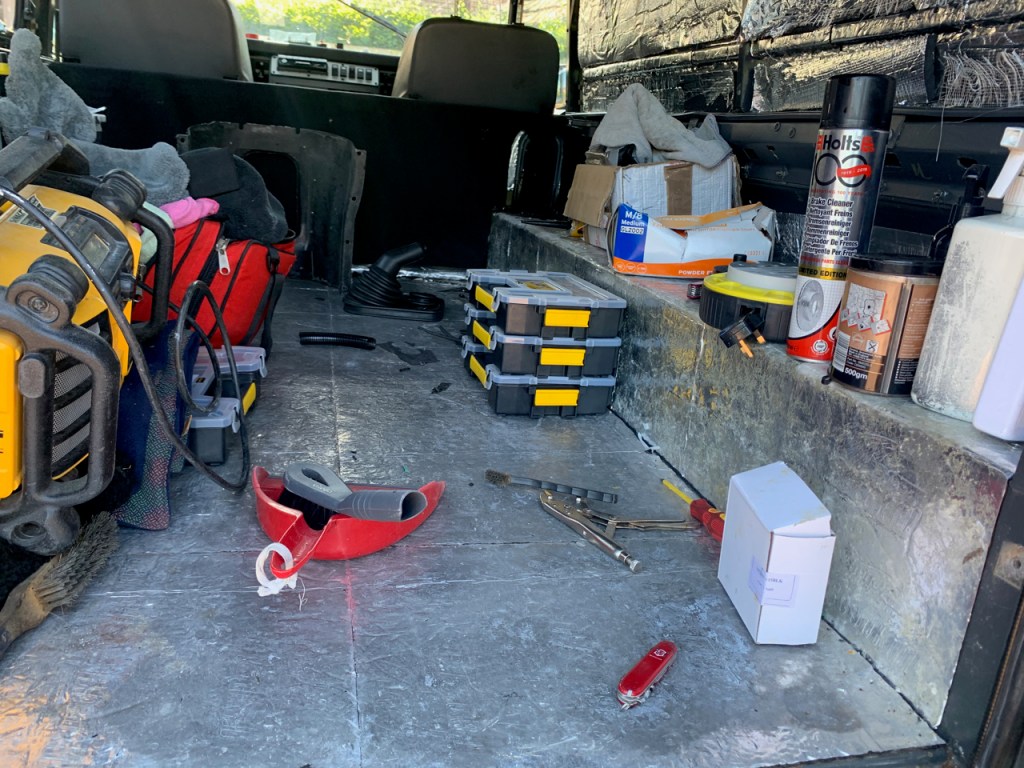
One good thing about working on a Land Rover is that there is loads of room in the back for all of your tools, parts, radio and other paraphernalia that you use.
If you plan ahead, this saves multiple trips back the shed/cabin for whatever it is that you now need!
When you are done for the day, just put everything into the back lock the door and its all there ready for you the next day.
So most stuff I use is near the back door, or I can reach it from the front seats; but over time more stuff build up in there………So one afternoon I had climb in to get whatever colour wire I needed at the time – Hmmmm, wet knees…….
Further investigation uncovered the fact the whole of the carpet and the insulation underneath was sodden, also on the right hand side the carpet that covers the box section towards the front. The rear section and the left hand side was dry above floor level. What a pain – another load of hassle.
Unfortunately I don’t have pictures, but the rear of the car had a huge custom made steel cabinet behind the front seats, this sat on top of a Transk9 gun safe. Just inside the rear doors on the left and right were further metal storage cabinets – all of these bolted through the floor and sides on the Perentie and on top of the carpet. Two hours later they were all removed, I was on my own and it was all I could do to get the cabinet and gun safe out of the vehicle and into my cabin for storage – I then removed the wet carpet and insulation for drying – this left the metal sound proofing material which is everywhere in the vehicle and which I have mentioned before.
Now I need to find the leak, so out comes the hose again, eventually I could see water coming in where the sides meet the “tub” – it looks like it is seeping through the rivets.
It is worth remembering at this stage that originally Perenties has no sides, no roof, and no back door, so these have all been added – after its import to the UK.
So I drilled out a couple of the suspect rivets which were too small for the holes and replaced them with a larger size – it still leaked.
There is a rail inside the vehicle which can make it difficult to see exactly where water is coming in, but I was sure that none of the holes in the side and the “tub” into which they were riveted lined up, so further holes were drilled for the previously mentioned “too small”rivets.
So one by one, I drilled put each rivet along the side and replaced it with stainless steel bolt, with a healthy squirt of sikaflex in the hole – I thought that should sort it! It also secured the side to the tub better as well.
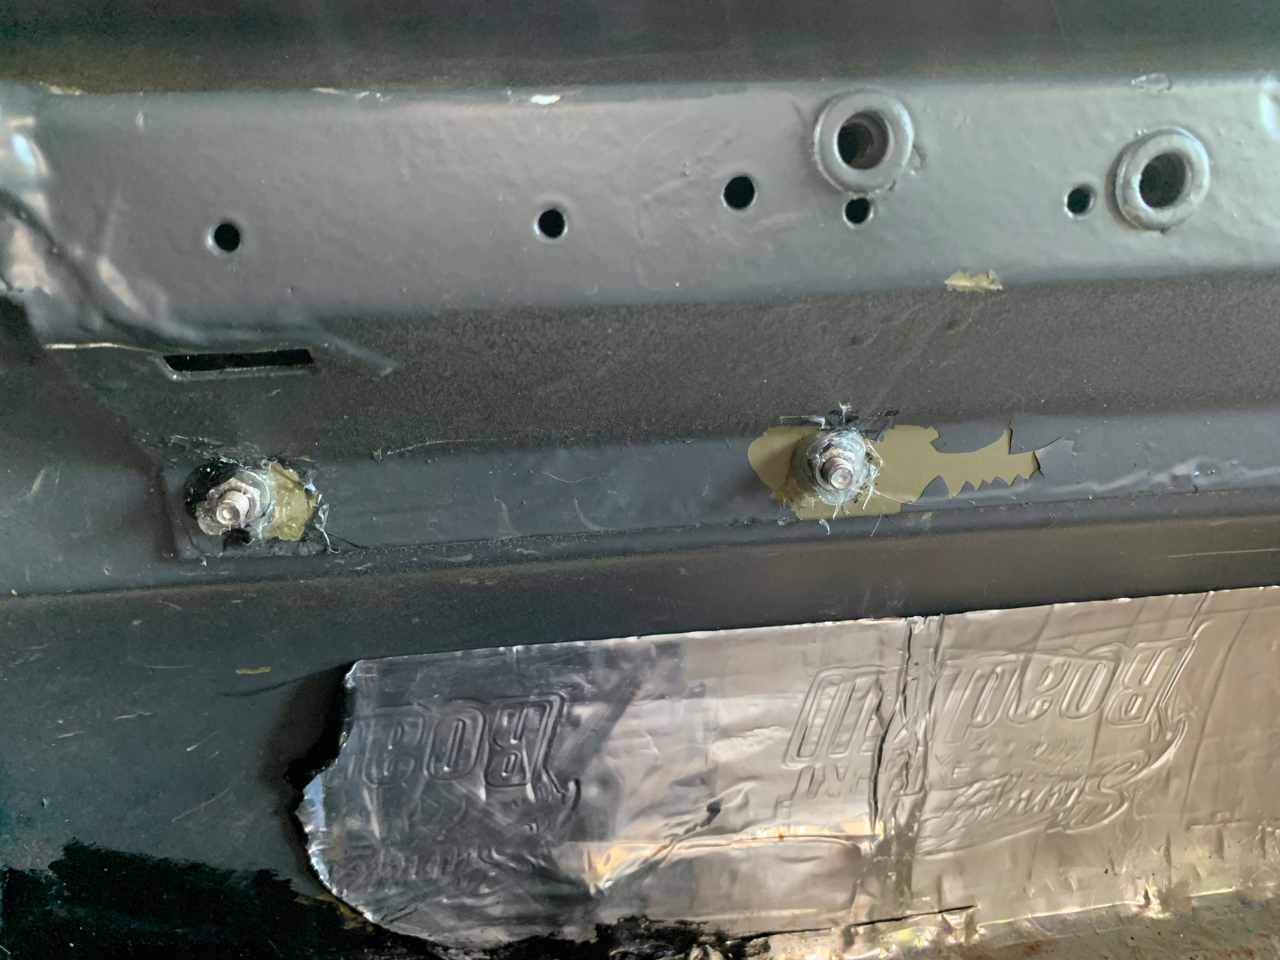

To make a good job of it, sikaflex was piped deep into the joint between the side and the tub, along the length of the vehicle.
So far anyway – the leak has gone……………
Hopefully, there should be no more.
