The Perentie is beginning to look a little better cosmetically, although there is a long way to go.
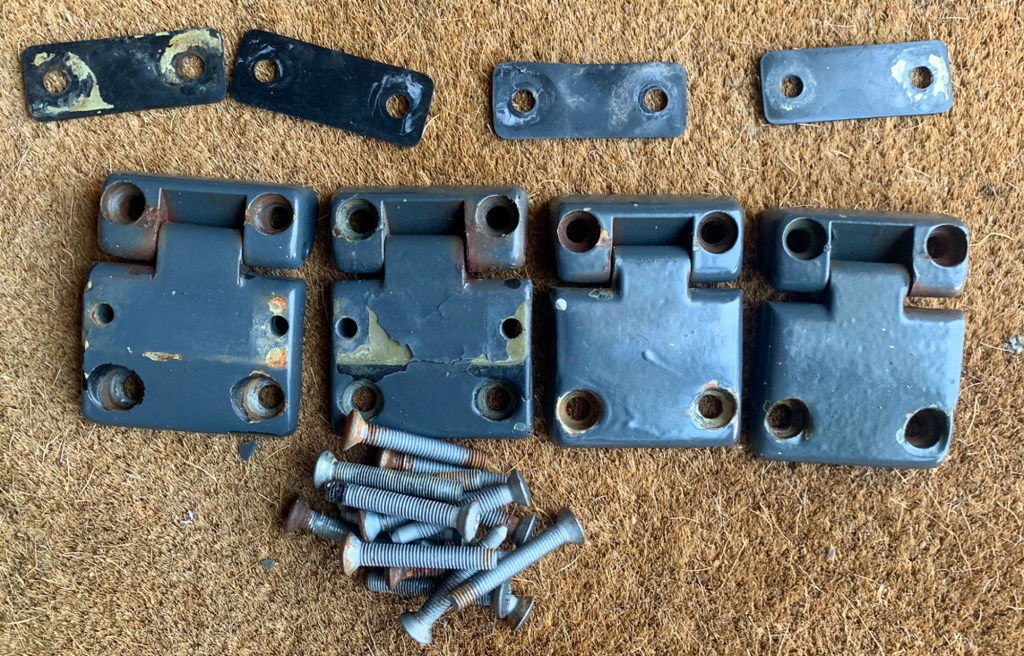
After a Winter on the driveway, rust from some of the fixings and from the hinges themselves was beginning to make them look very shabby. Also, the grey paint job done by the importers was not great and was in places failing to bond with the Military “Olive Drab” paint underneath.
Although I have no image, the bonnet hinges were as bad, so I decided to change both.
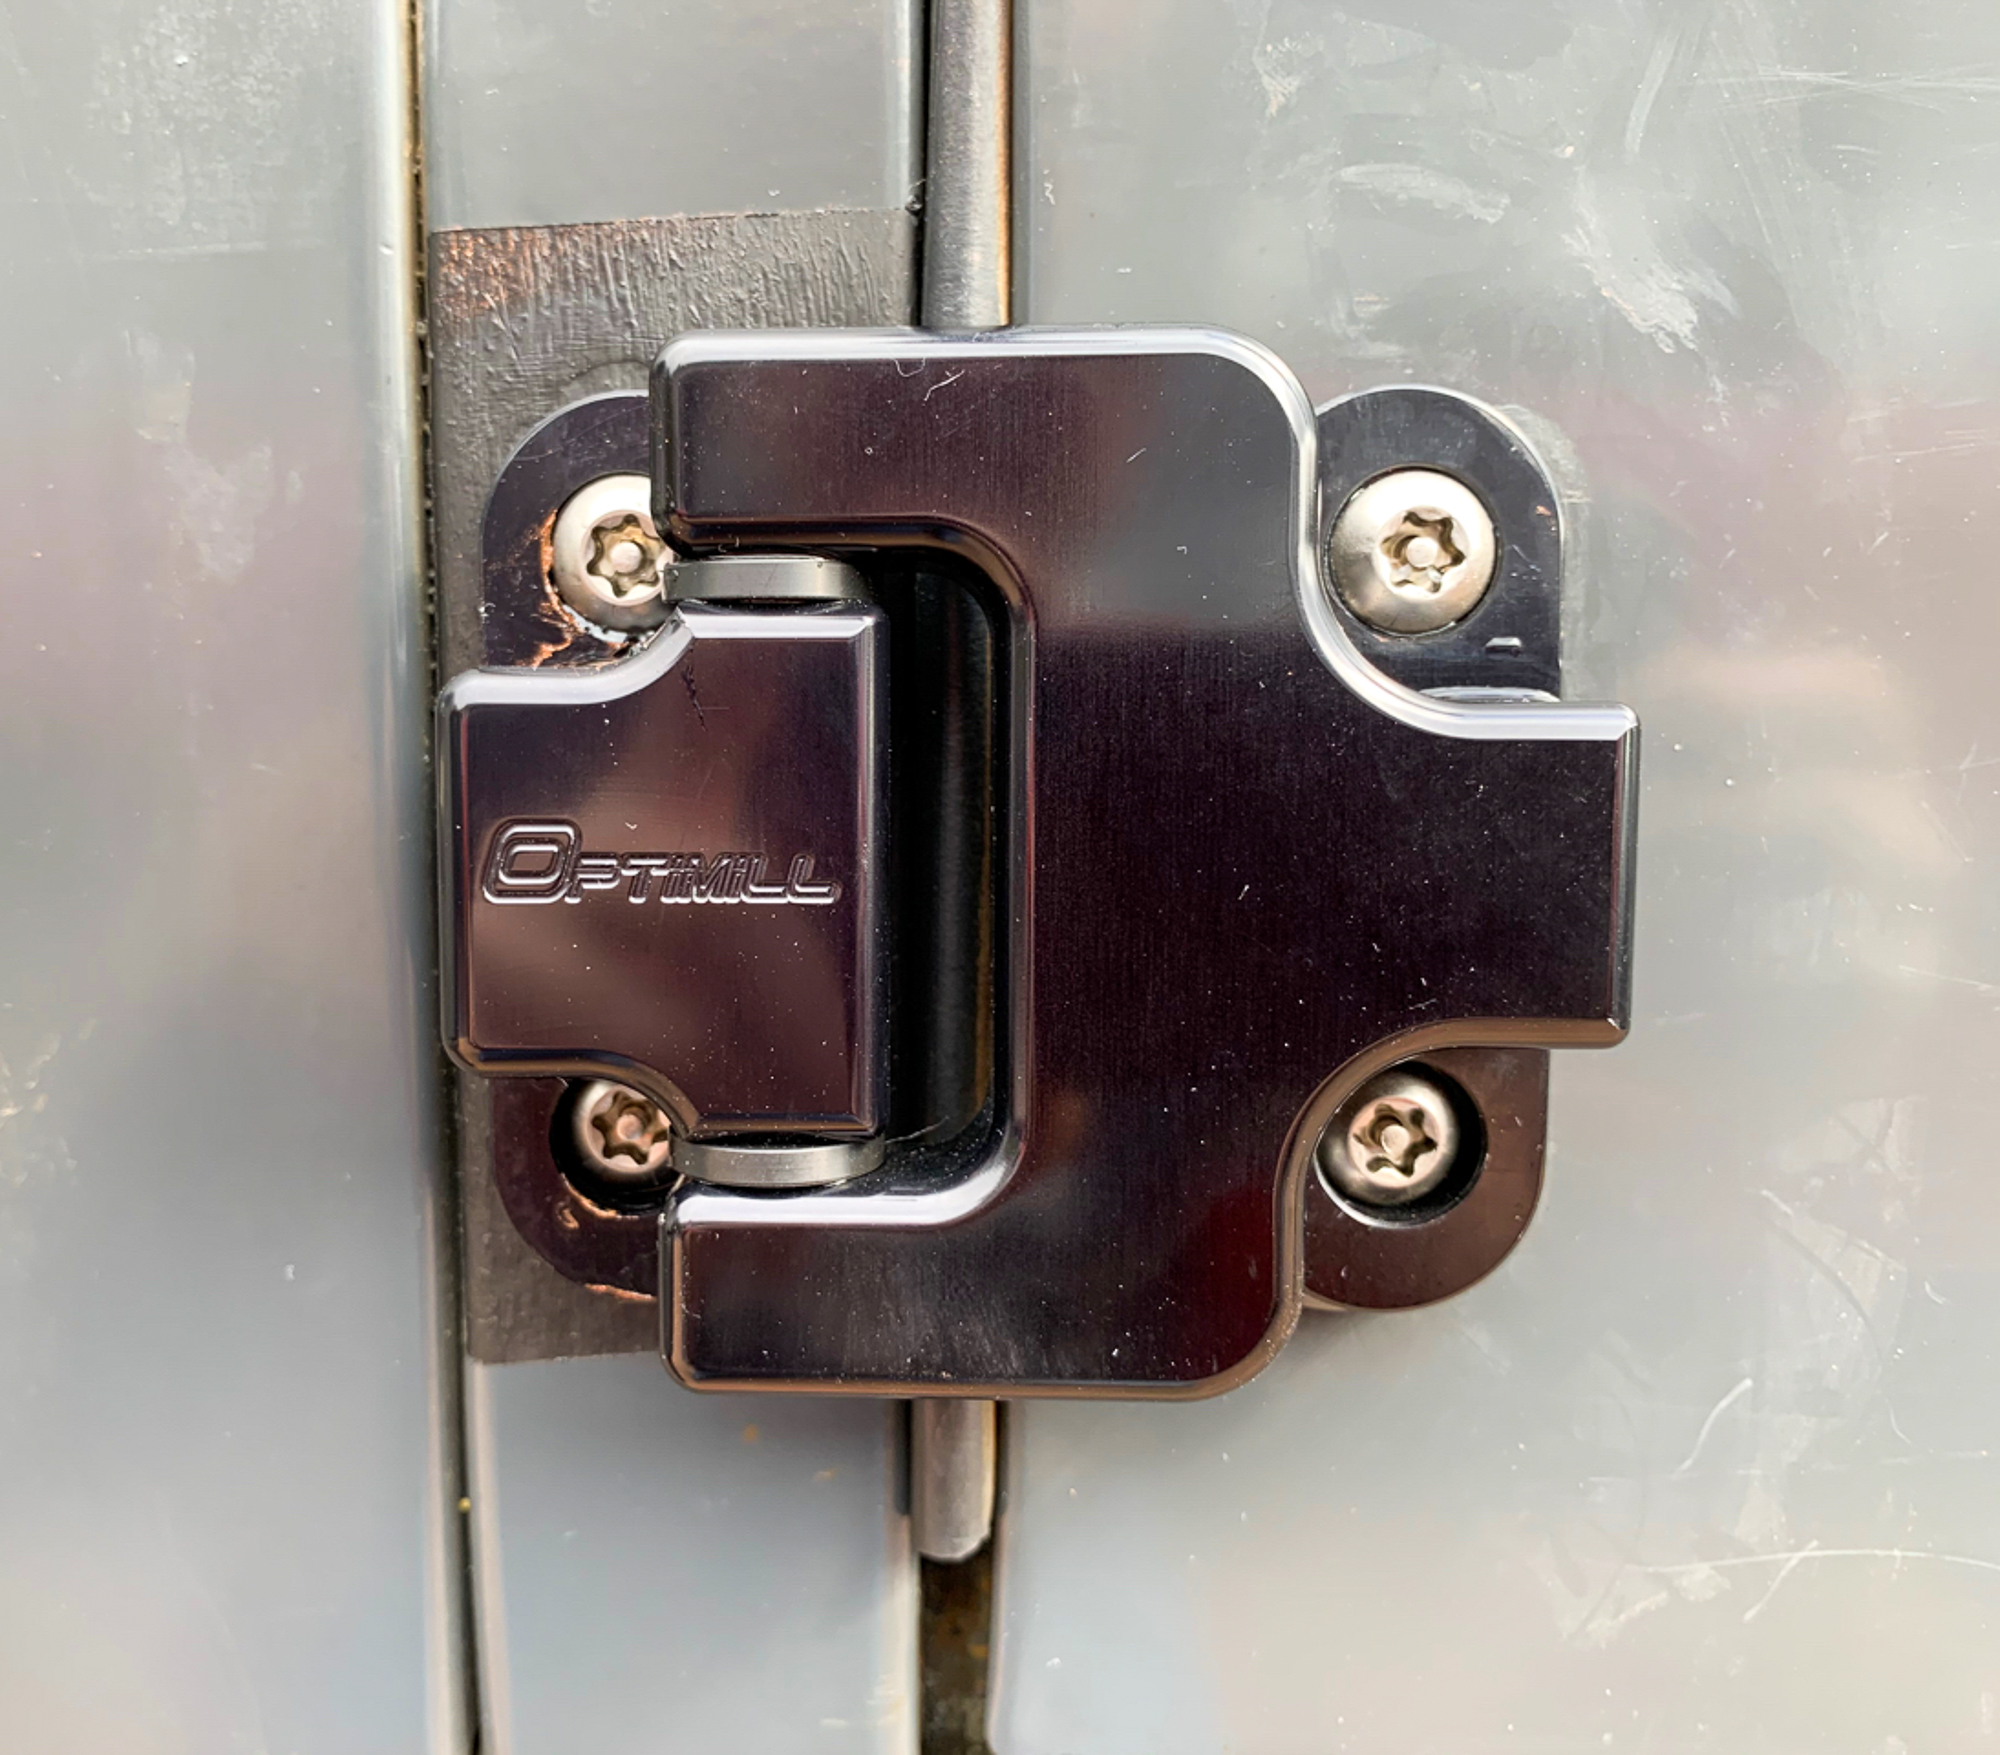
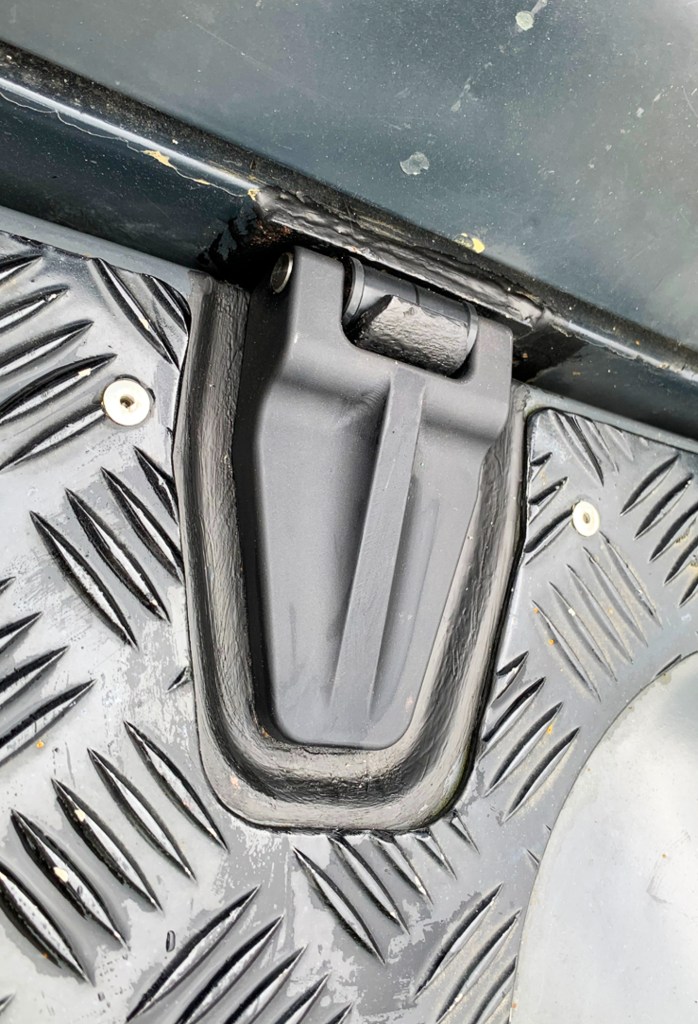
Rather than deal with the rust issue again in the future, aluminium was the way forward and there are a couple of aftermarket options. For the door hinges I went for the Optimill, not cheap but beautifully made, they come with stainless steel security bolts which I wanted, in any case.
Whilst Optimill do bonnet hinges with the same fixings, I found another German made product which screws in from under the bonnet, No temptation then, for a thief.
All sourced from Defender Upgrades.
The bonnet hinges are relatively easy to fit; if you had someone to hold the bonnet it would be easier! I took the opportunity to repaint the area around the hinge which was looking a bit ropey.
Next a look at the door hinges……..the existing fixings were a mixture of hex, phillips and torx heads. Someone had fitted Puma doors to the Perentie, this coupled with the fact that you can get to the nut on the back of the bolt quite easily made these easy to loosen.
The bolts on the A Post/Bulkhead though, I suspected were going to be a challenge, none of them had any give at all and you cannot get to the nut on the back as they are captive. I guessed that drilling them out would be the solution and because most of my larger bits were getting a bit blunt, I decided to get some more before stating the job, rather than make it harder work than necessary. I had had some Snap On drill bits for many years and decided to treat my self on some replacements – expensive, but they don’t snap. In the meantime I soaked the fixings with silicon spray.
The Snap On bits did not show and a call to them promised a delivery in October!, so order cancelled and a less expensive alternative purchased.
The delay allowed for a few more soakings of silicon and one last try before resorting to the drill. All 8 bolts yield with a little persuasion – result! – Sometimes time and patience works.
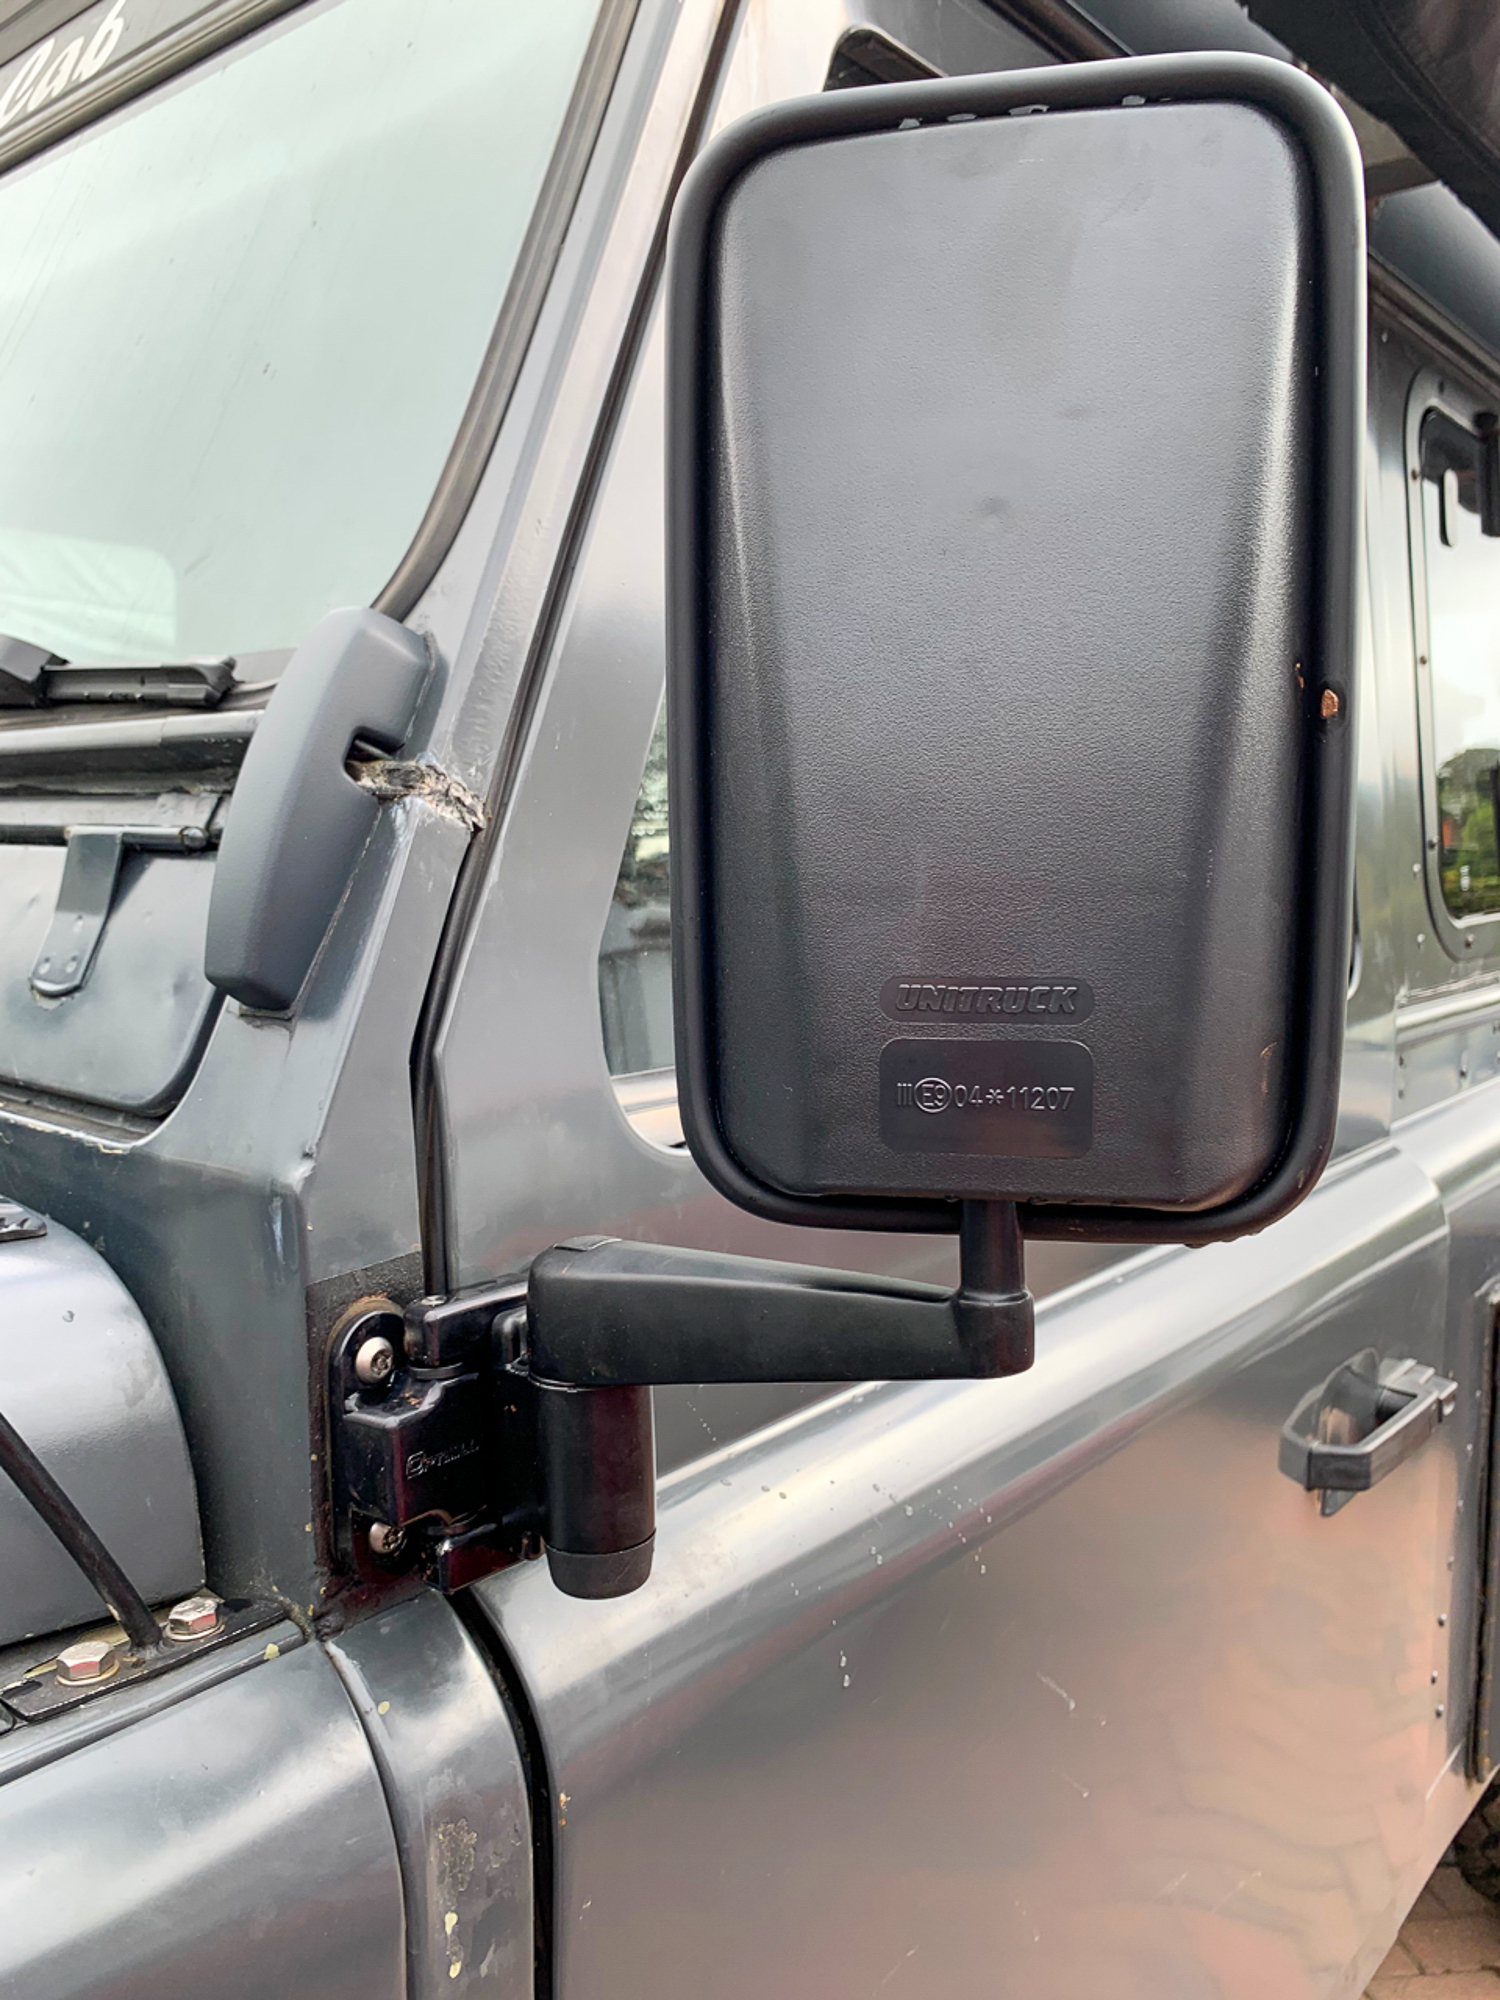
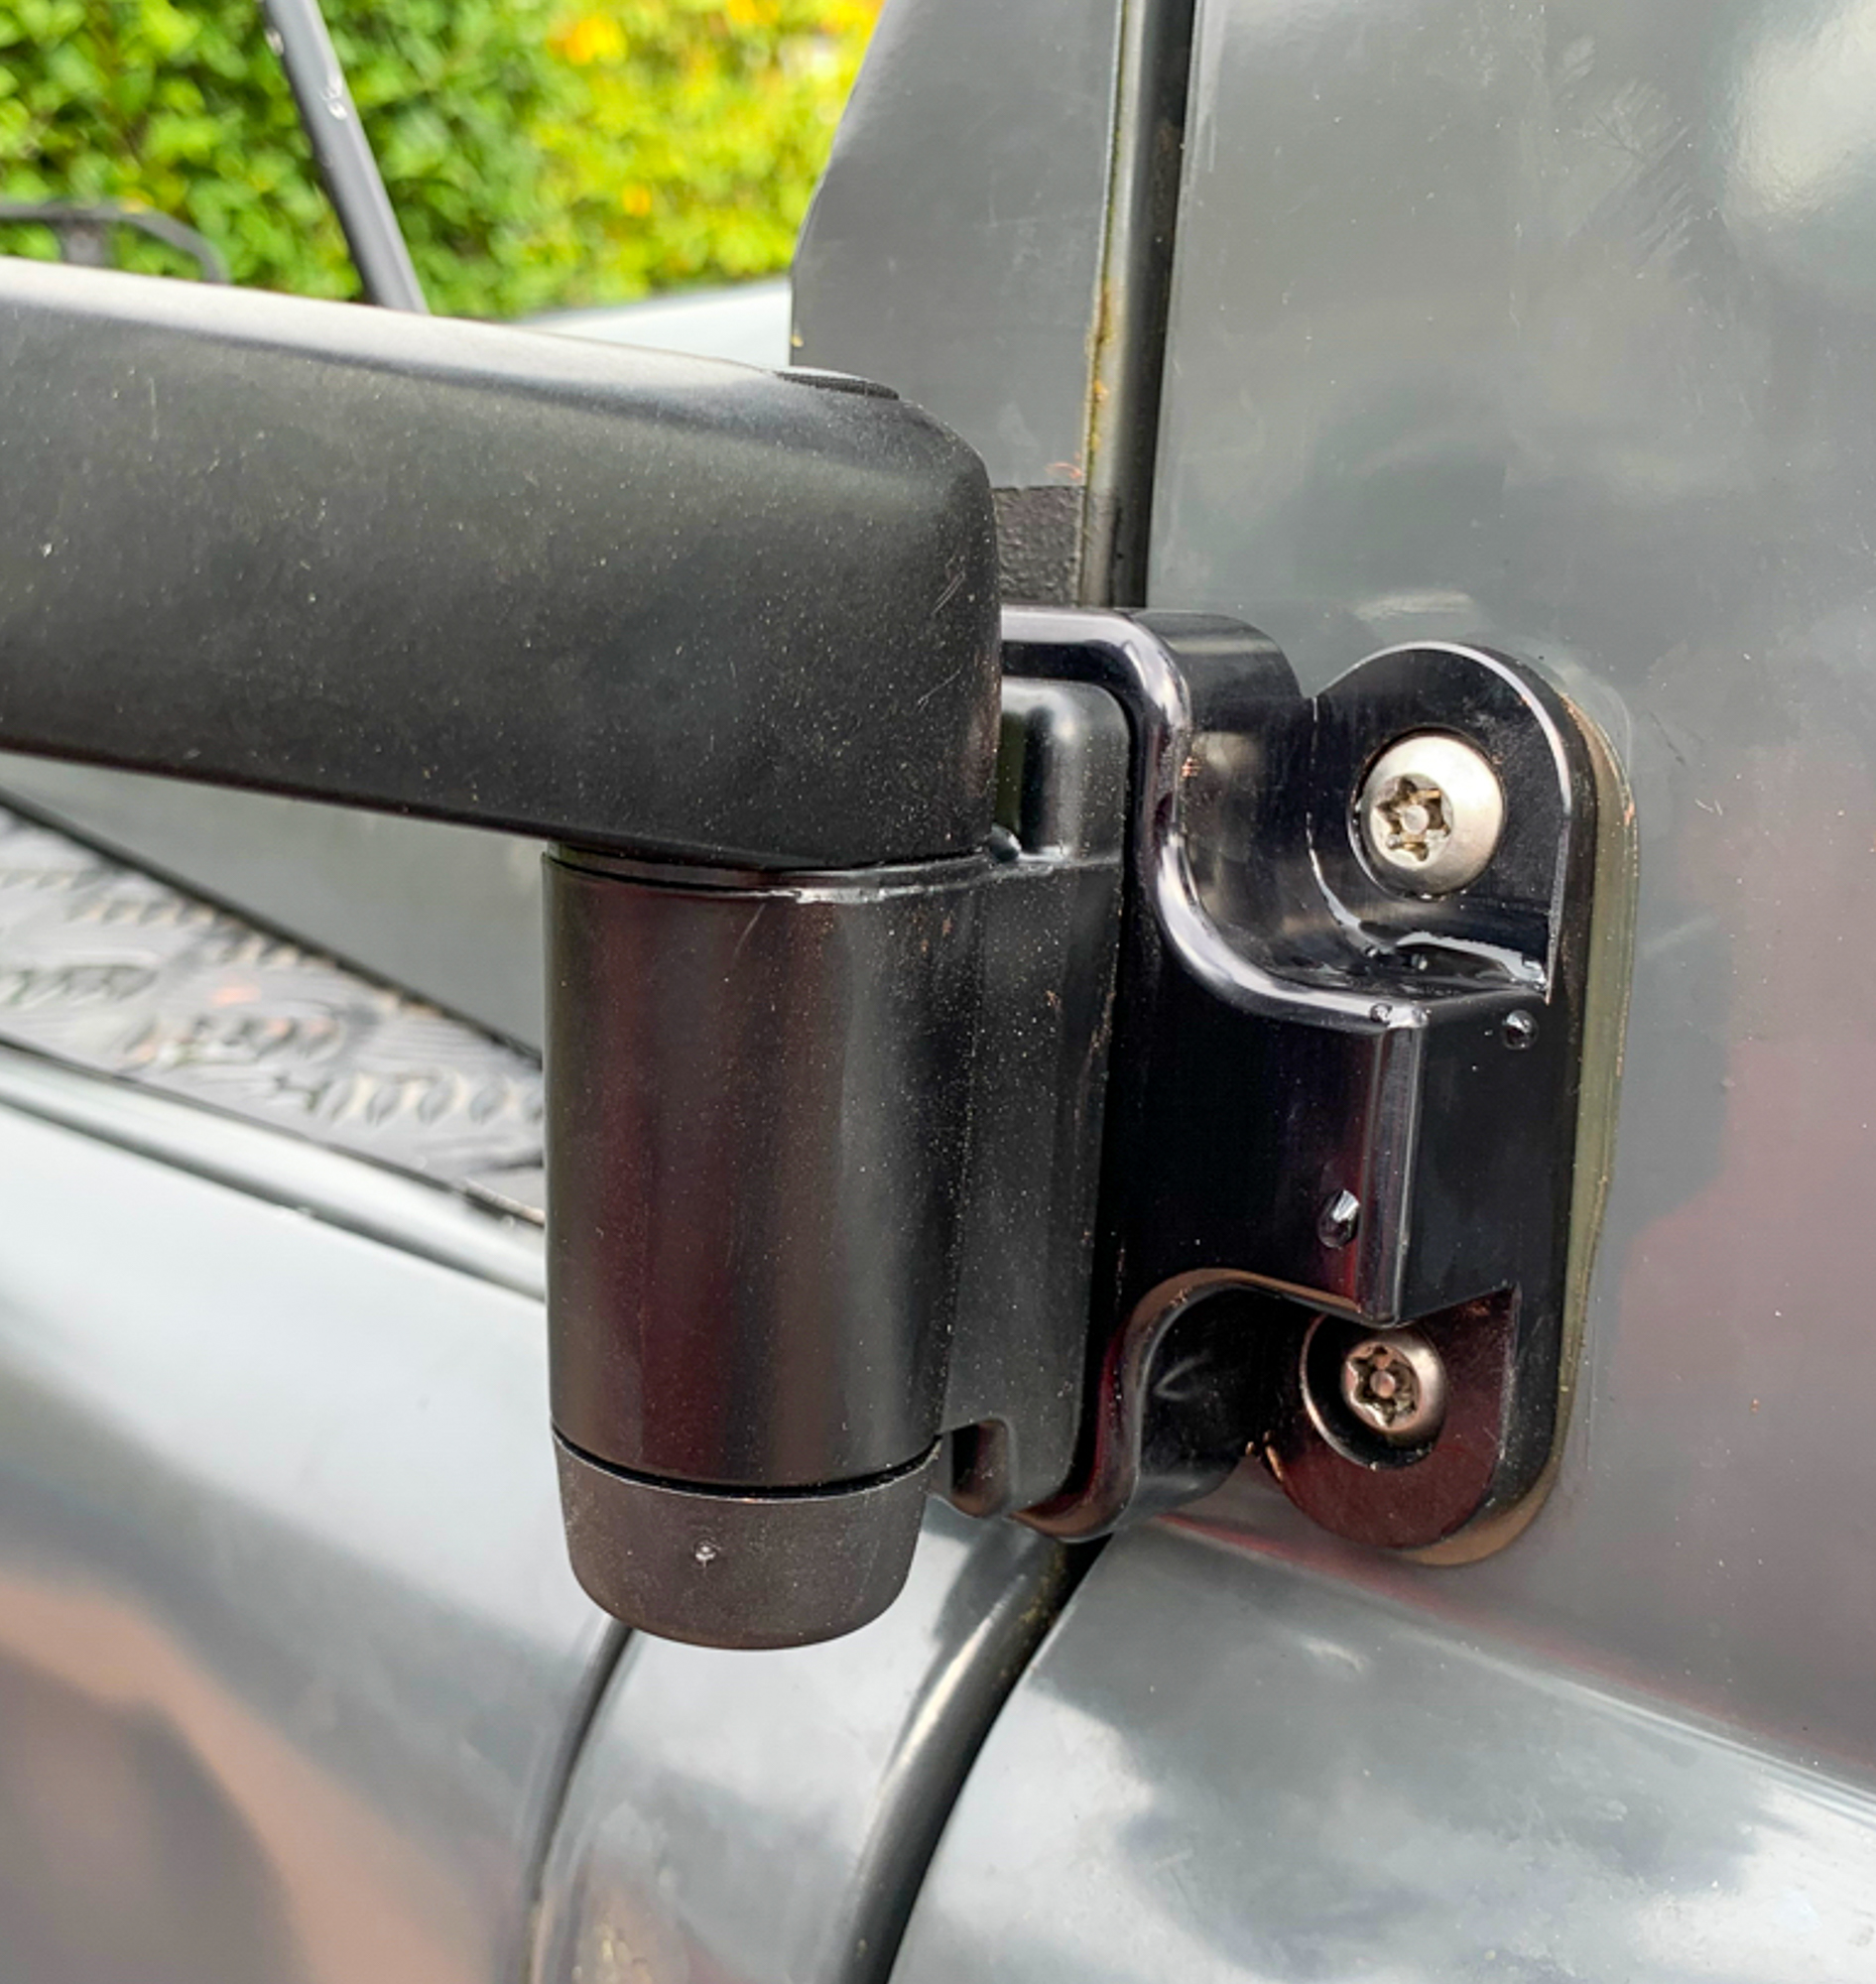
As the hinges were coming off, it was a good time to replace the mirror arms which were again, shabby and an inexpensive Britpart product was fitted. Note stainless steel and copperease, in case it is me removing them in the future..

I removed the hinges one by one and painted around the area where they were fitted, to smarten the job up a bit. I also made sure that the new bolts travelled easily through the captive nuts to avoid problems during the actual fitment – again – plenty of copper ease.
The job proceed really well (for once), at least until I got to the last bolt on the bulkhead for the last hing. It would not pull up tight – just spun around – typical as I had been so careful. I heard a small thud as I undid the hinge as the captive nut became free and dropped somewhere in the depths of the vehicle – never to be seen again. The cage that contained the nut had rusted through and had failed.
So off to Paul Light Land Rover for another – they were in stock and only pennies, so I bought three – what a pessimist!
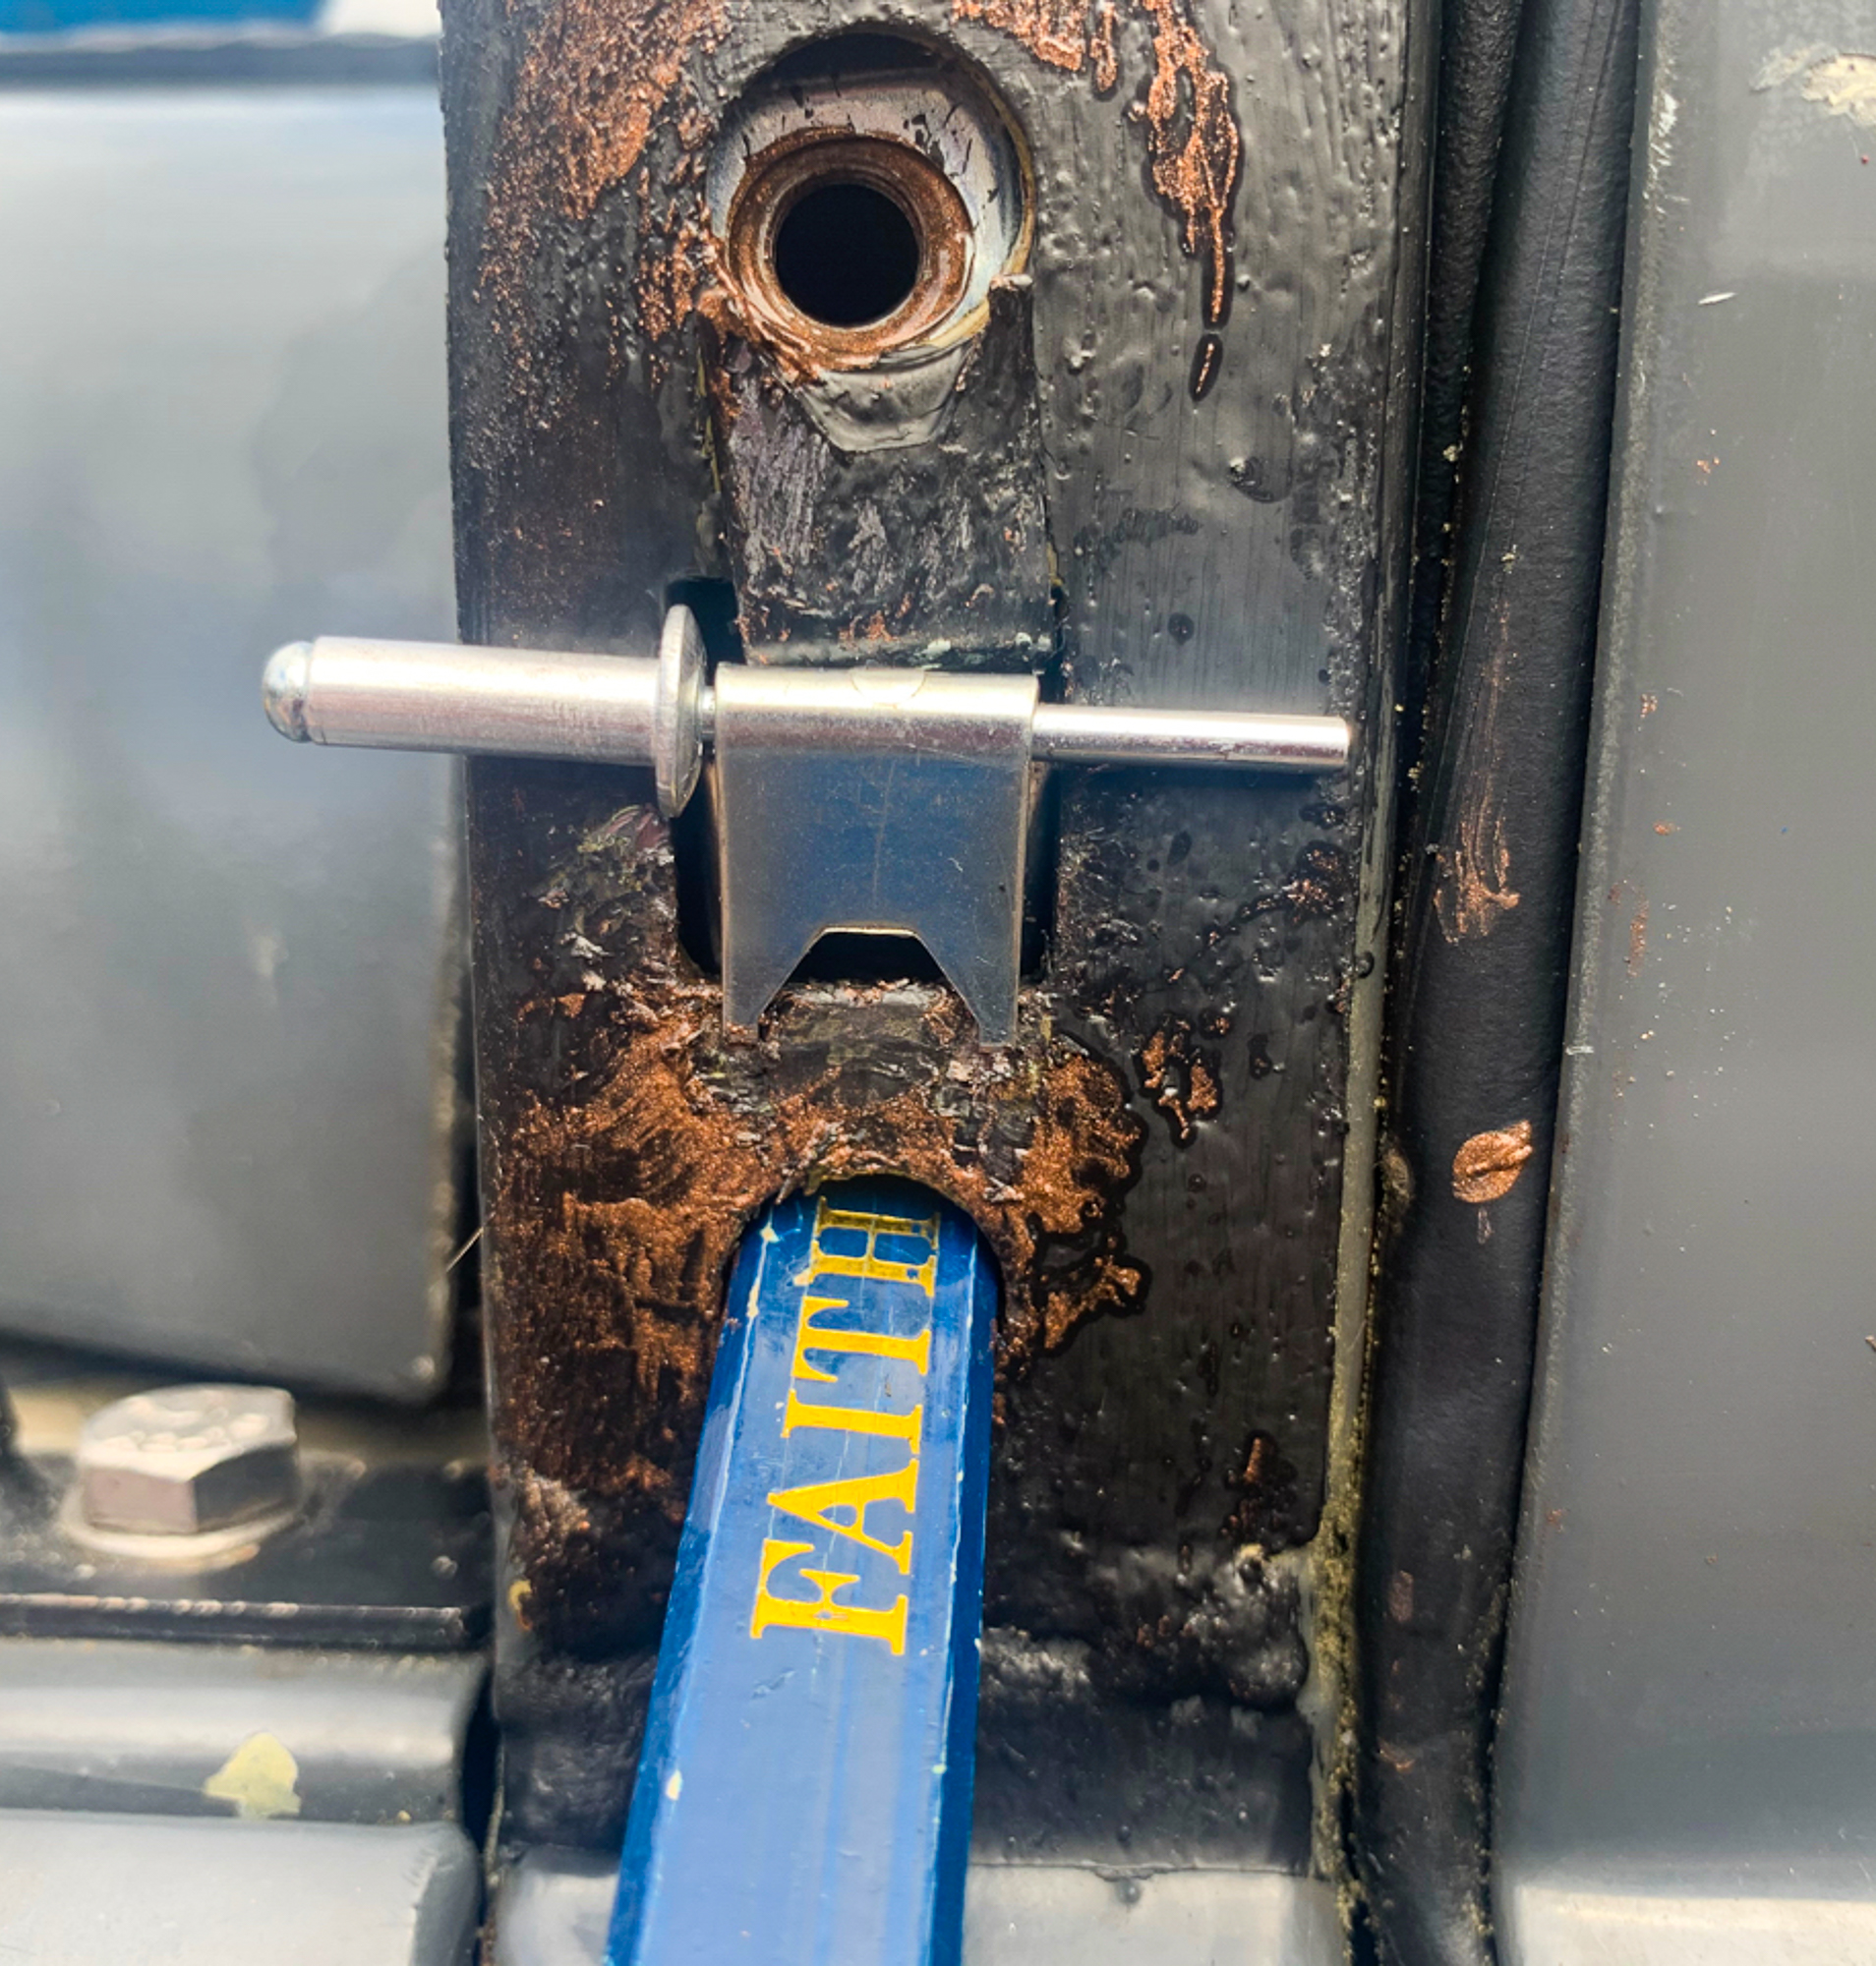
Now these things are a pain to fit, very fiddly, one slip and the whole thing disappears to lie forever with the other nut that disappeared. The spring is very strong, so I devised a method of using a carpenters pencil to stop the whole thing disappearing in the vehicle and a rivet to hold the top in a place where I could get a angle to tap it into place – genius…….

On re-fitting the hinge, I struggled to do up the bolt in the new captive bolt. You cannot really see what is going on so I eased off to see to take a look, then that thud again – my new captive nut had escaped!
On investigation, the small tags that hold the nut in place had bent and released it from its home. So I made sure that the nut was nice and tight on the next fitting by clamping it tight in a vice. I also did what I omitted to do first time around and tried running the bolt through the nut. Guess what a couple of turns and then it stuck tight.
There is a reason why these things only cost pennies, they are poor quality Chinese, I am sad to say – we come across this more often now with Land Rover parts. As I still had spares, and I don’t have a tap and die set – I decided to use a spare bolt with the correct thread to run the thread through the nut – they are not full thickness nuts so this was quiet easy. After installing the second captive nut all went together easily.
All looks very smart now with the new wide angle mirrors. The security fittings might put off an opportunist thief.