The main starter battery in the Perentie is located in the usual position for a Defender – under the passenger seat.
Well a very small battery for a very large car, totally the wrong specification. Still it has managed the job so far, even with, in the past, the lack of glow plugs, dodgy earths and generally bad wiring.
A larger capacity battery with a much high Cold Cranking Amp (CCA) rating was purchased a while ago and has, on occasion, been used to get the Perentie started. I resisted the temptation to fit the new battery in the existing position, as the plan had always been to change the location of the main battery.
Because of the unique chassis that the Perentie has, the main fuel tank is under the drivers seat, like a 90, rather than at the rear like a standard 110 Defender. This is because the specification was for the spare wheel to be housed under the chassis at the rear, hence the slightly longer chassis length; this also meant that the fuel tank had to be relocated.
The tank is a modest 65 litre capacity. Knowing that diesel is not as readily available in the States as in Europe, I decided early on that a second tank giving us a longer range would be a good plan.
Therefore the logical position for the second tank would be under the passenger seat (to mirror the 90 set up), so the battery just had to move……….There are a few after market long range tanks available for the 110, but these are all made specifically for the standard Land Rover chassis and would not fit the Perentie out of the box.
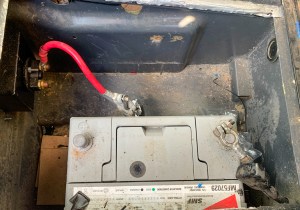
So where to put the starter battery……………..? The logical place was to use the side locker on the passenger side which is roughly in the centre of the vehicle. This would keep it in the dry and keep the distance to the starter to a minimum, reducing any current reduction.
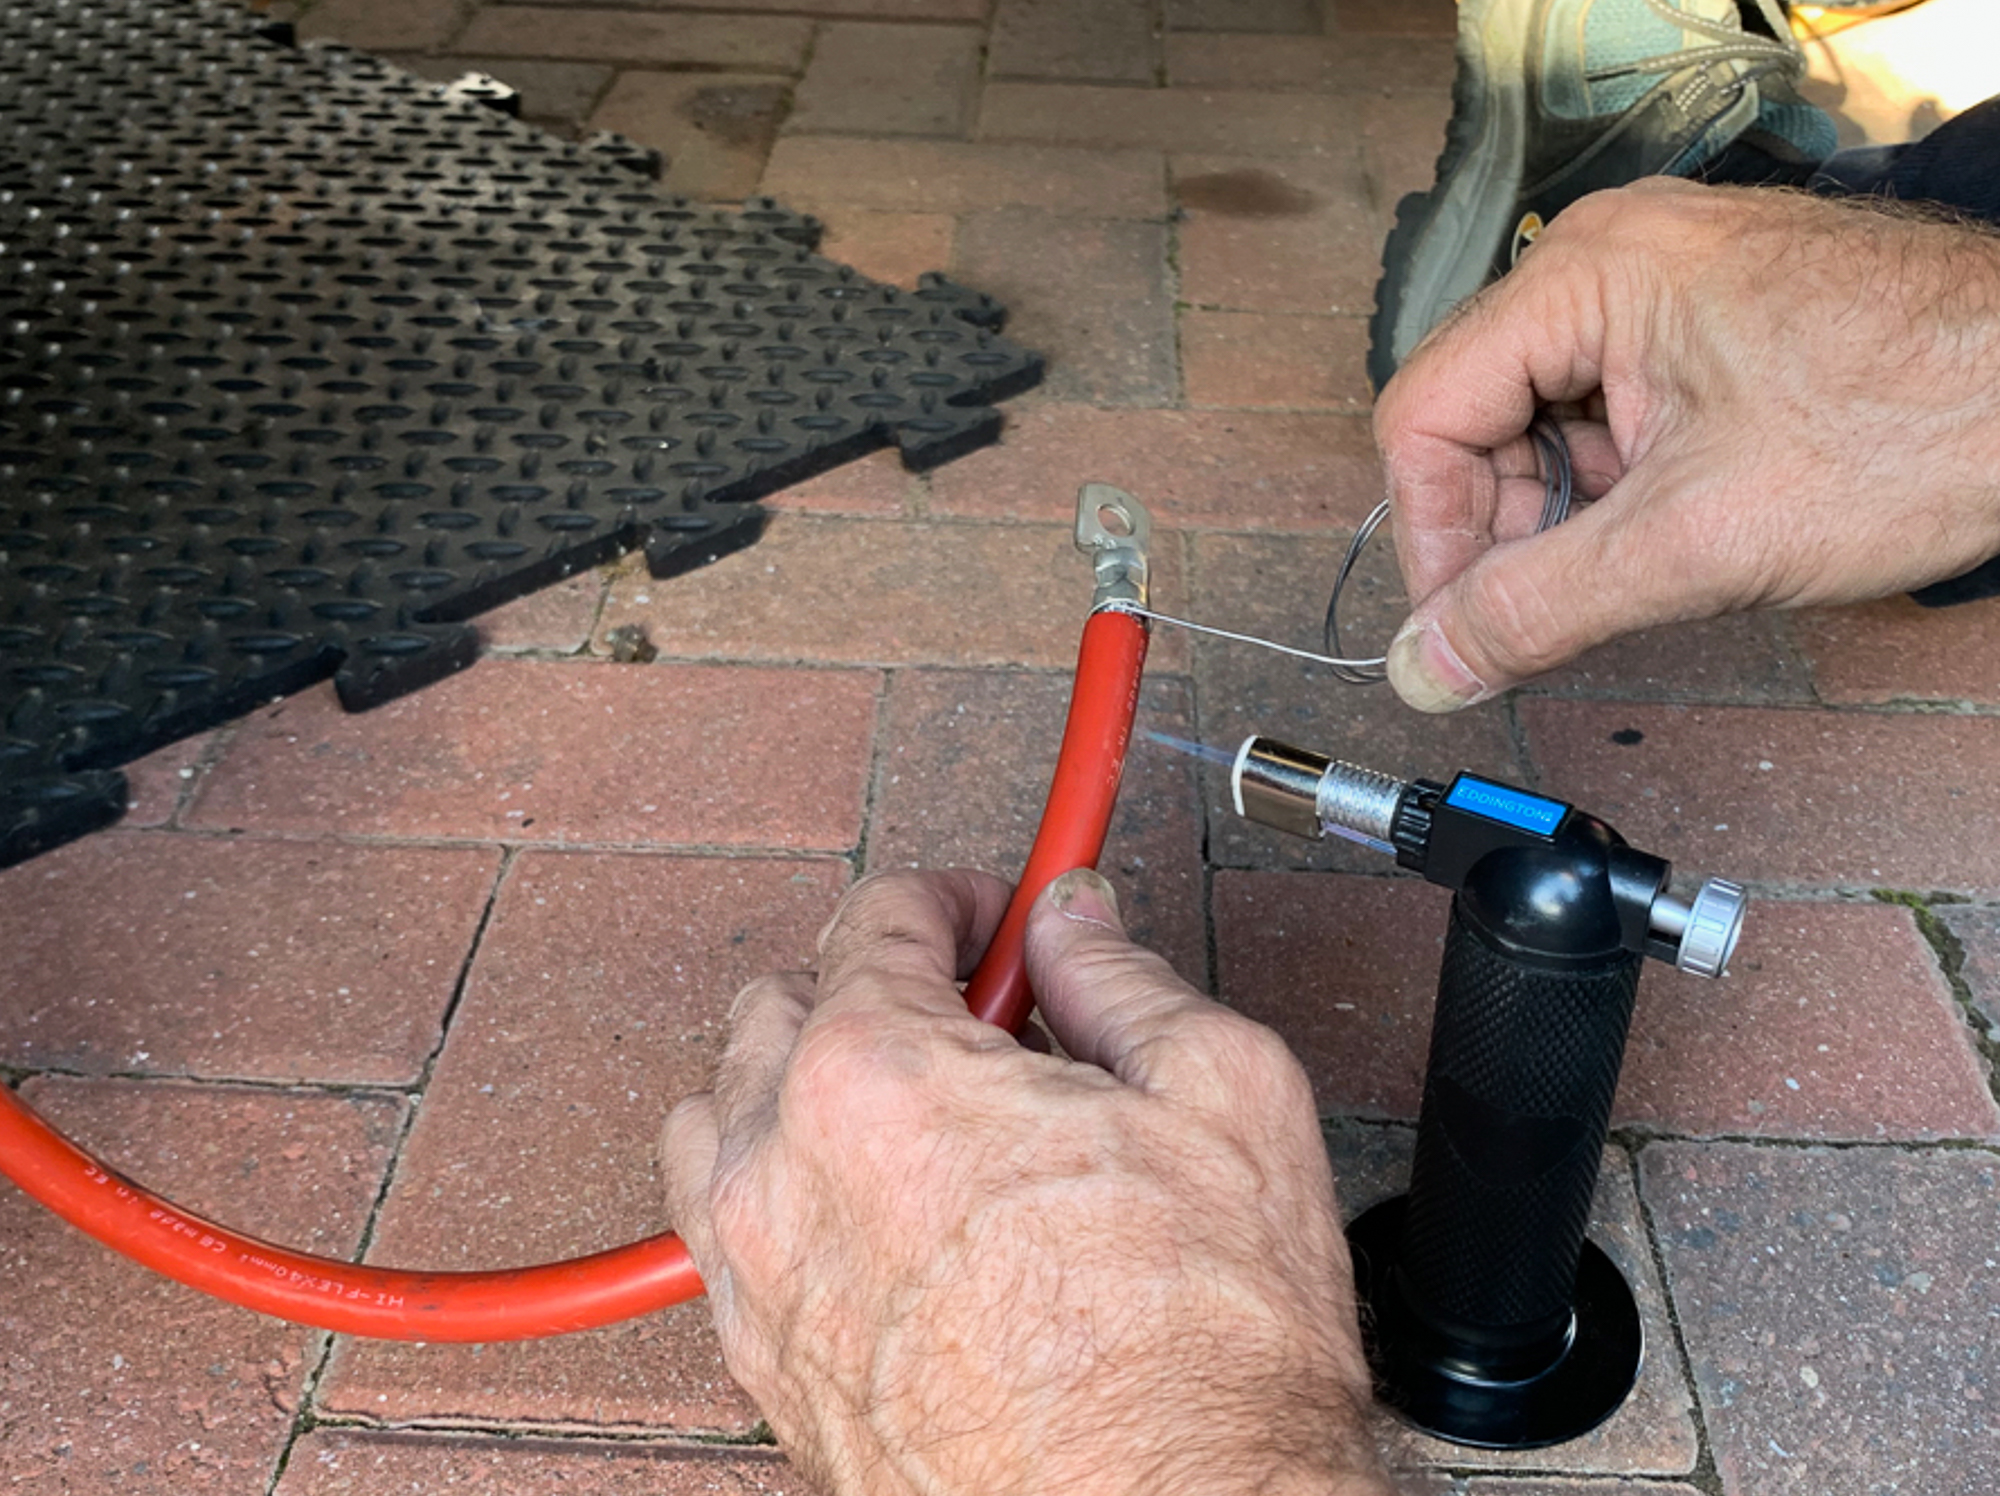
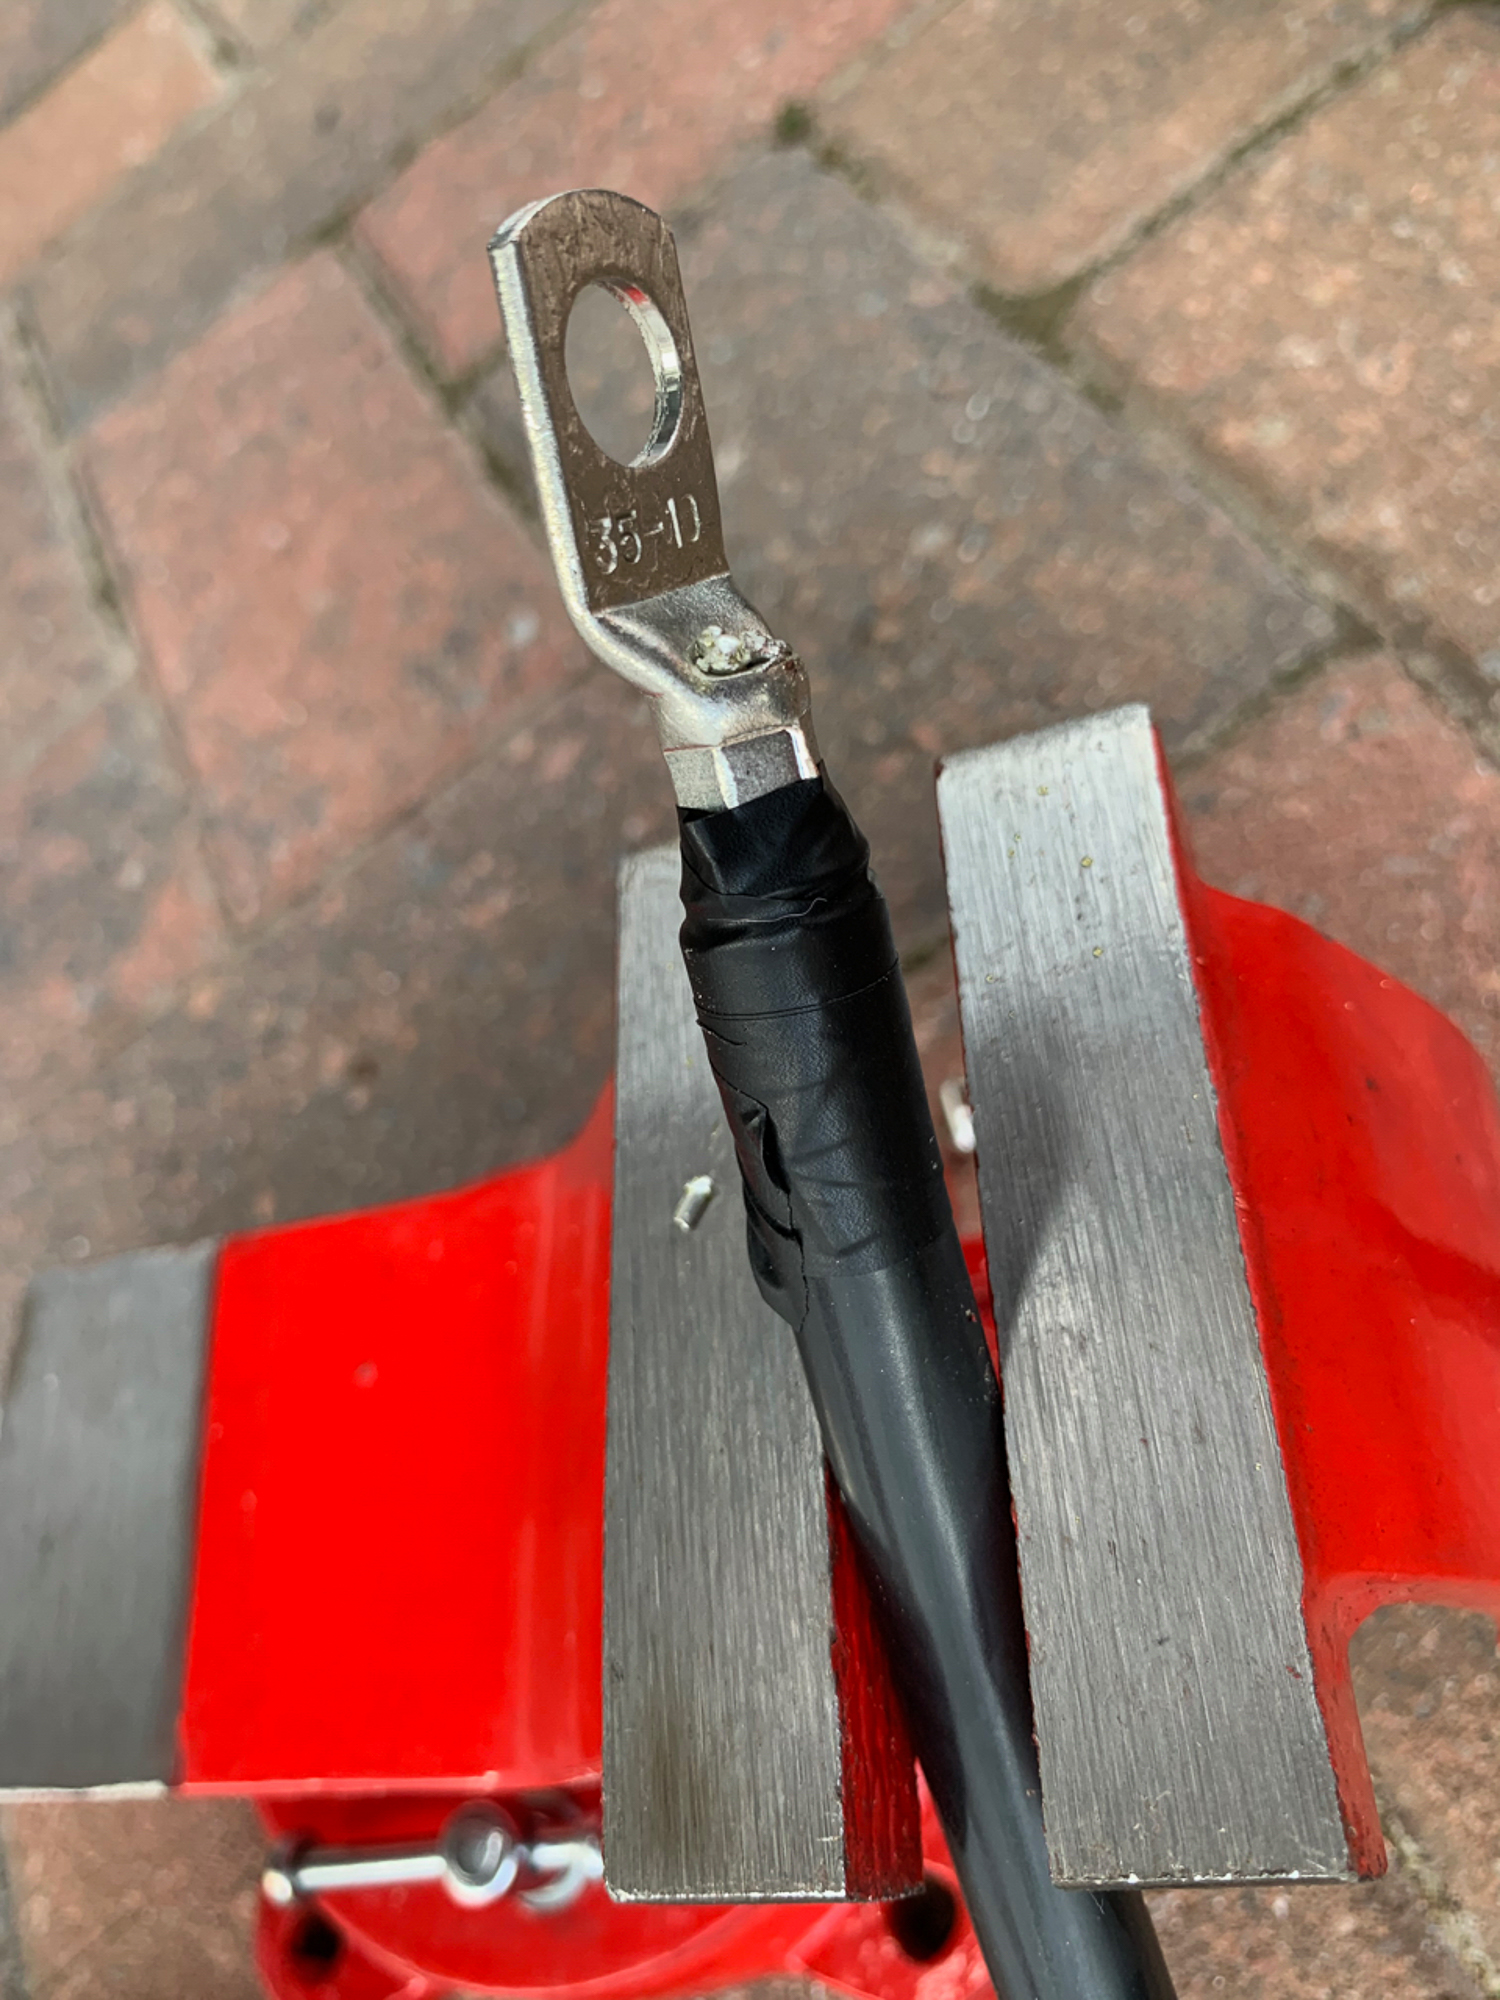
Both the earth and battery cable were a bit thin and quite frankly a bit worse for wear after spending there lives in the Outback.: so I upgraded to a heavier 40mm (cross-section) cable for both.
The main cable had to be lengthened so the upgrade made sense.
Moving the battery was a job that had been put off for a while as there were other more important things to sort on the vehicle, but it needed to be done before the fuel tank could be moved.
By chance my auto electrician and now good friend Phil James was passing by last weekend and offered to give me a hand. I spend hours working alone and sometimes it is great to have someone else, especially someone with experience to talk things through with. As a result, my cable runs were slightly different and we came up with a good position for my new battery isolator and my jump terminals.
Phil is a mobile auto-electrician specialising in Classic and American cars and roams the South of England in his motor home sorting peoples classics. Phil parks the Motor Home on our drive and after work, Benita cooks a splendid meal and we annoy the neighbours by playing guitar late into the night. Cars and guitars, what could be better!
So I had pre-ordered most of the parts that I needed, this included splashing out on a proper crimping tool for the battery terminals. This was worth every penny, as I knew that after this job, I would have a few more terminals to fit when I connected up the leisure batteries. The crimper gave us beautiful hexagonal crimps which were not going anywhere, Phil, of course , insisted that we solder them in as well just to be sure! – if a job is worth doing……….
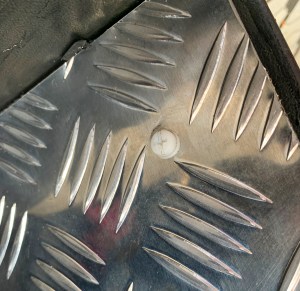
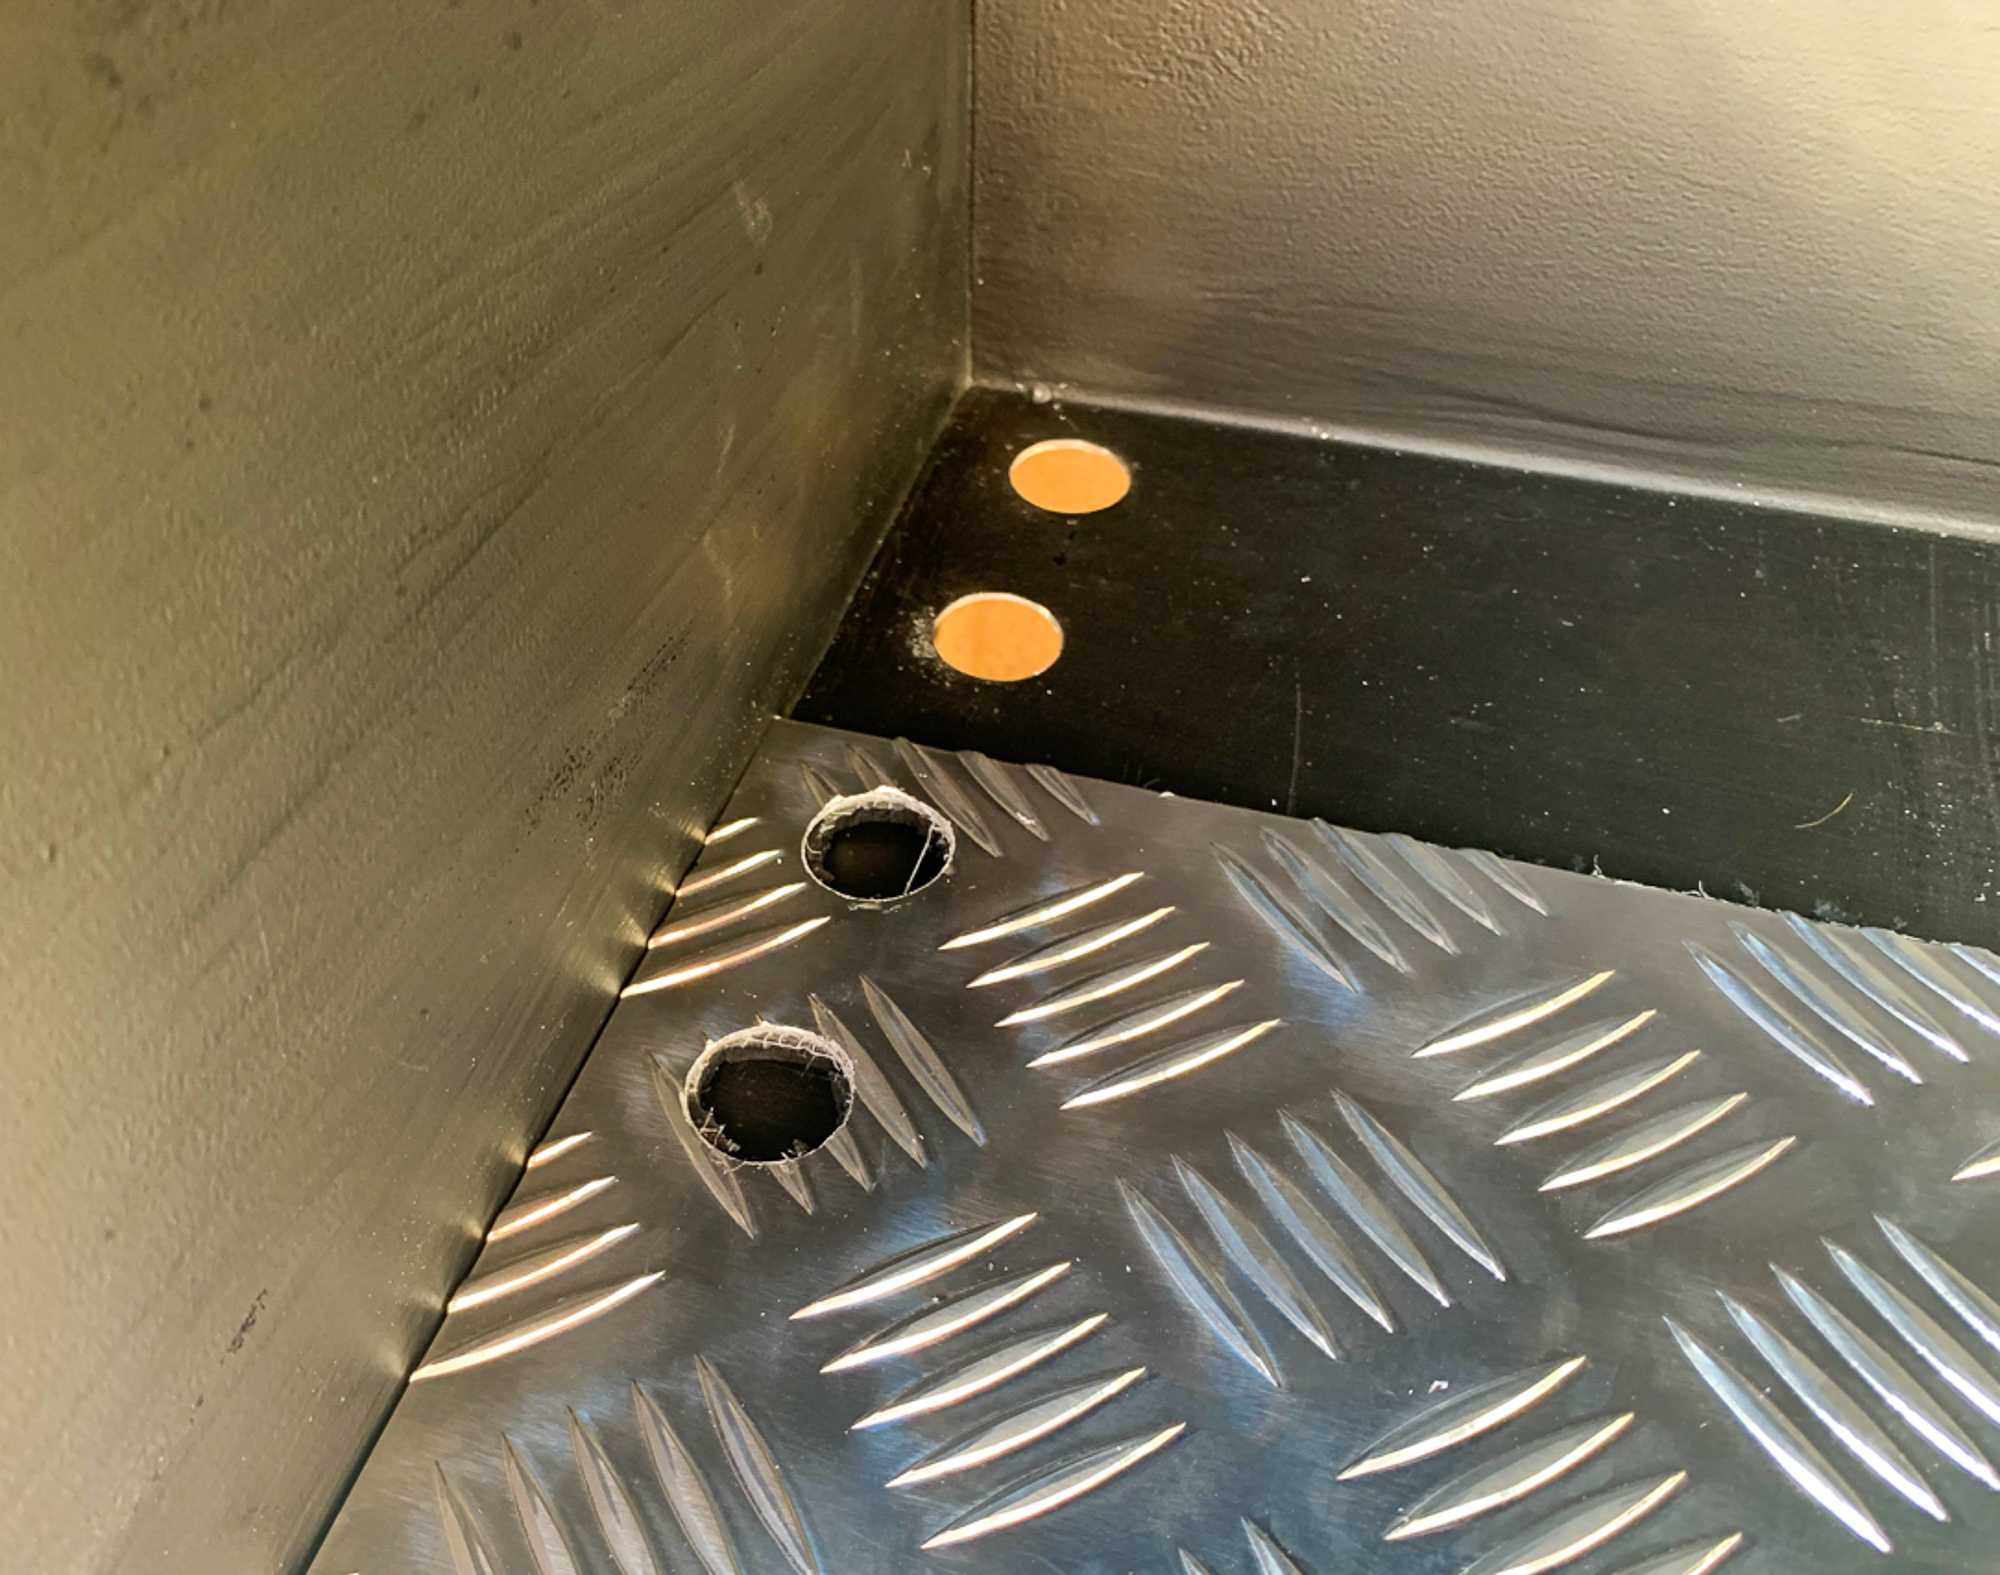
I gave the inside of the side locker a coat of Buzz Weld chassis paint to keep any rusting at bay and lined the bottom with some chequer plate with a layer of neoprene between that and the floor of the locker. Hole were drilled to bring the new cable up into the locker and filed down so that there were no sharp edges, grommets were fitted and just to be sure, the cable had some conduit fitted for added protection.

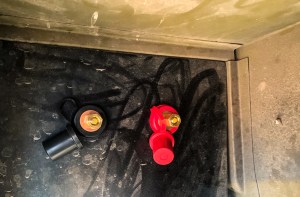
I had found some battery jump posts on the Car Builder Solution web site and wanted to fit these to provide a remote charging and jump start option. This would mean that I would not have to open the side locker to reveal the position of my battery to anyone that might want to make off with it!
After looking at a number of options, Phil and I decided to drill through the right hand wall of the side locker, so that the posts would be available, but hidden in the the rear wheel arch.
We left some slack in the new main cable to the starter so that I could bring the cable into the passenger compartment later on, to connect up to the isolator which would be near to the gearbox tunnel on the passenger side. We did not do it now as the seat box will have to come out when the second fuel tank is fitted. (another excuse to use my crimping tool).
I fitted a couple of anchor plates to retain the battery and a strap from Webbing Buckles Straps Ltd and connected it all up, a couple of “P”clips to keep everything tidy and job done.

Oh and finally, because we were using aluminium chequer plate and the locker was steel, Phil suggested using nylon fixing to avoid corrosion in the future – attention to detail is important!