Whilst there are other jobs to do on the Perentie, a couple of these are quite big projects and installing the cameras is something that I can be getting on with in the meantime. Also, you cannot really see out of back when reversing and with the extended chassis at the rear, it is easy to bump into things……..so safety first.
Also the installation will involve running and connecting some further wires, so I want to get this out of the way before finally putting the dash back together. I would like to say “finally”, but it will alway need to be dismantled again for some reason. Also, some of the wires need to be run from the front (dashboard and the shelf about the windscreen), to the rear of the vehicle behind the trim above the windows; so a time consuming task.
Also, I had done the research and had all of the parts that I needed.
I decided to run with the reverse camera linked to the Pioneer head unit because of the screen size/resolution,(See a previous post). The inexpensive dash cam purchased from Amazon which had the additional rear camera that records, would be useless for reversing due to poor resolution and the fact that the display is only 25% of the tiny screen on the main unit; see image.

So, the dash cam needs to be on the windscreen, luckily I have a shelf above because of the Alu-Cab conversion, which avoids trailing wires from a cigar lighter. Both cameras have to have power and video feeds from there respective cameras.
So, reverse camera first, power was relatively straightforward. I undid a previously soldered joint and used a multi connector to add the ignition power feed for the camera. At the same time I added a second ignition feed which I would have to get to above the windscreen (up to the shelf), to power the dash cam. Previously I only had a permanent 12v feed above the windscreen as I thought that was all I would need!
I also added an extra ignition feed which I fed outside of the dash ready to go to the rear of the vehicle in case it was needed later.
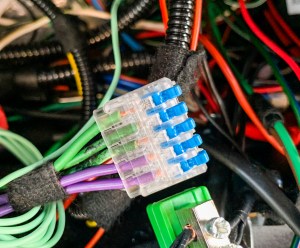
Above the windscreen I already had a permanent 12v feed powering some internal lights/CB/USB Charger etc via a fuse box. I just added another fuse box with the ignition feed in case I need to add other stuff later – I put in an additional cigar lighter charger as I had one on the shelf.

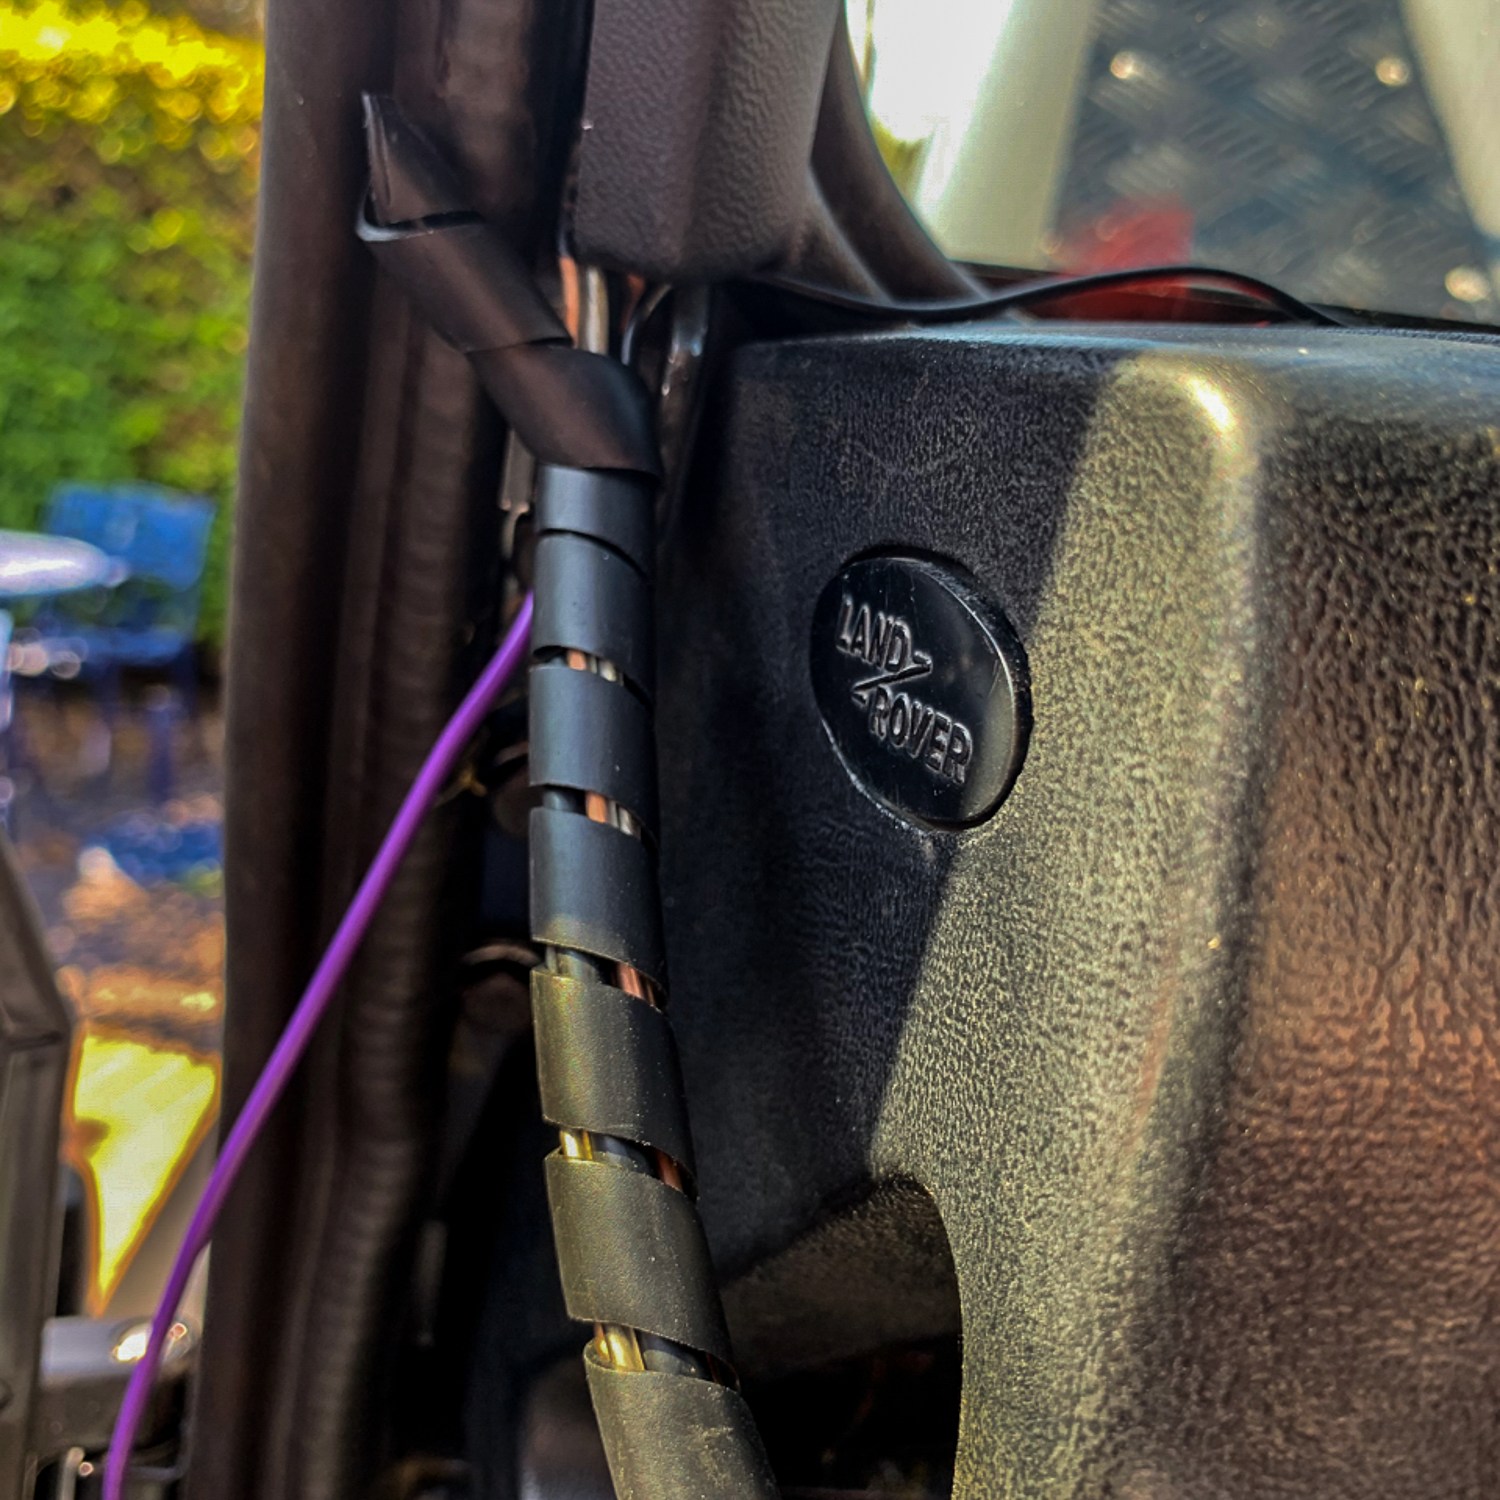
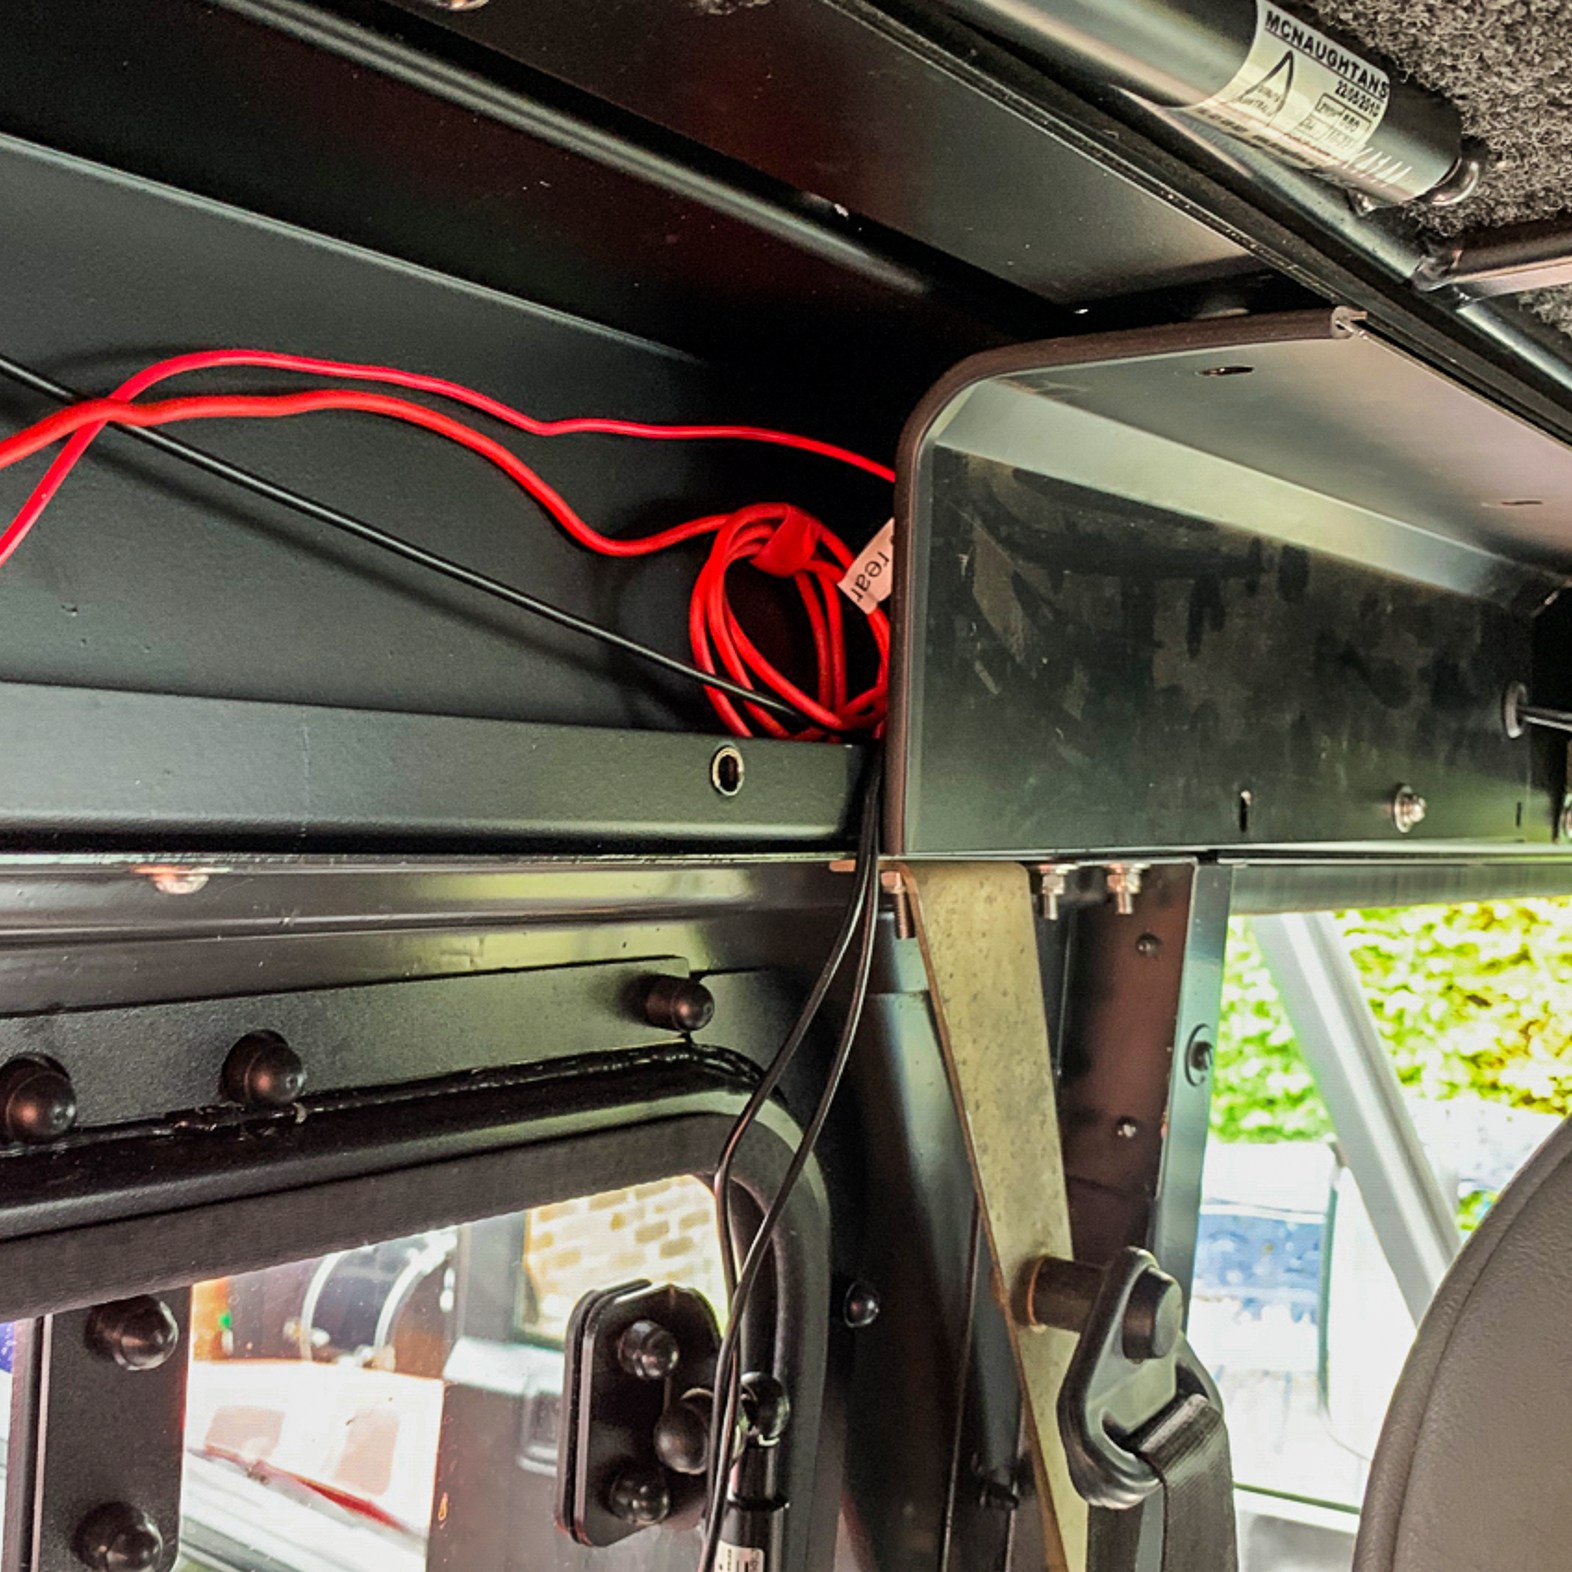
The reversing camera then needed an RCA connection into the head unit – the camera lead needed to go to the back of the vehicle up the inside of the A post and along above the windows to the rear. The dash camera gets its power from the aforementioned fuse box and the camera connection has to make the same journey as the Reversing Camera, apart from the journey up the “A” post at the camera is already on the shelf.
The reversing camera had a fixed connector on it, and it was touch and go whether I could squeeze the fitting through a small gap where the windscreen shelf met the Alu-Cab roof – it just fitted.
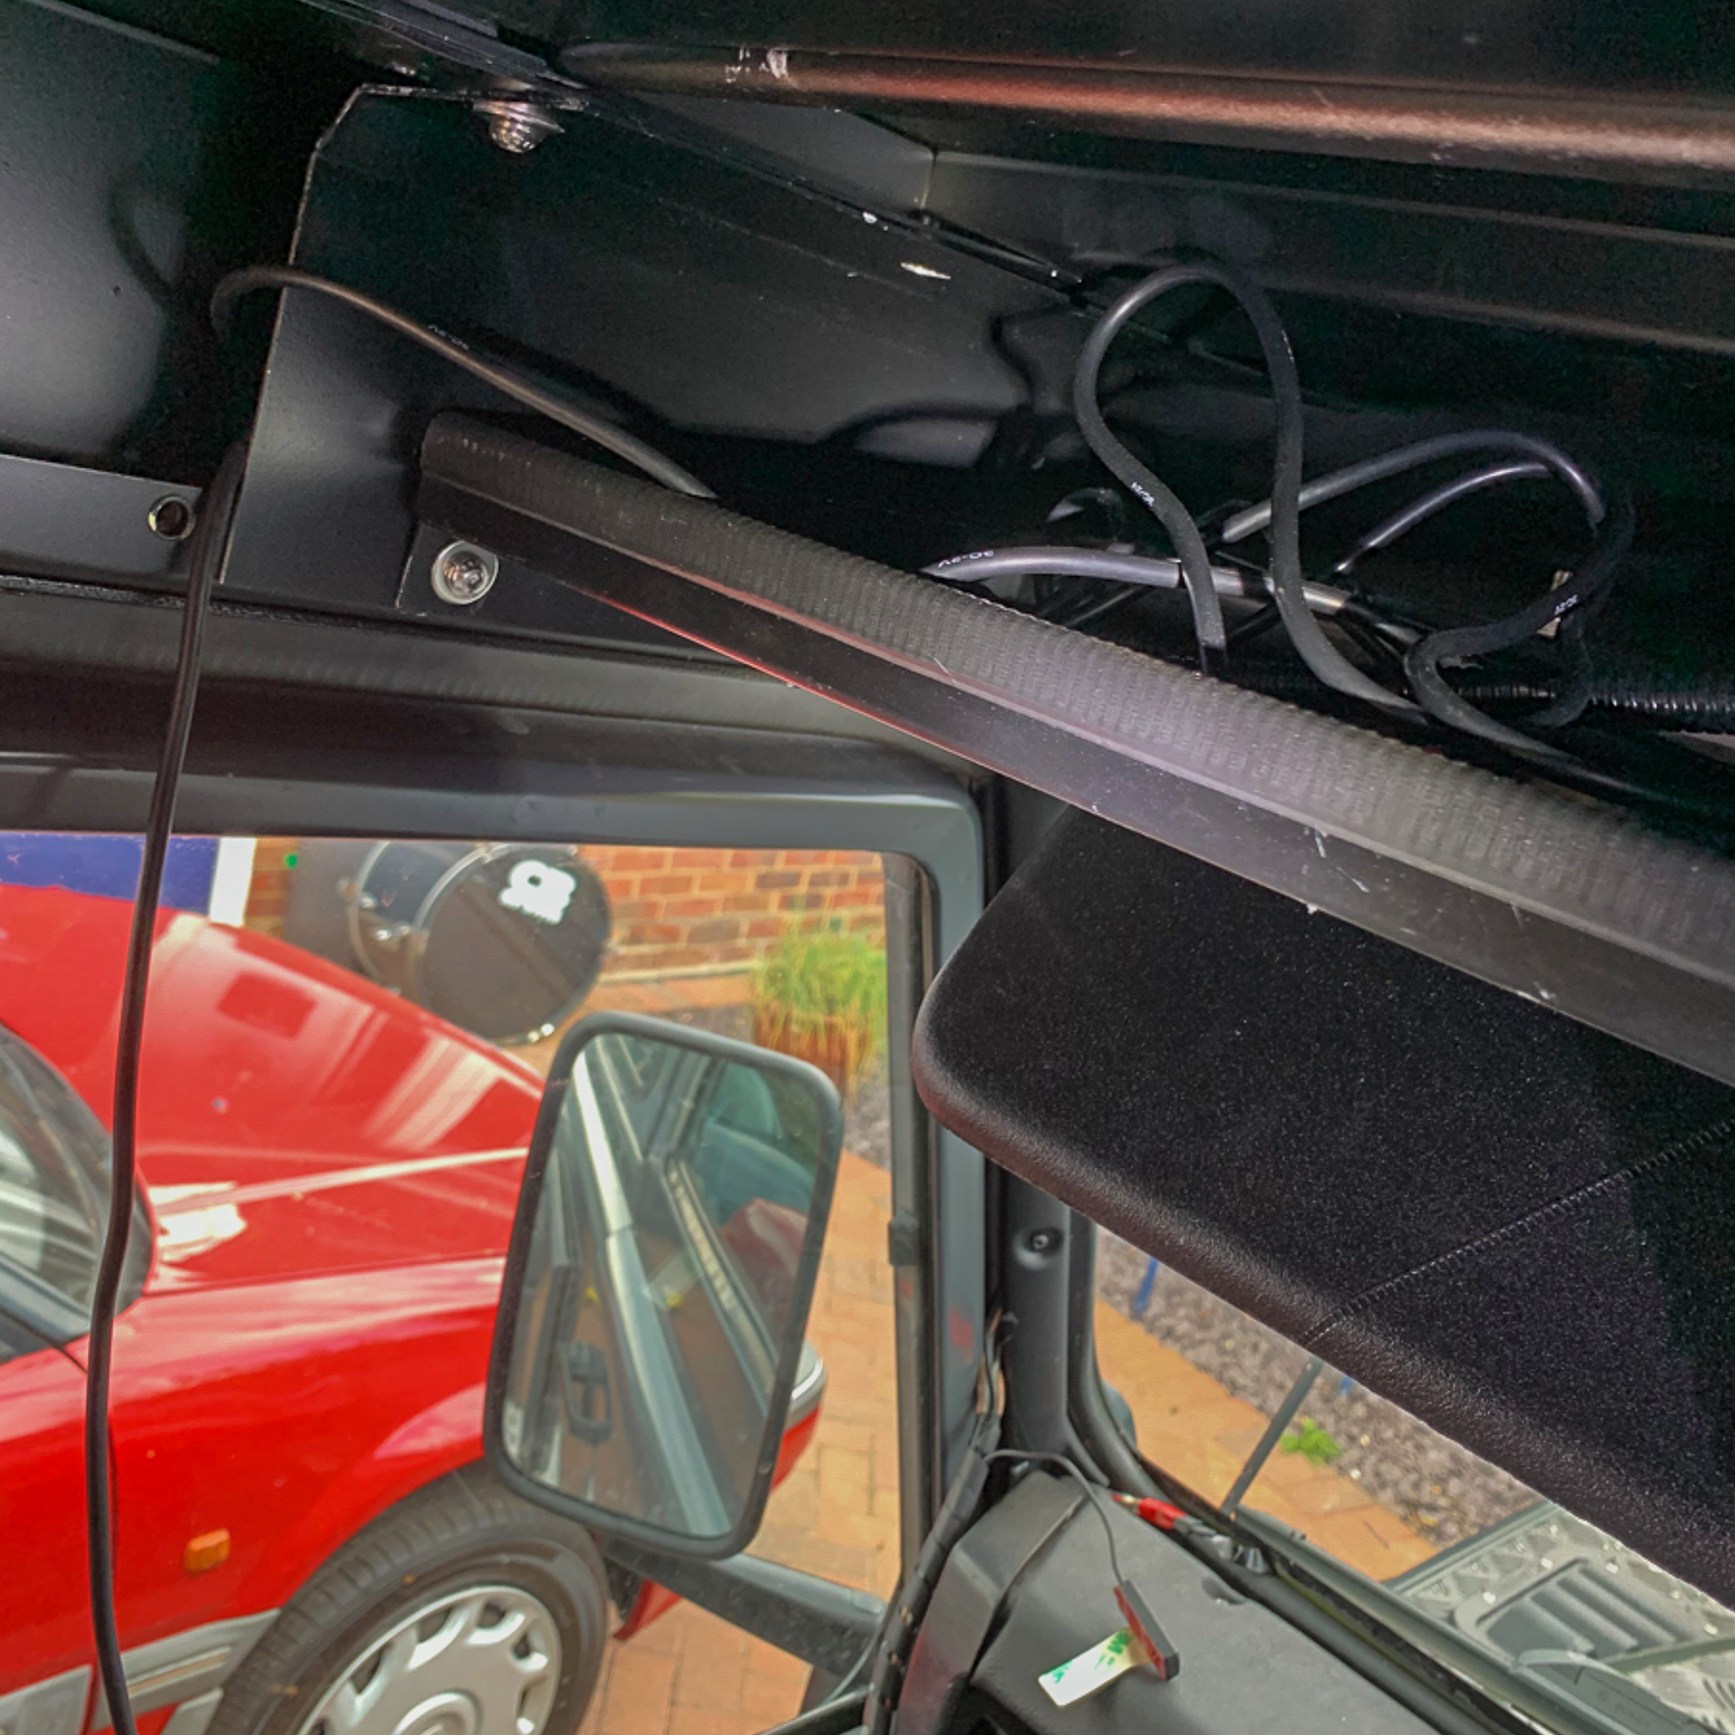
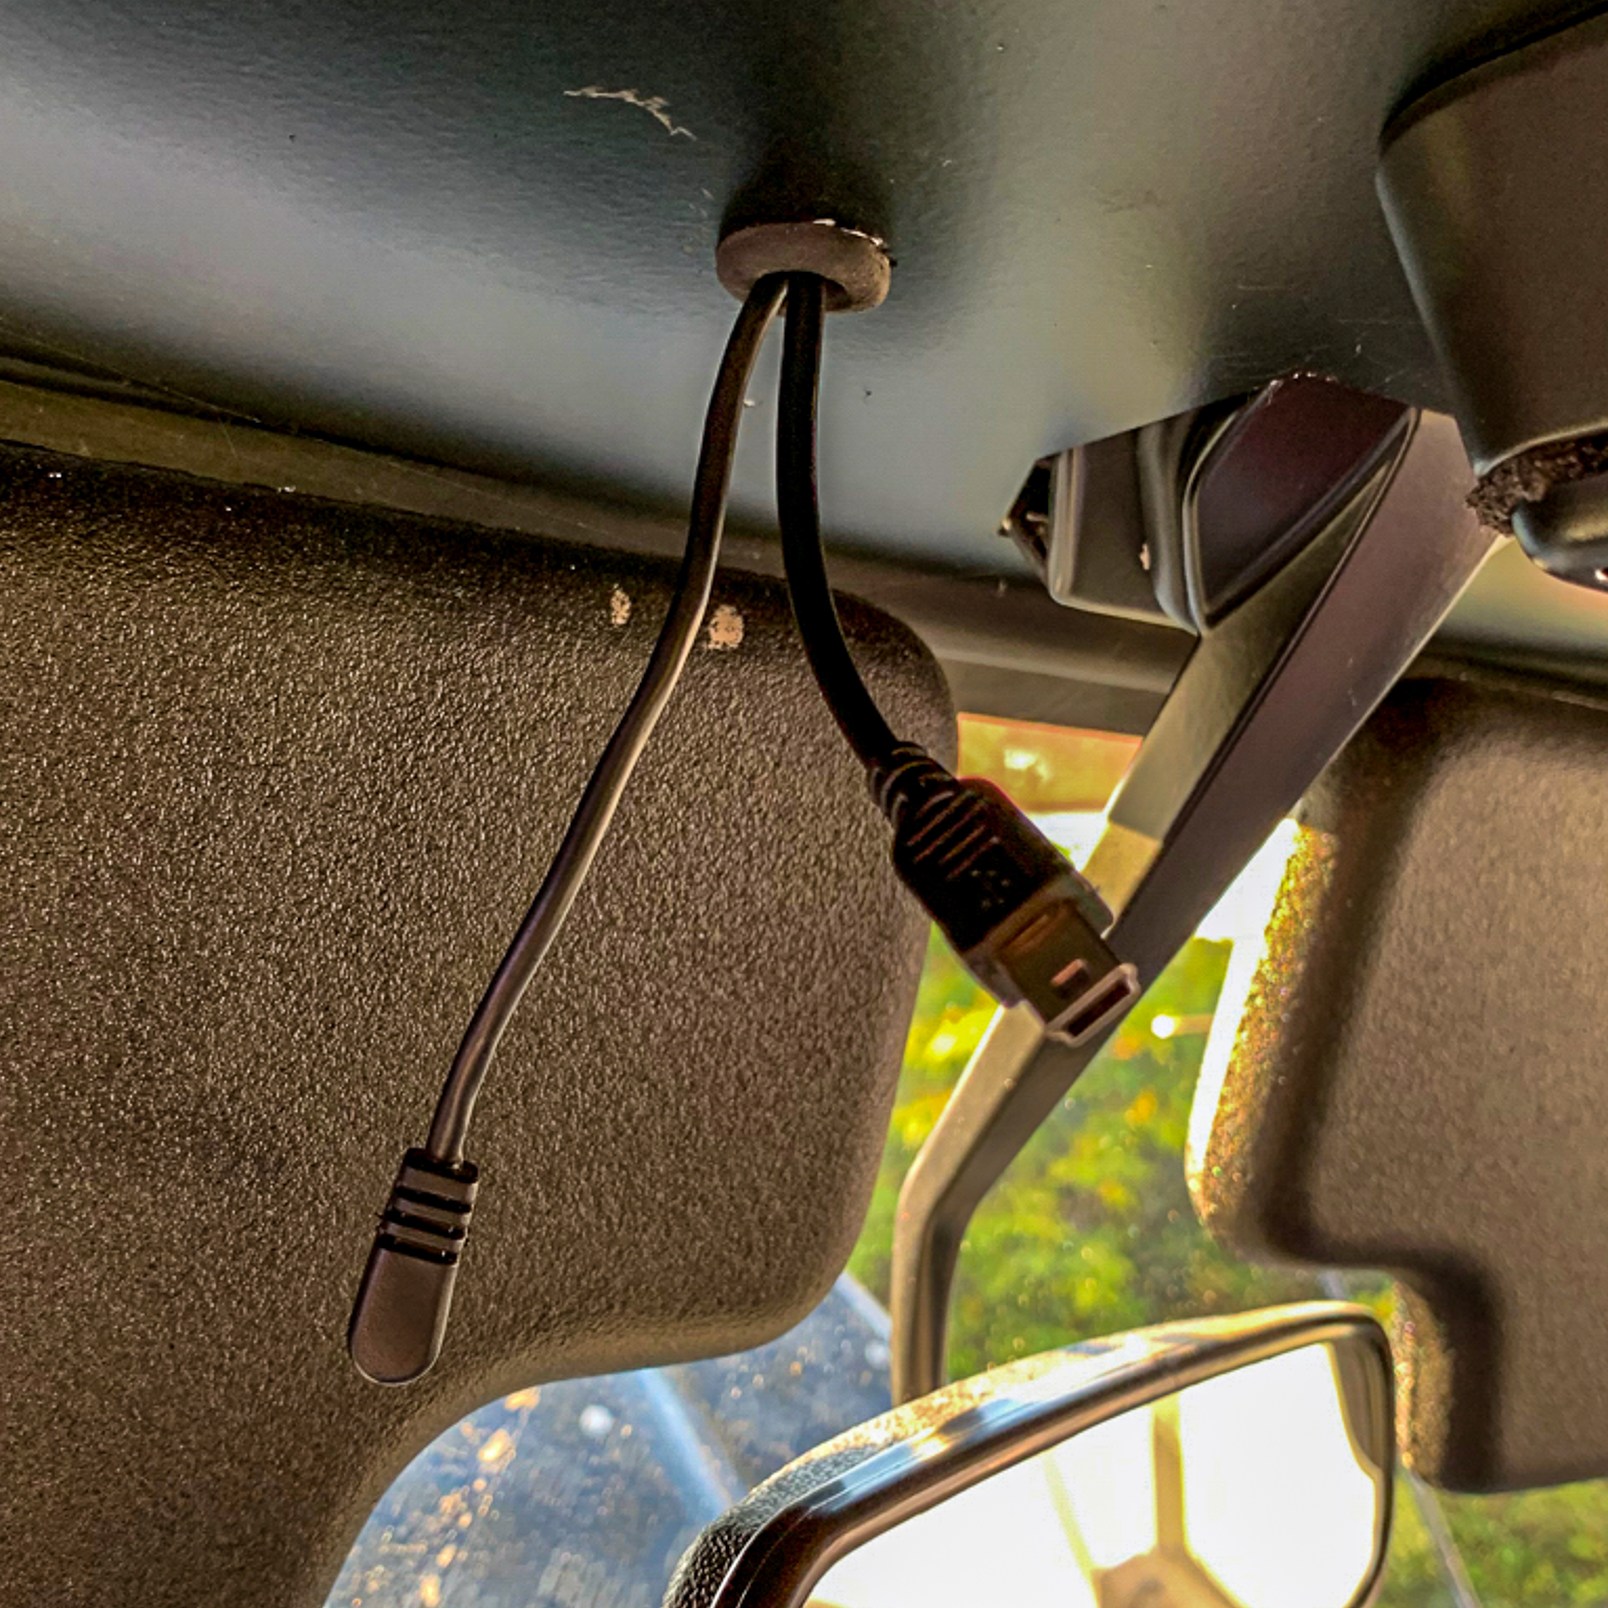
I then needed to drill through the upper shelf to get the power (usb) and camera feed to the dash camera.
Front wiring done I had to decide where to position the cameras at rear. I already had some holes from the previous installation so wanted to use these as far as posssible…………….not happening.

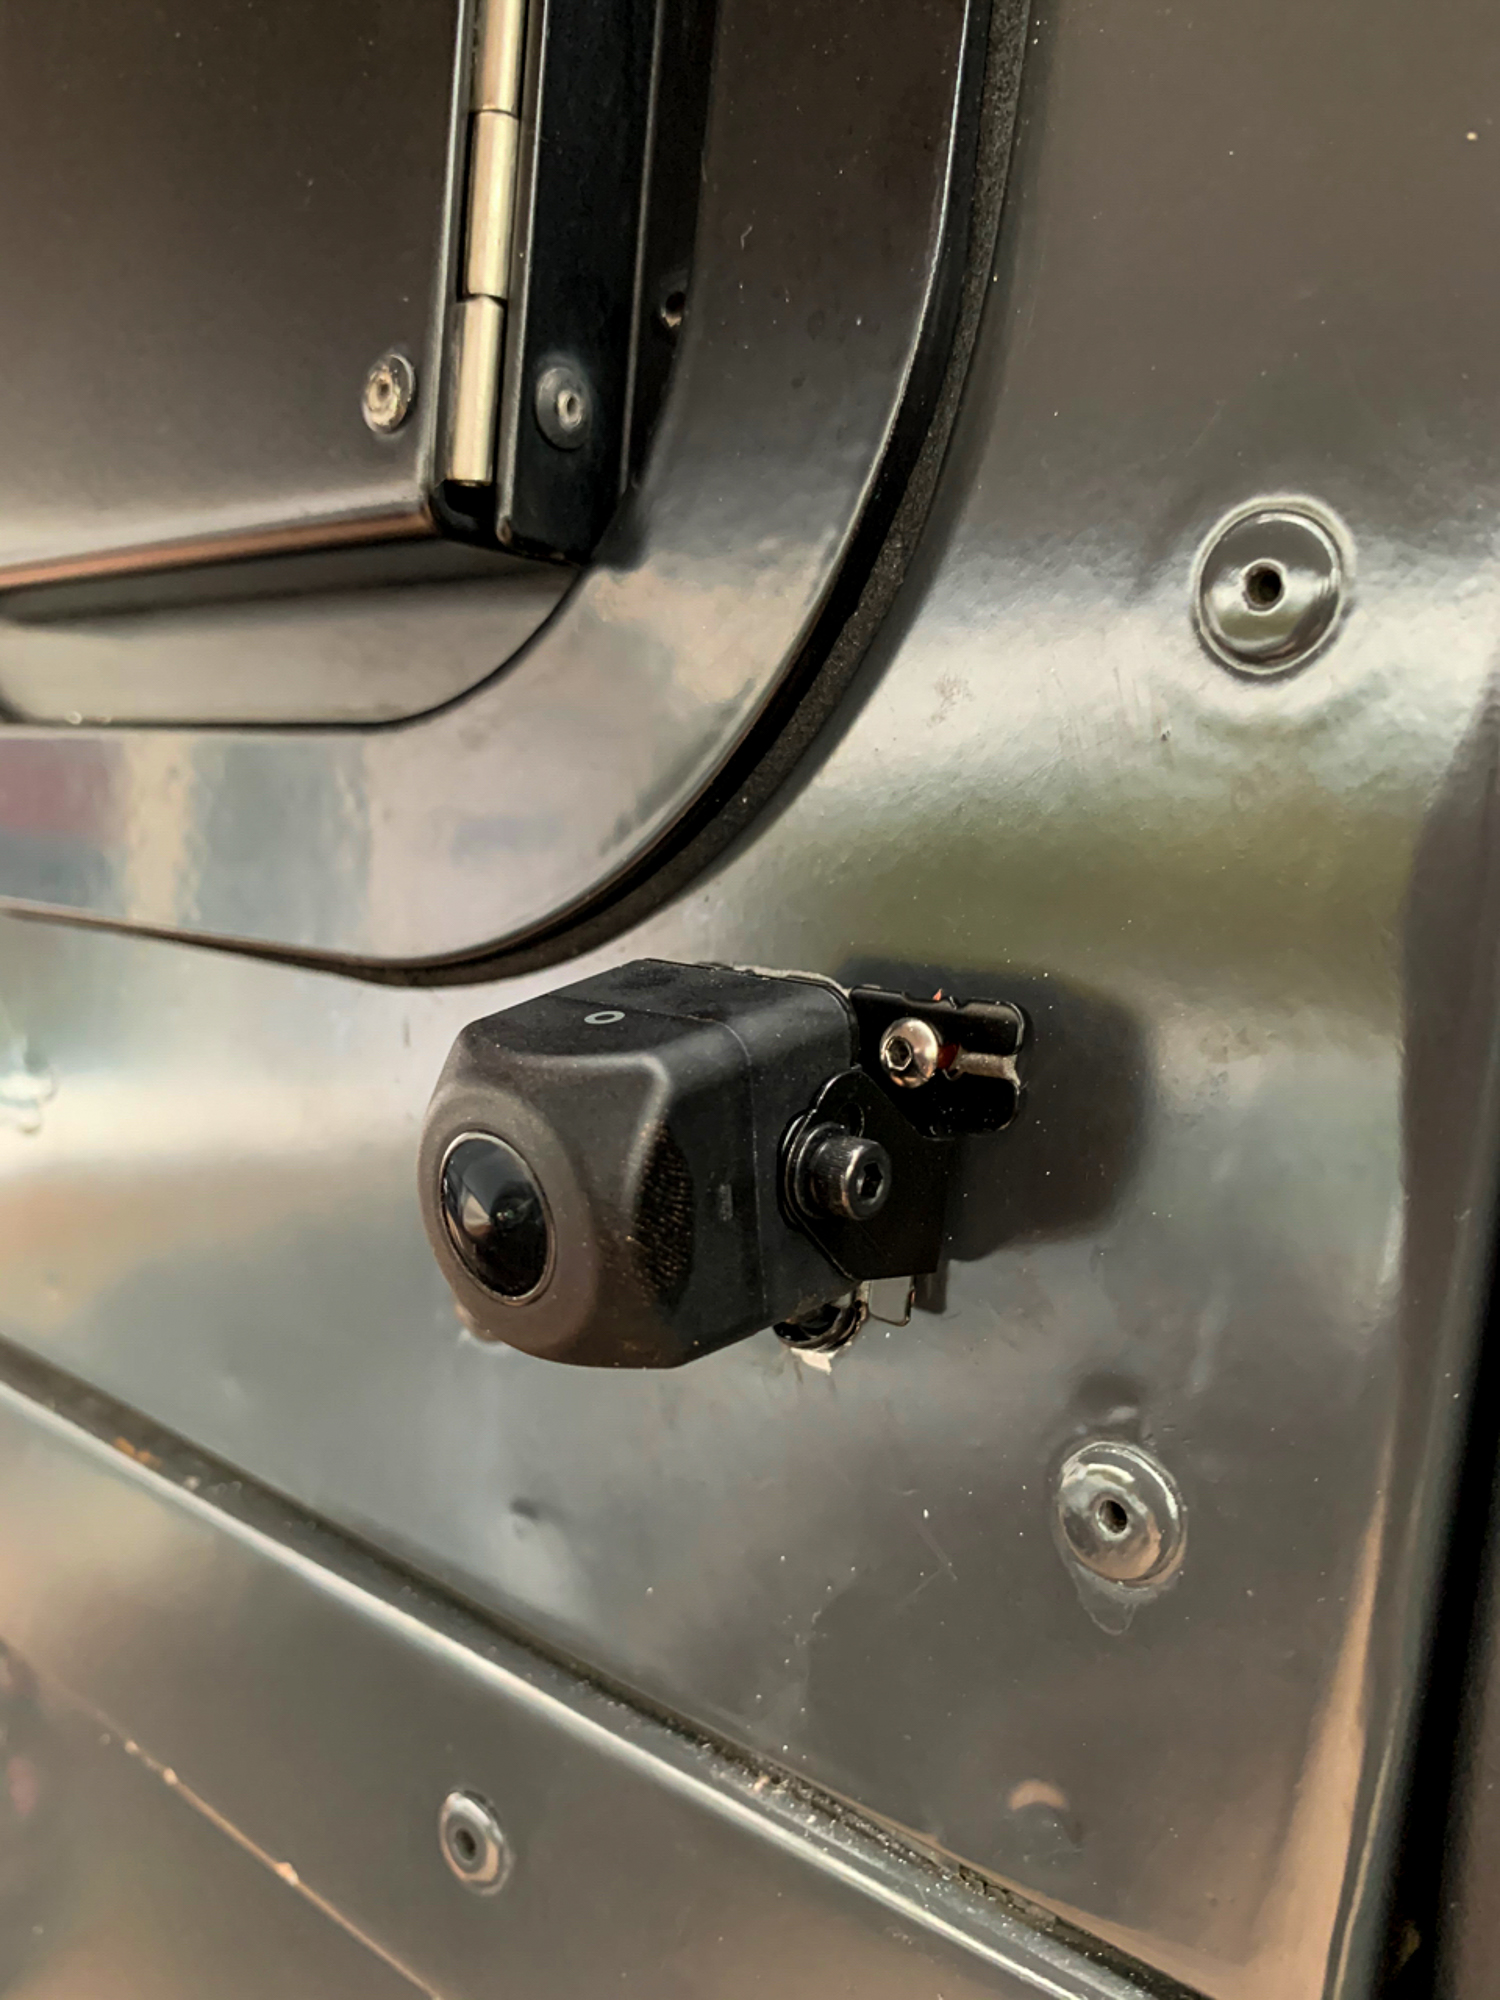
Nothing was in the correct place so I decided to mount the reversing camera just above the horizontal centreline of the vehicle; any lower and the image would pick up the jerry can holder fitted to the bumper.
Note the protection around the cable to prevent chaffing, there is also more protection in the hole which will ultimately be fickle with sika-flex for waterproofing.

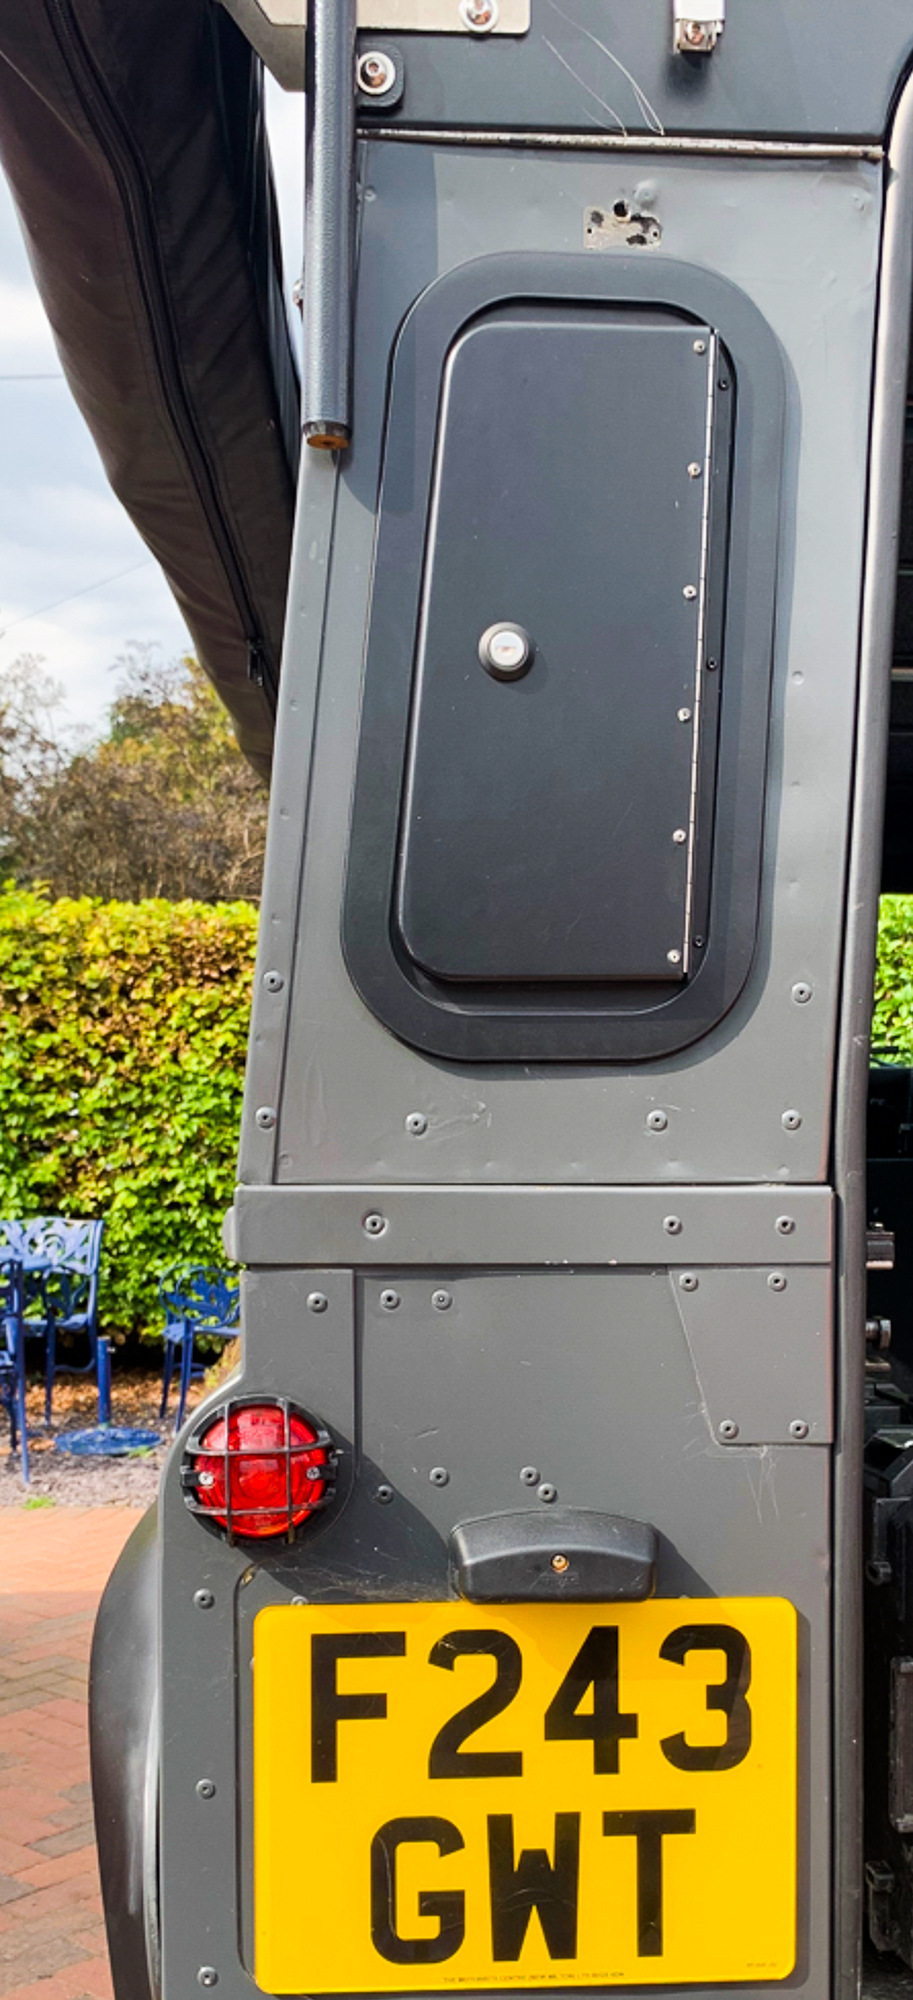
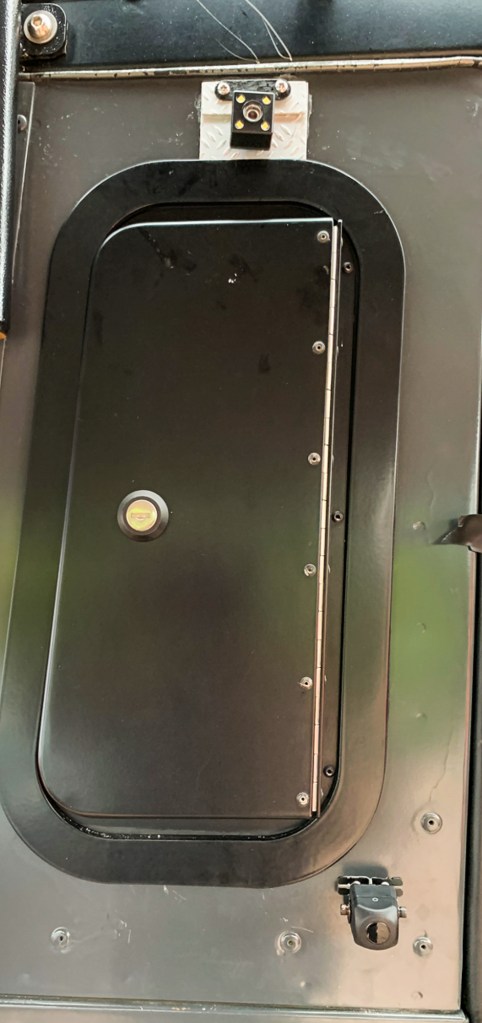
I intended to use the old mounting points for the dash camera. In the end I had to block off the old holes with checker plate, seal with sika-flex and start again.
The mount supplied with the dash camera was not great, so I sprayed it with primer and added a thick coat of “chassis black” to ward of the dreaded rust.
I decided to mount it higher as it really needs a wider angle view of the road at the rear of the vehicle and a good view of what is gong on, rather than the focused image that you need for reversing.
Anyway, after a load of hard work and problem solving, it all works!
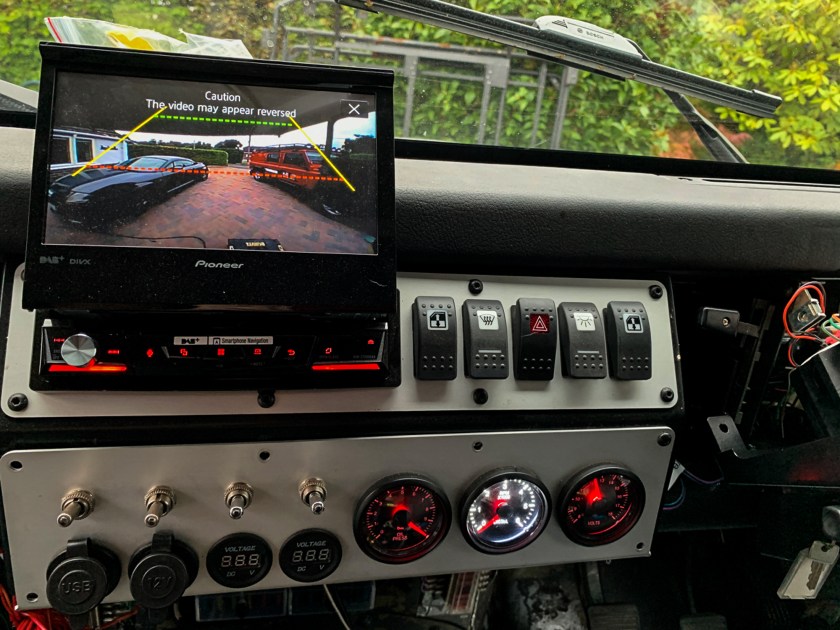
Just need to amend the green and red guide lines to suit. However it seems to clear these every time the battery is disconnected, so this can wait!
