I fitted a CB Radio ages ago, when I was running wires to the shelf above the windscreen.
I mentioned this in the Camera Post, but it is impossible to run wires with connectors from the top shelf around and along the side of the vehicle so they cannot be seen, as there is insufficient space to fit the connectors through where the Alu Cab roof meets the car.
So, for the camera, I routed the cables around the outside of the shelf and drilled through the cover panel, so it was hidden for most of its run.
Initially for the CB Aerial, I cut the cable so I could run the wire hidden and then joined it using a standard co-axial connector. However, the supplied wire has thin stranded cable in the centre so it is difficult to get a good connection into the centre of the co-axial connector; the same situation when you join it to the back of the aerial bracket.
Learning from the camera installation, I decided to re-do the CB aerial connection and bought a new cable that would run from the radio around the outside of the shelf, and through side of the vehicle and plug directly into different type of aerial mount – no joins so hopefully a better ground plane. The Scan Strut Seal mentioned in the “Rear Light” post would enable me pass the rather chunky PL259 plug through the side of the vehicle and still keep it waterproof.

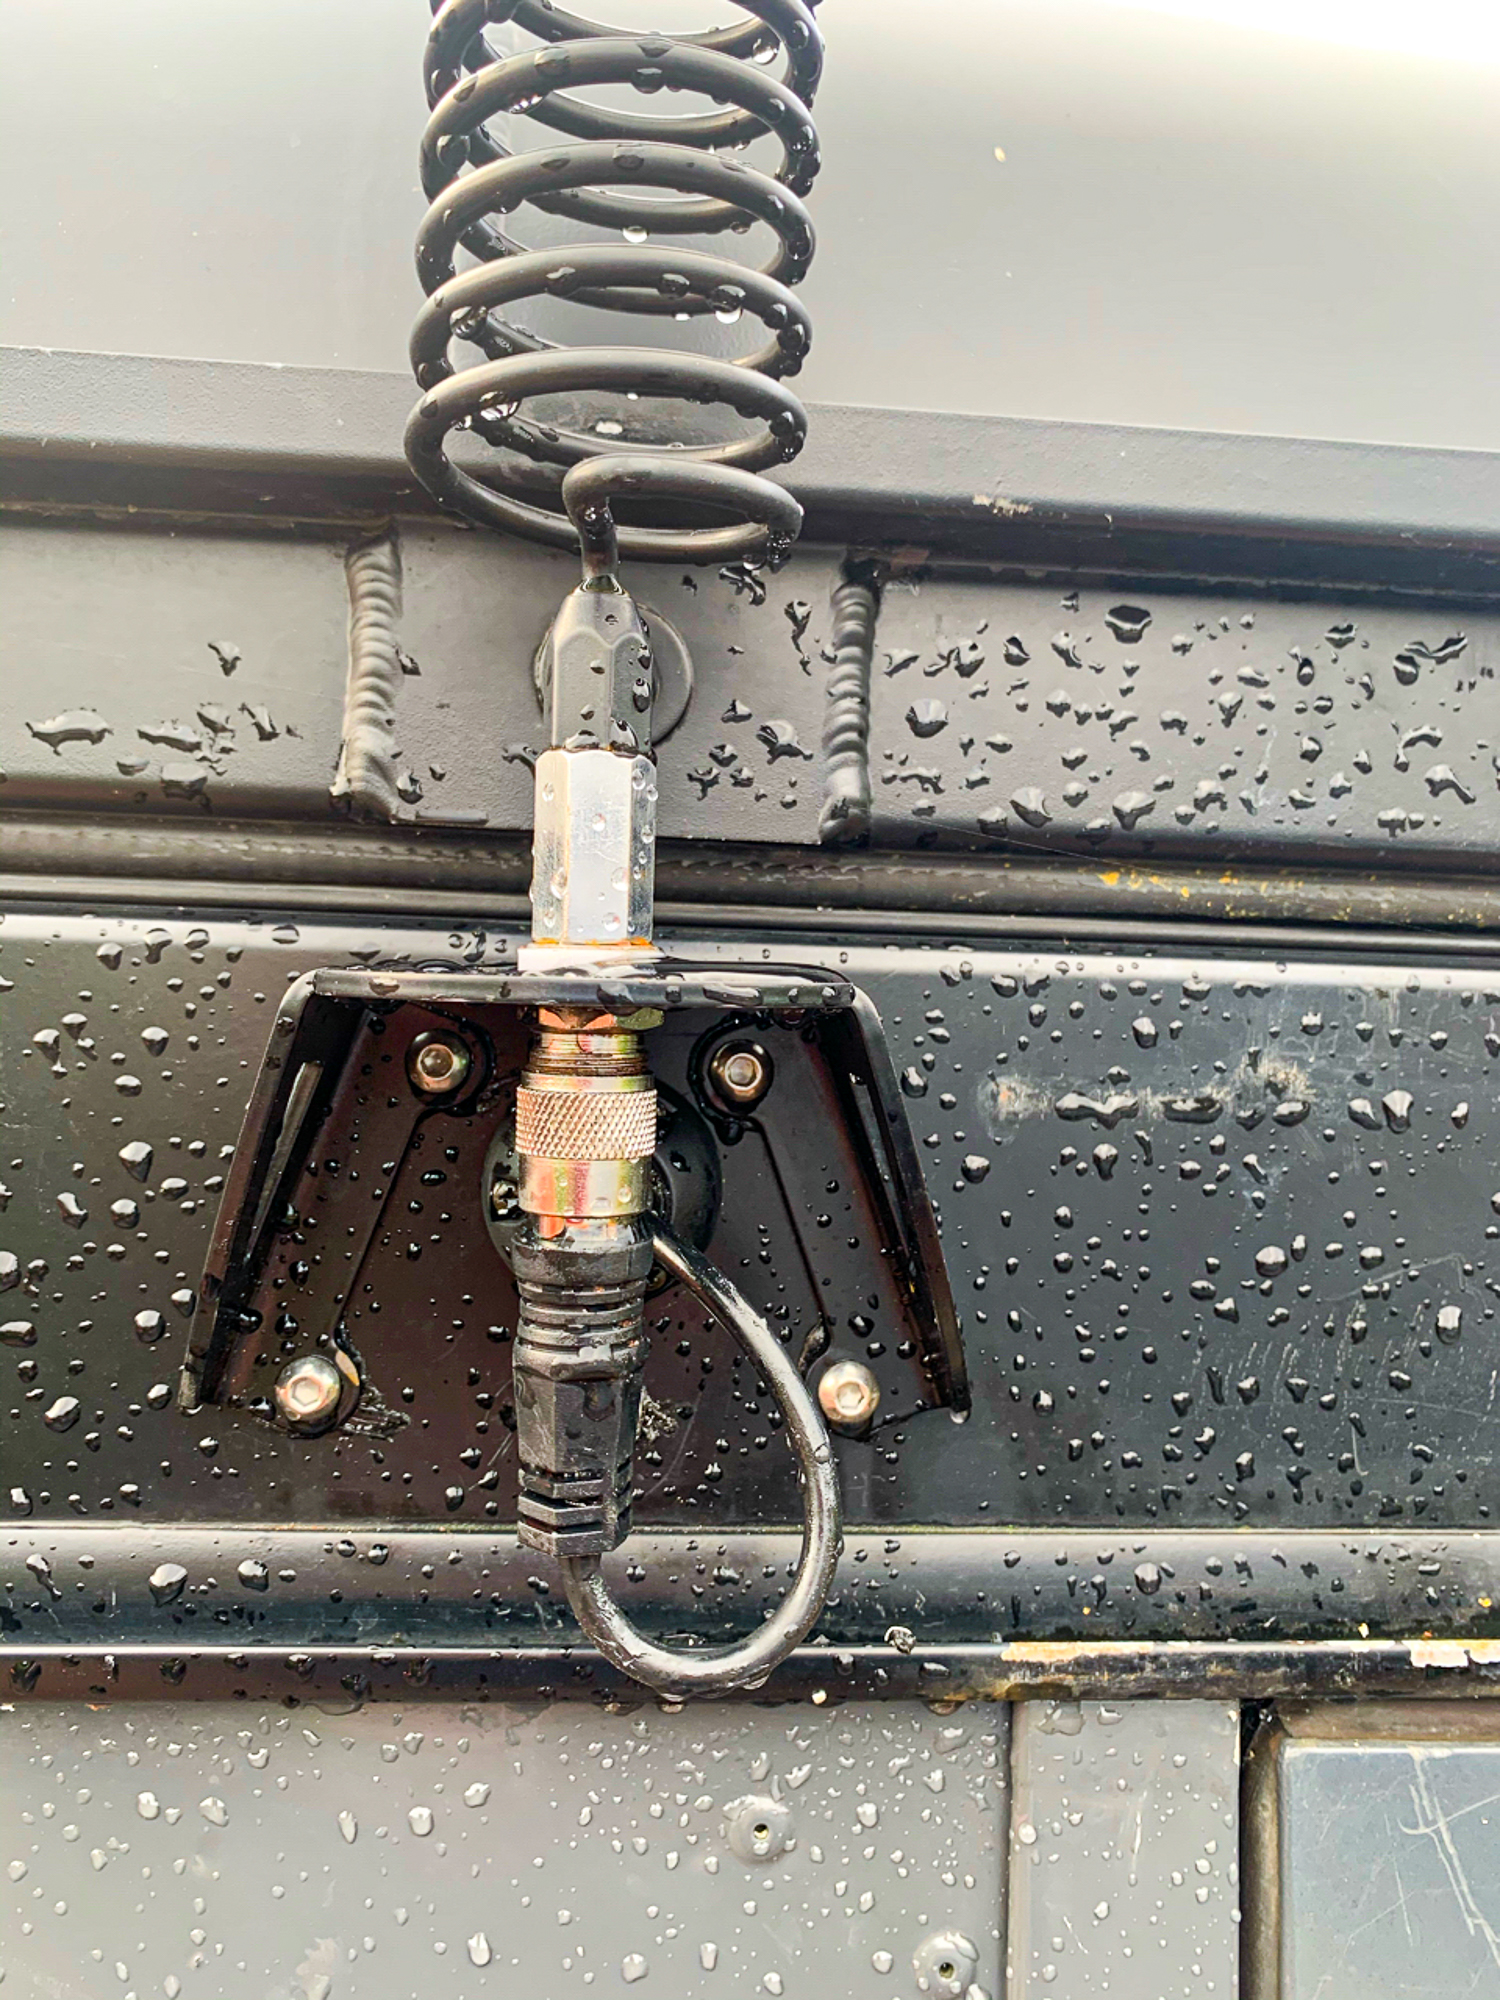
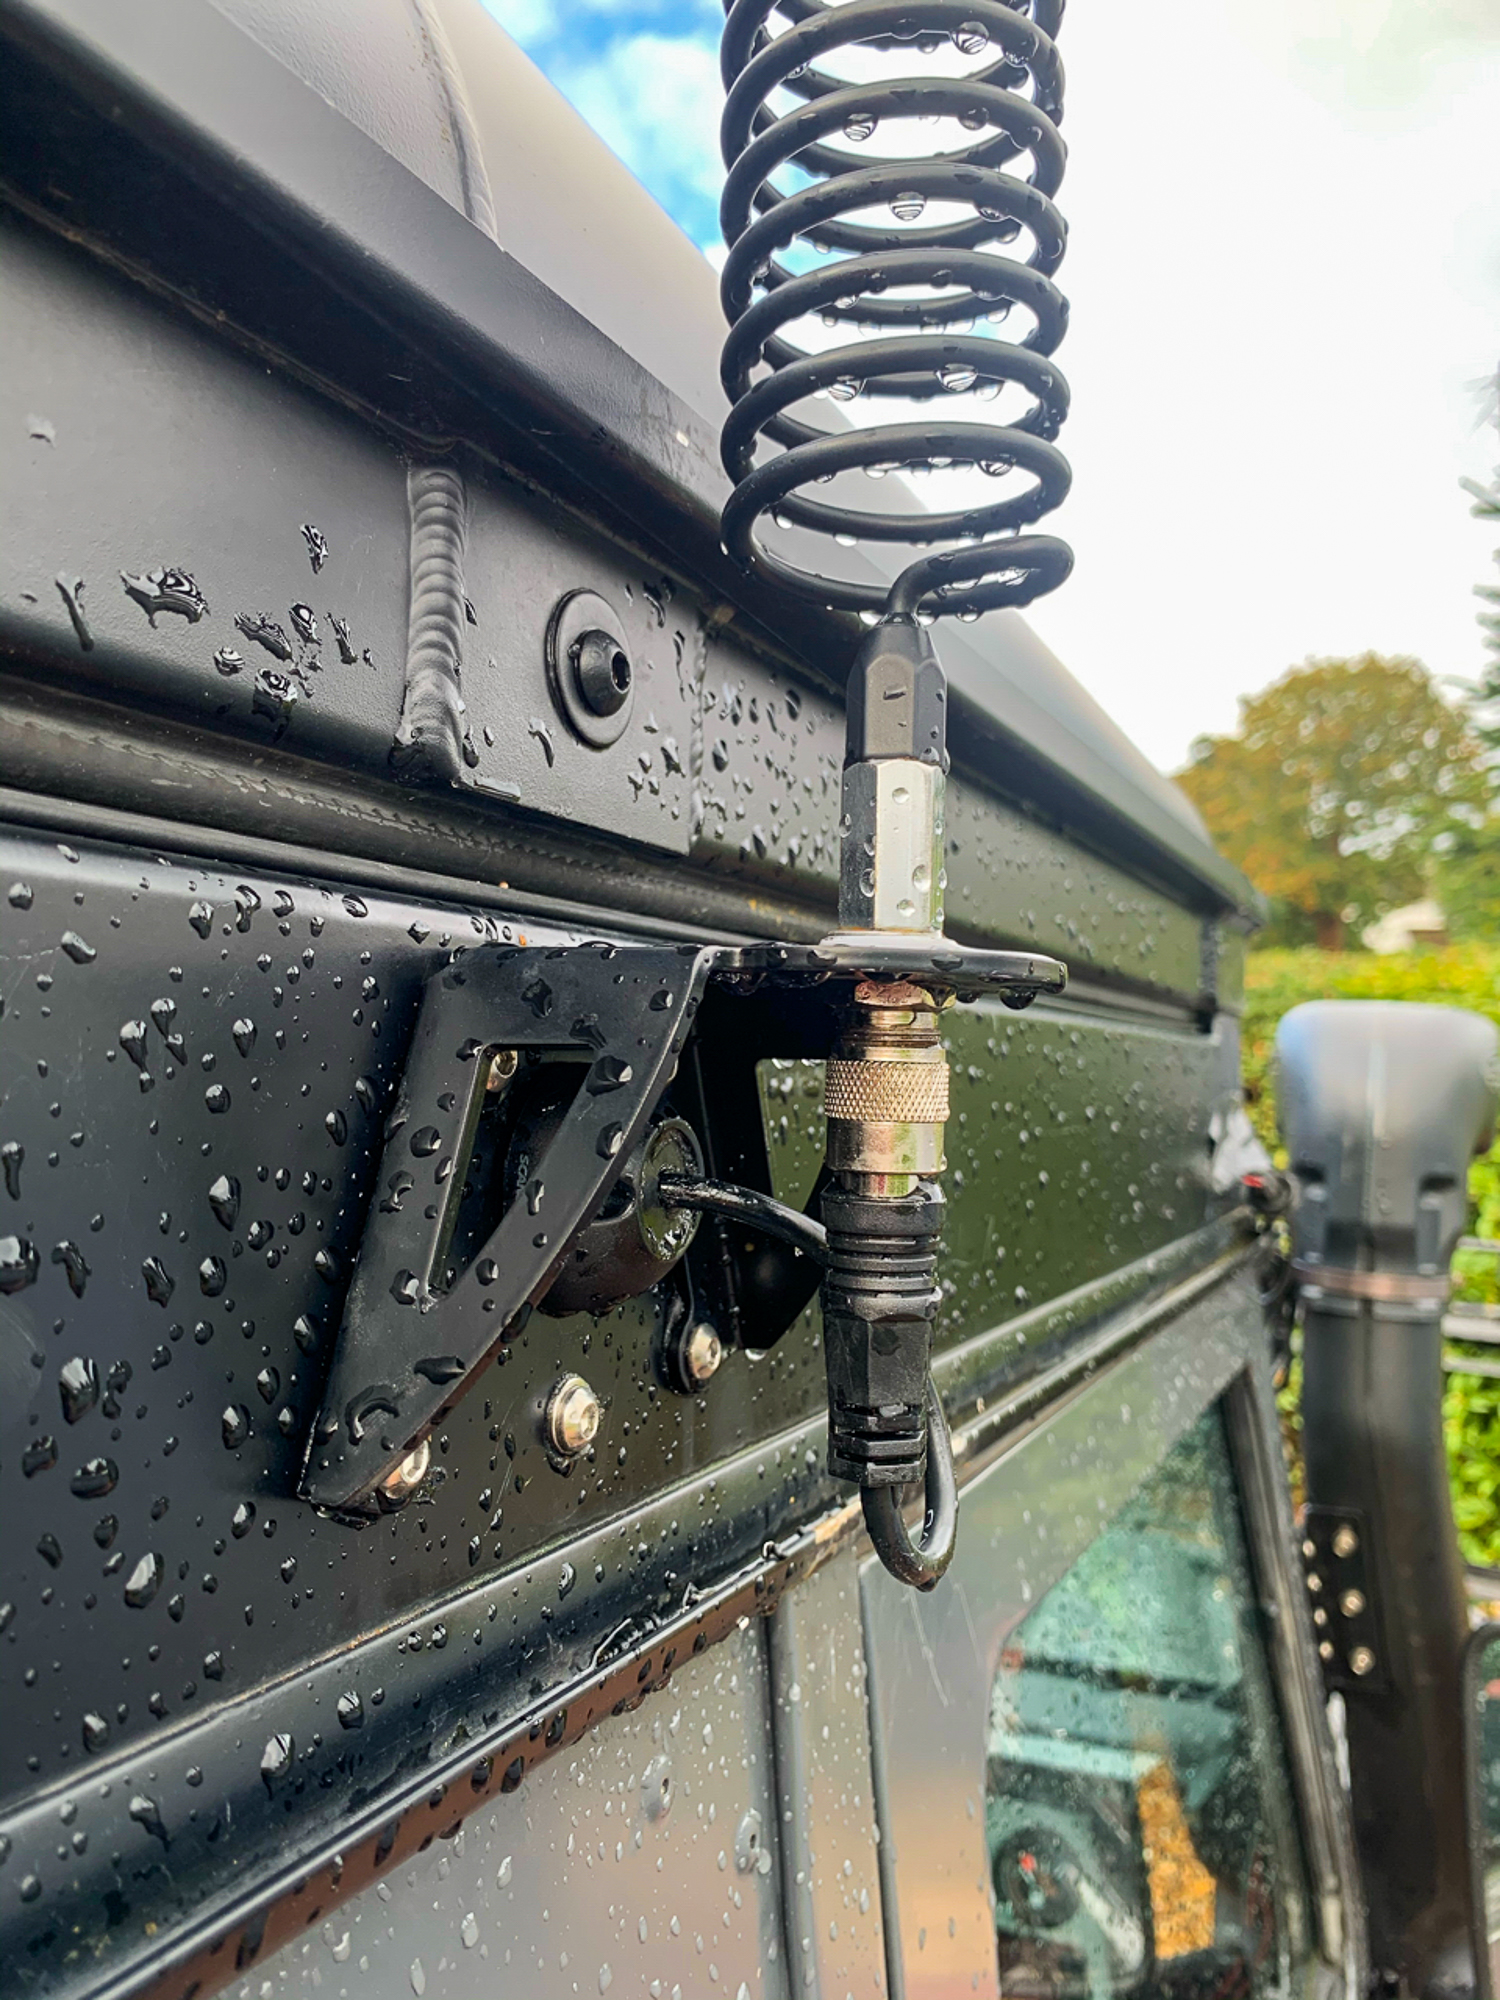
I decided to use a Thuderpole PL Stud Mount, that would fit my Mill Spec Bracket and enable the direct connection of the PL259 plug which was factory connected to the cable from the radio.
I drilled out the existing hole in the side of the car so that the PL259 plug would fit through and mounted the Mill Spec Bracket – all very neat. All I need to do now is pass the cable through the hole and the Scan Strut Seal and we are done…………
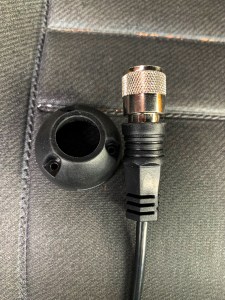
Not so…….although I had checked that the PL259 plug would fit through my hole in the bodywork, I had not checked that it would fit through the Scan Strut Seal: it didn’t! Lucky for me it was probably only 1mm diameter out; so I was able to carefully extend the diameter of the Scan Strut Seal, hopefully without compromising the waterproofing.

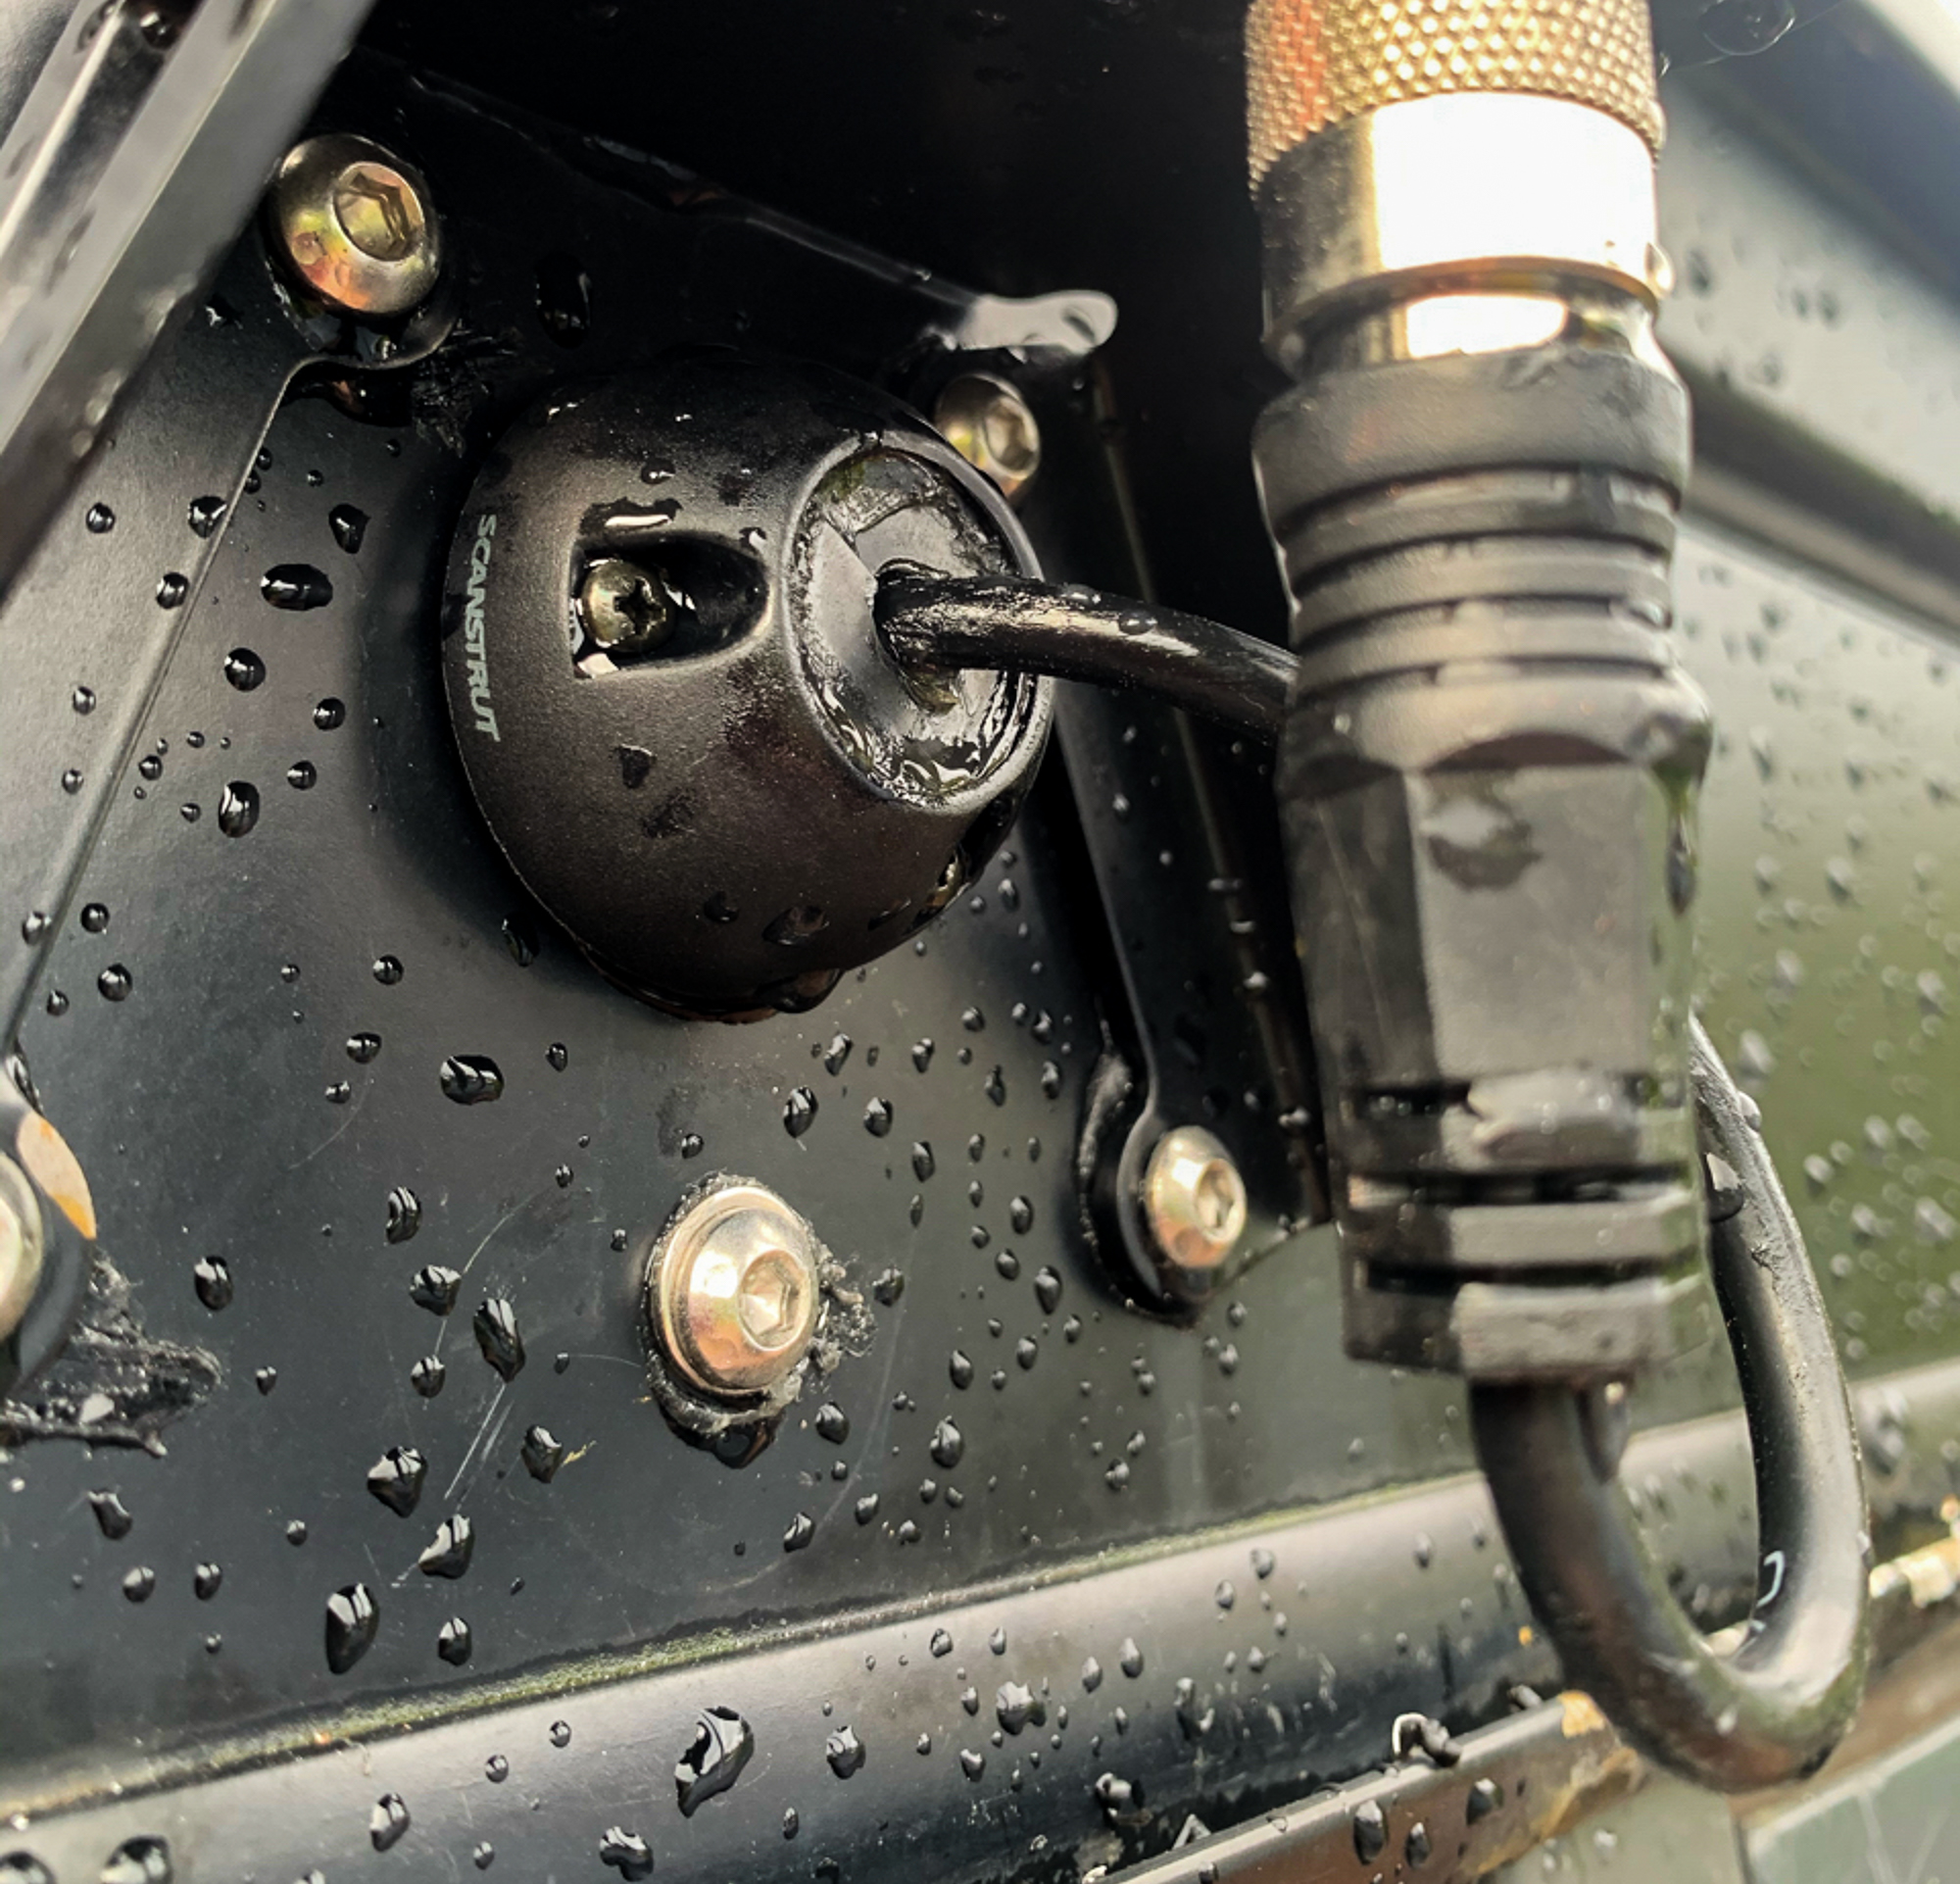
Given I had plenty of spare internal seals for the Scan Strut, I installed the main seal with a good dose of Sikaflex to make sure it was waterproof – I then added another seal from the inside – then screwed it all down………..should be fine!
The Seal Scans do come in a couple of sizes, but I had already drilled the body work and mounted the bracket and I did not want a load more holes for the larger size
I also bought an SWR meter to check the power coming back through the aerial. It was pretty good coming in at a level of 2 which is acceptable. I had scraped the paint off of the bracket to ensure a good earth (ground plane). I added a further wire from the bracket to a chassis earth to see if would improve things, but it made no noticeable difference.
We will see how it works in practice, but I am sure that it will be OK.
Oh and I need to choose my handle; Benita is “Babooshka” as used by her many years ago. Me, no idea yet – answers on a post-card……..
