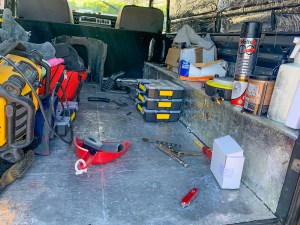
Since stripping out all of the storage units and carpet in the rear in order to cure a leak, we have done nothing than use it as a tool storage areas, and very useful it is too!
Incidentally, the leak was caused by water seeping through the rivets used to secure the hard top. Either the rivets were too small, or the holes too big. Anyway, I drilled them all out and replaced them with Stainless Steel pan head bolts with a side serving of Sikaflex.
So we have a blank canvas, so we need to do some colouring in, give us some structure, so that we can plan what the interior will look like.
I have to be aware that we have large and very secure gun case/sliding drawer that we want to use; it is a metre long and almost fills the width of the vehicle between the wheel arches. This means that we cannot put too much insulation/sound proofing at the lower level as it will not fit! We want to place this near to the back door so that the drawer opens into the outside when the back door is open. This will also serve as a step up to the bed in the roof tent.
Similarly, we have a storage unit that will sit nicely behind the front seats, this also fits snugly between the wheel arches.
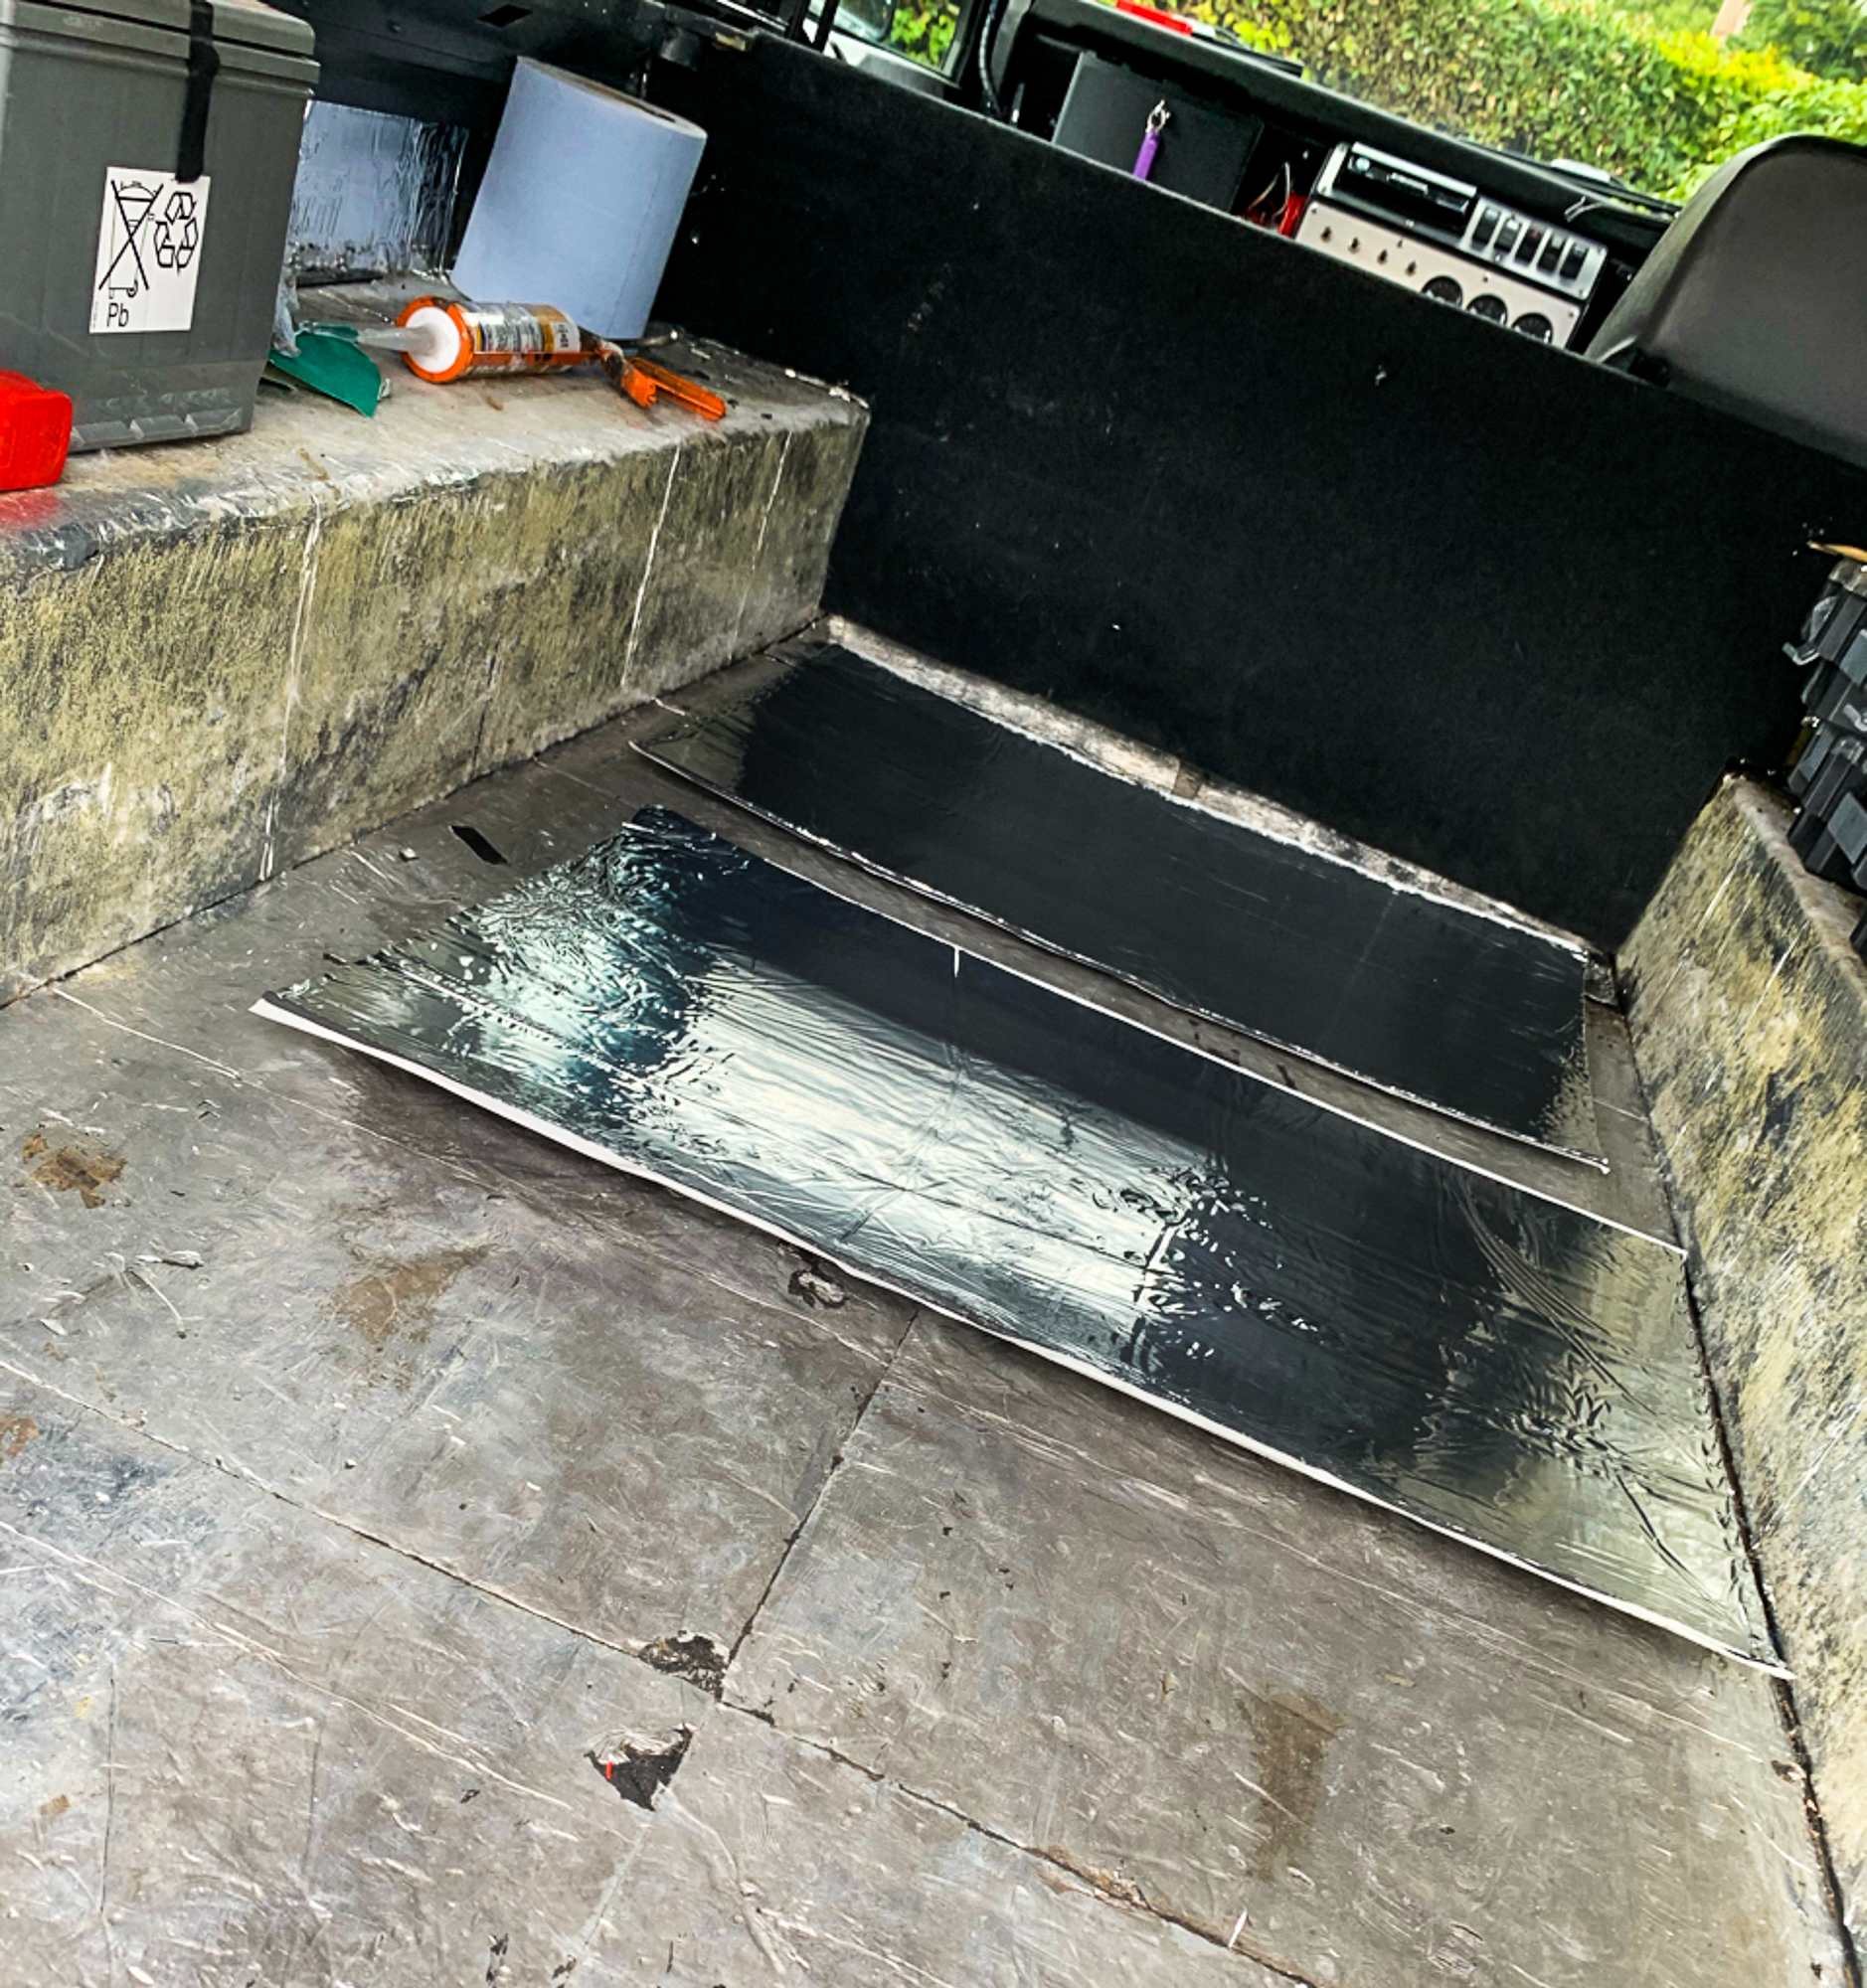
S0, lets start with the floor, there is some sound proofing there and there will be “furniture” on the top of most of it, so I decide on using Dodo Thermo Liner, which is insulation with sound proofing properties and quite thin – a very good product and very sticky.
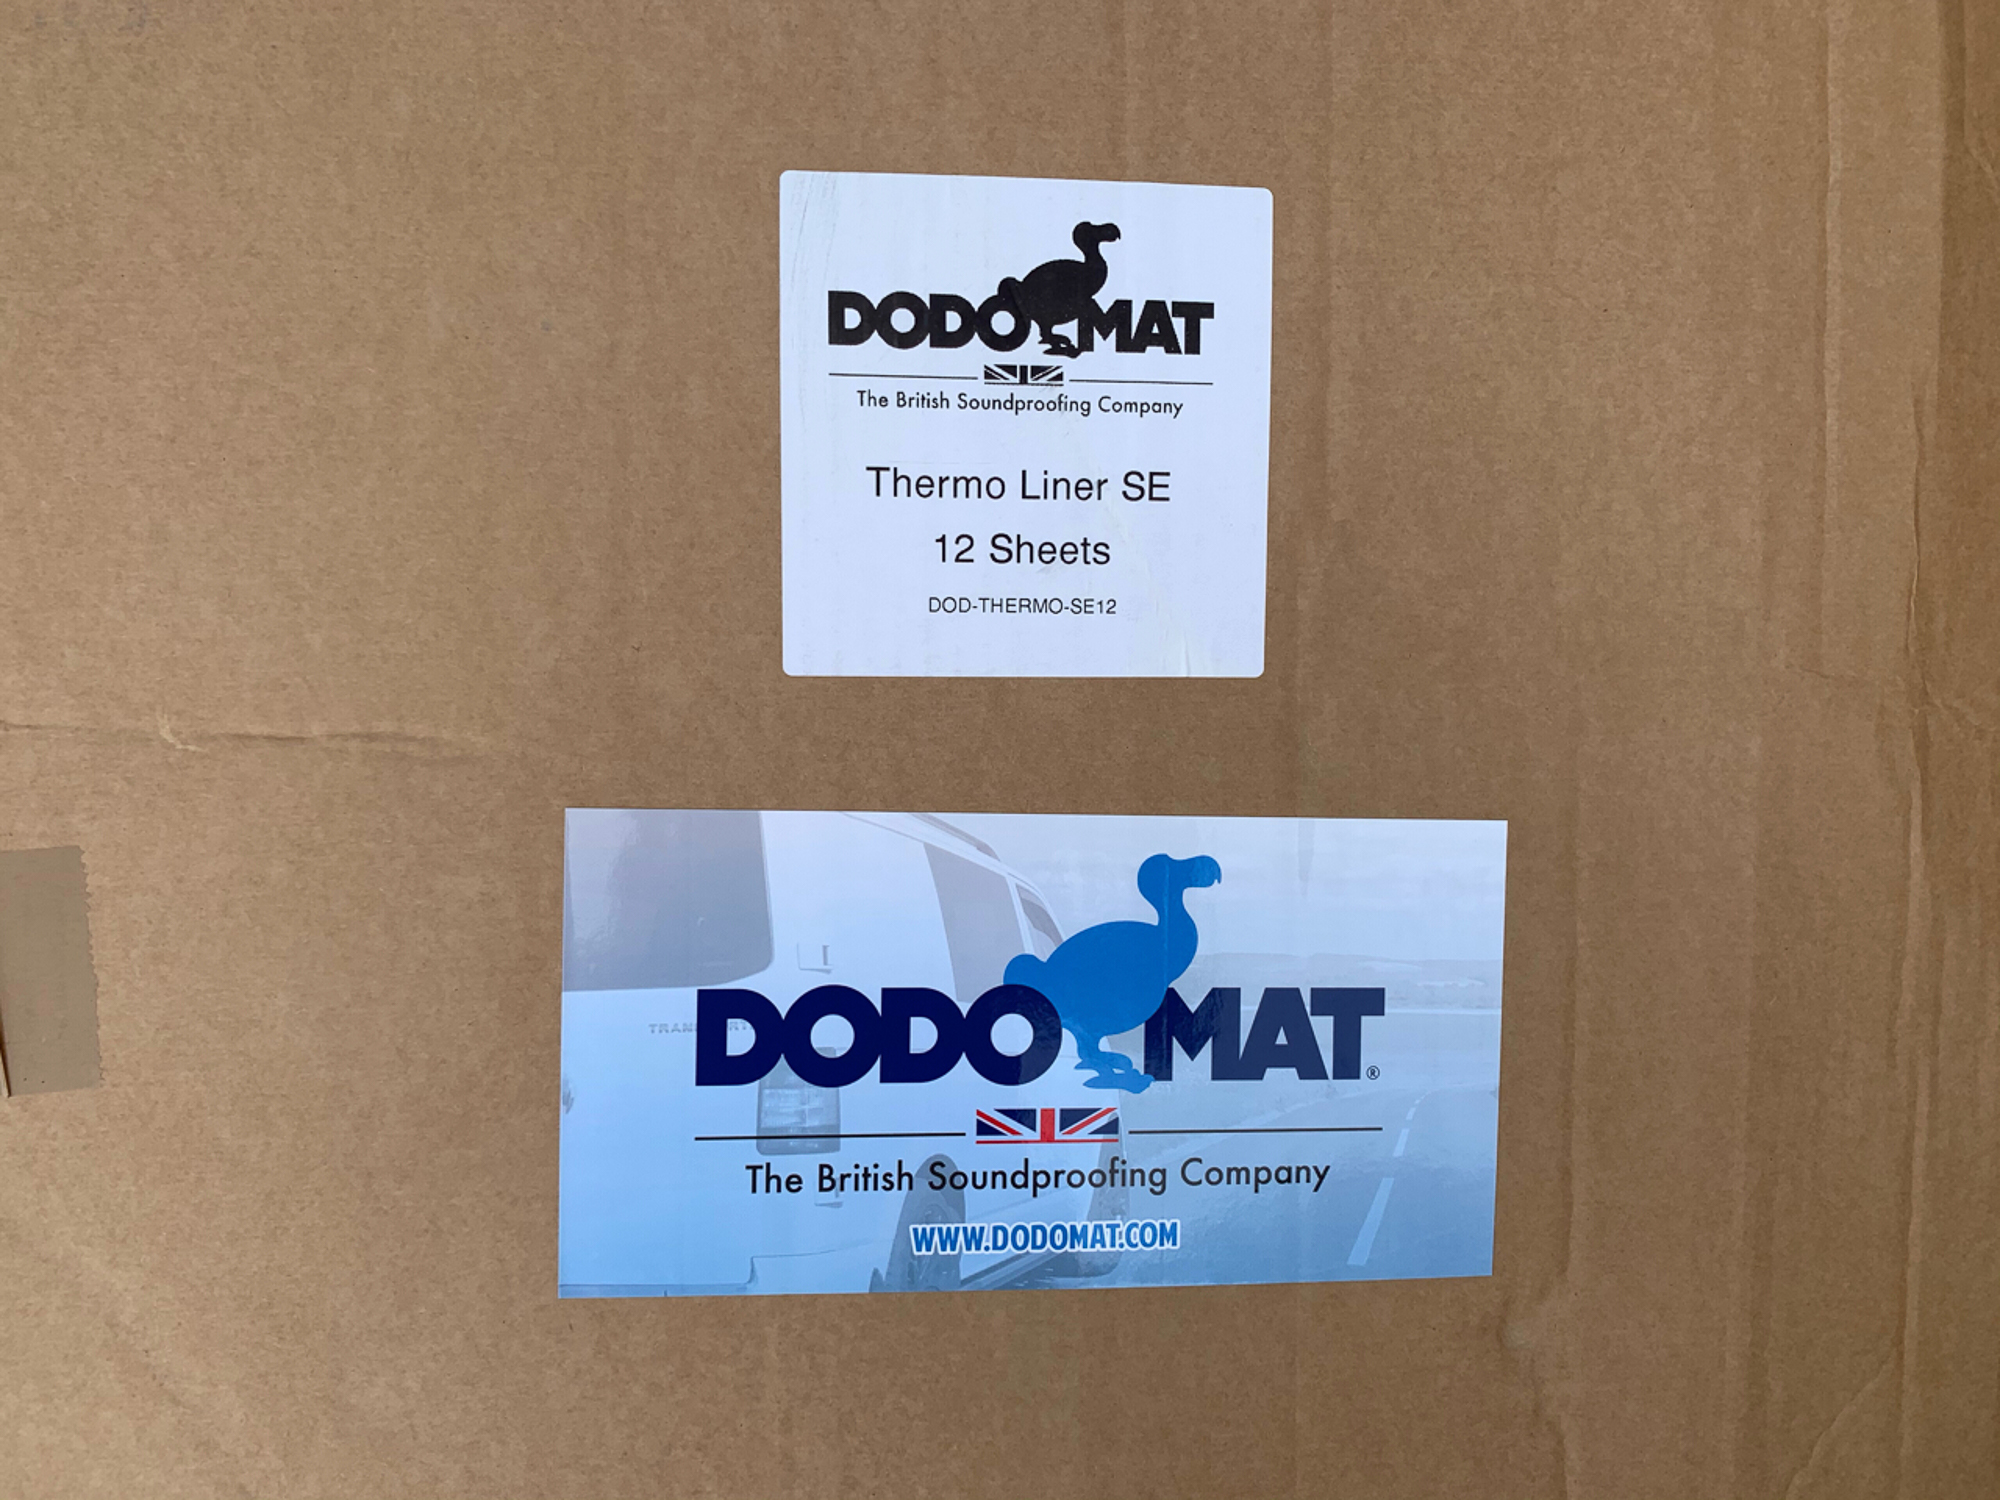
There are many sound proofing/sound deadening products and they can be quite confusing. You just have to choose the combination that you think will work for you. I always use the sound deadening shop, very helpful and fast delivery.
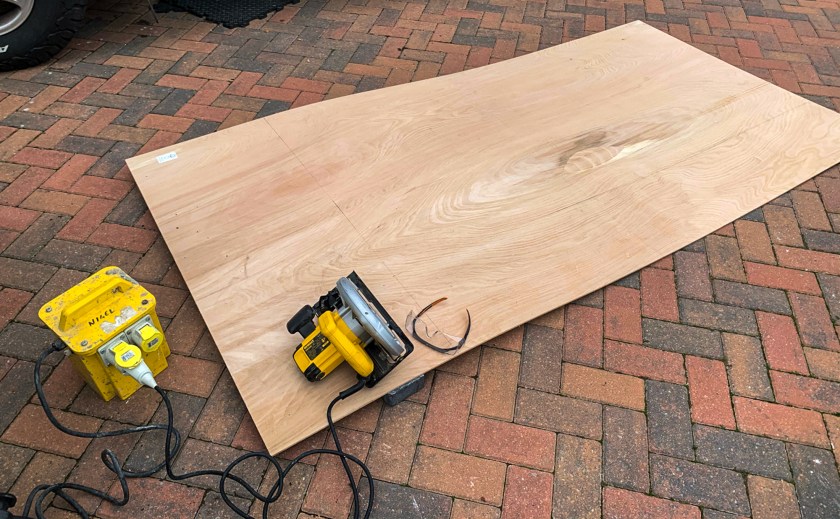
The some ply over the top. I used 6mm, ideally I would use thicker but aware of weight and the fact that there will be things on top of it.
This will ultimately be covered in carpet/van liner which will extend up the sides of the vehicle, giving us a good base of sound proofing and insulation.
I made covering for the top of the wheel arches in a similar manner which will be trimmed later; so onto the vehicle sides.
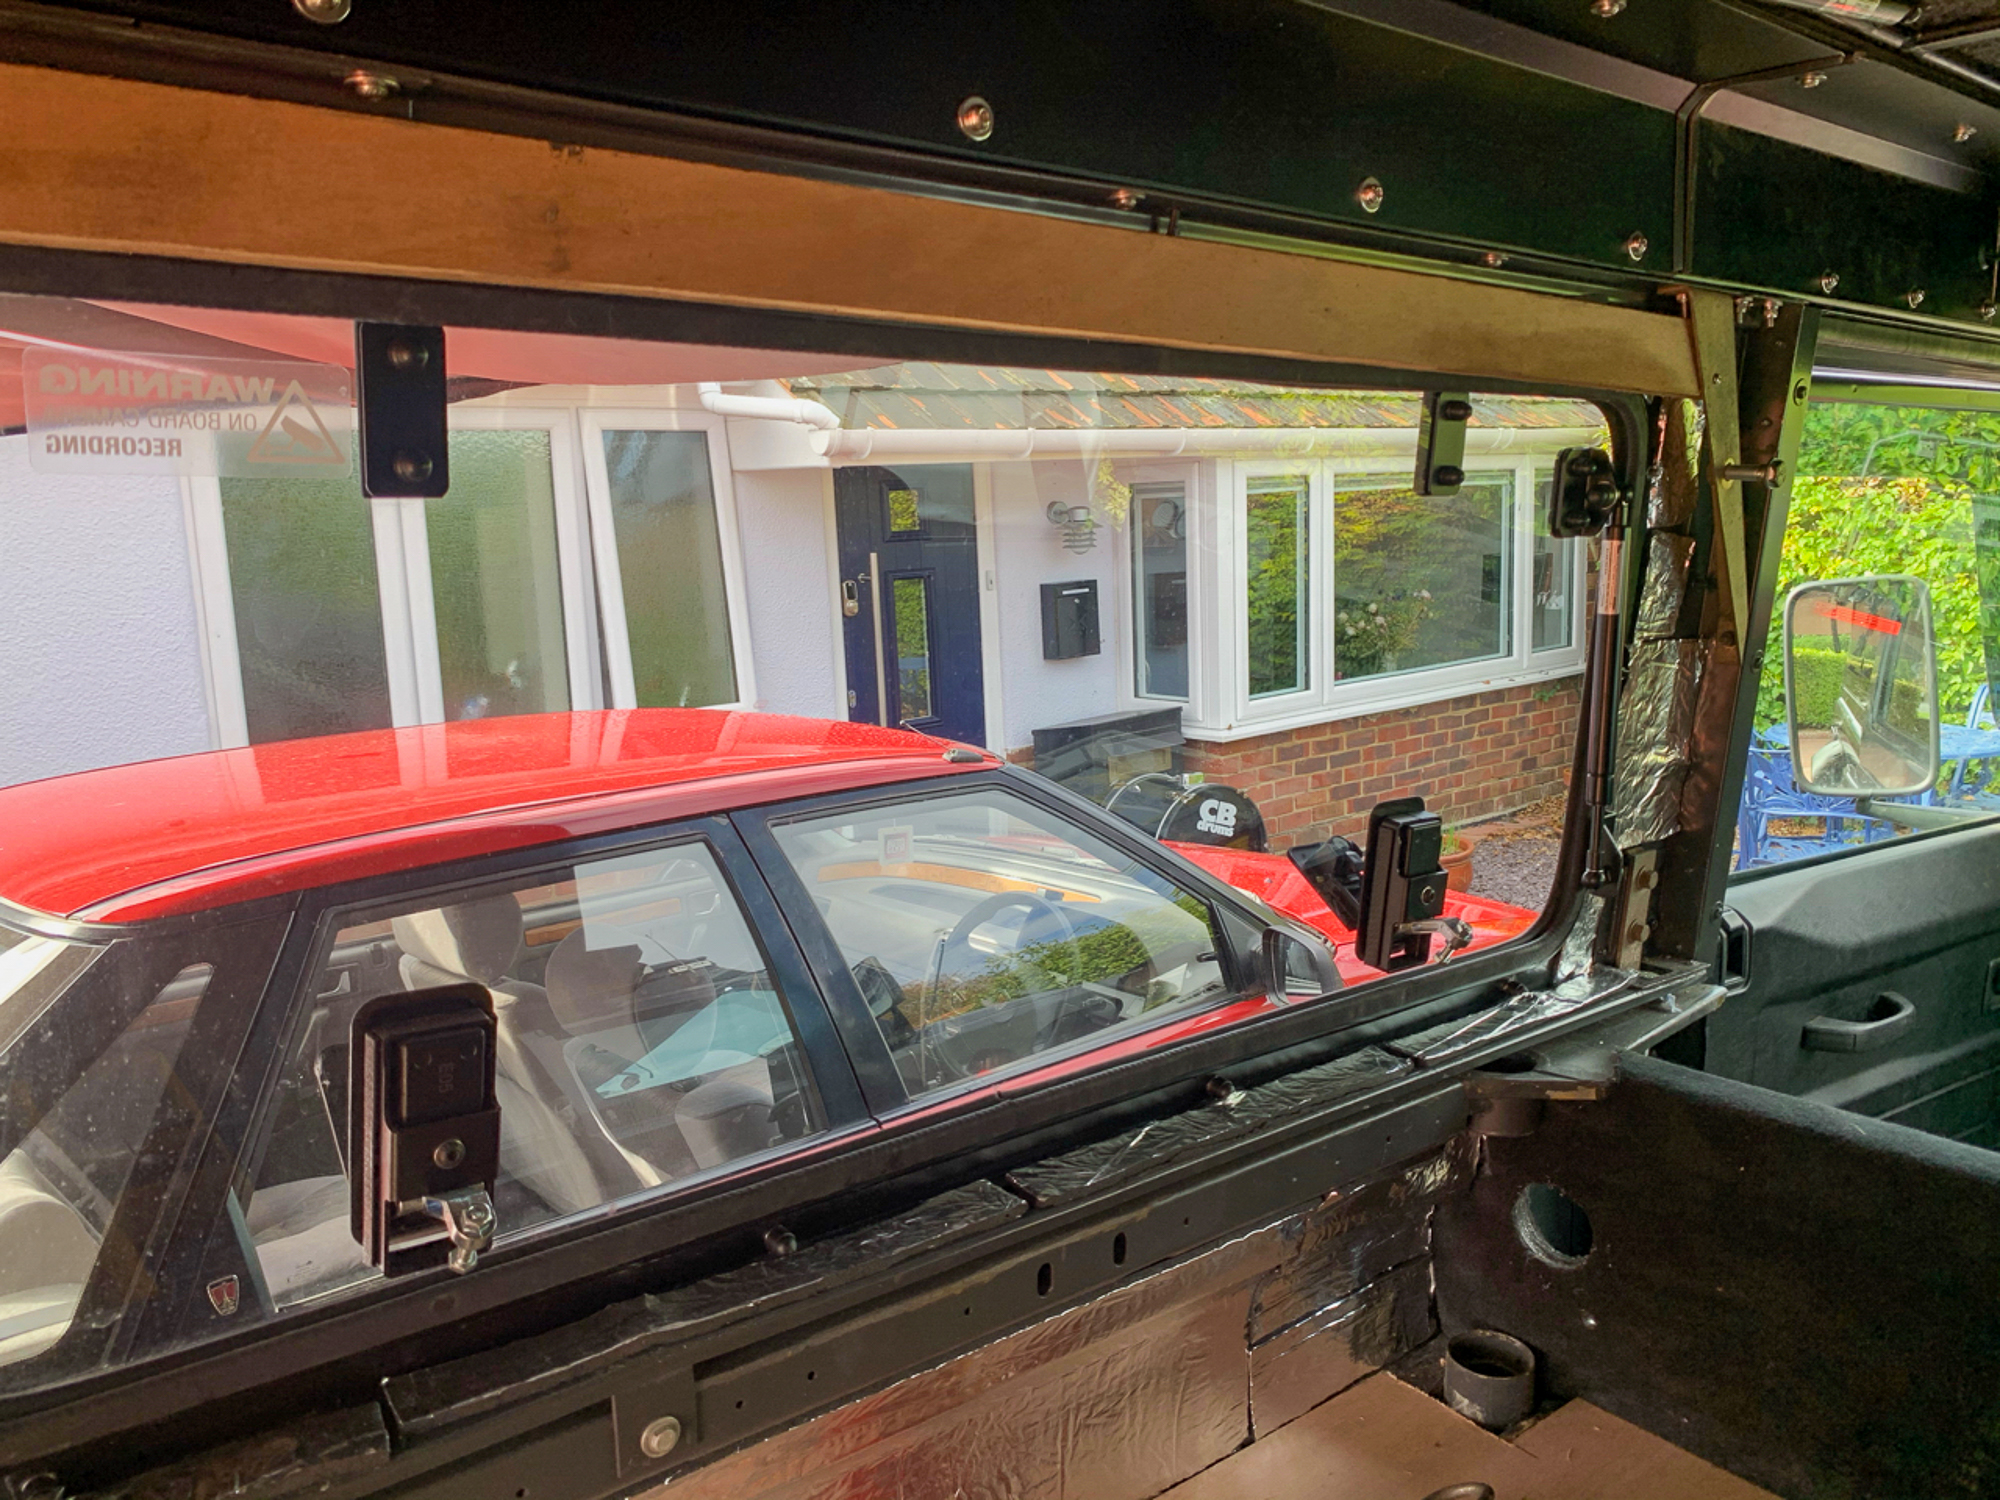
This is a bit more tricky as one side has a window and neither has much to screw any covering to. I also need something quite secure, at least on the drivers side and I will want to fix cupboards etc to “something” later on in the build.
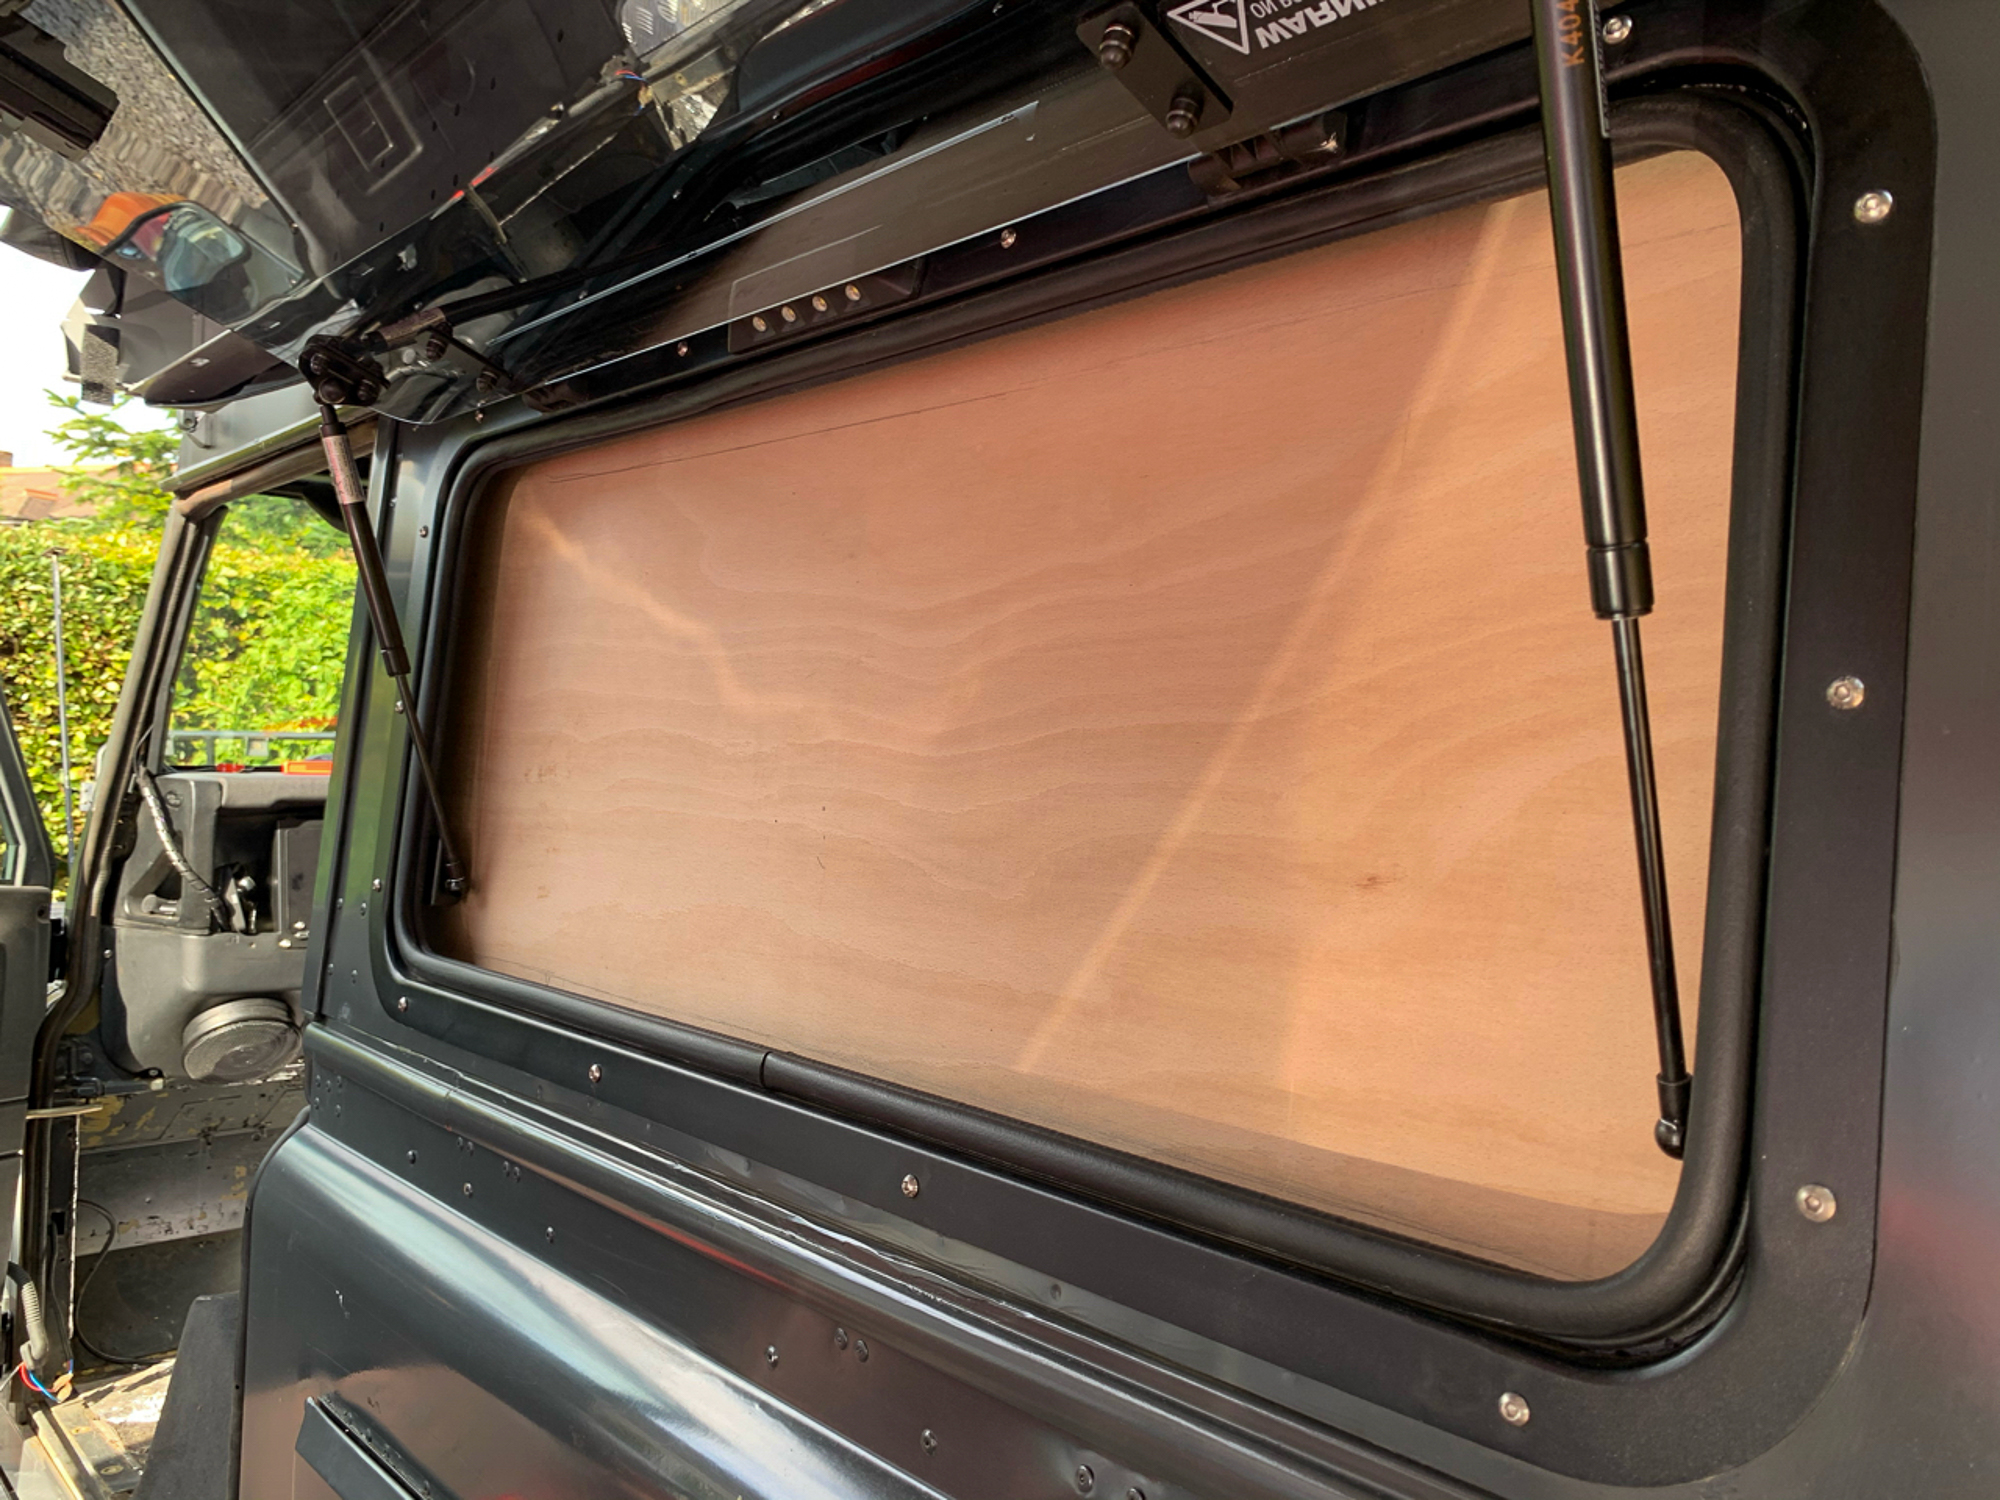
So I added more Dodo thermal liner to the sides, on top of the existing sound proofing. I plan to fill the gaps with a thermal fleece and add a vapour barrier once all is in place. I then cut 6mm ply to fit on both sides, trimming around for the window. Easy, just opened the window and drew my line.
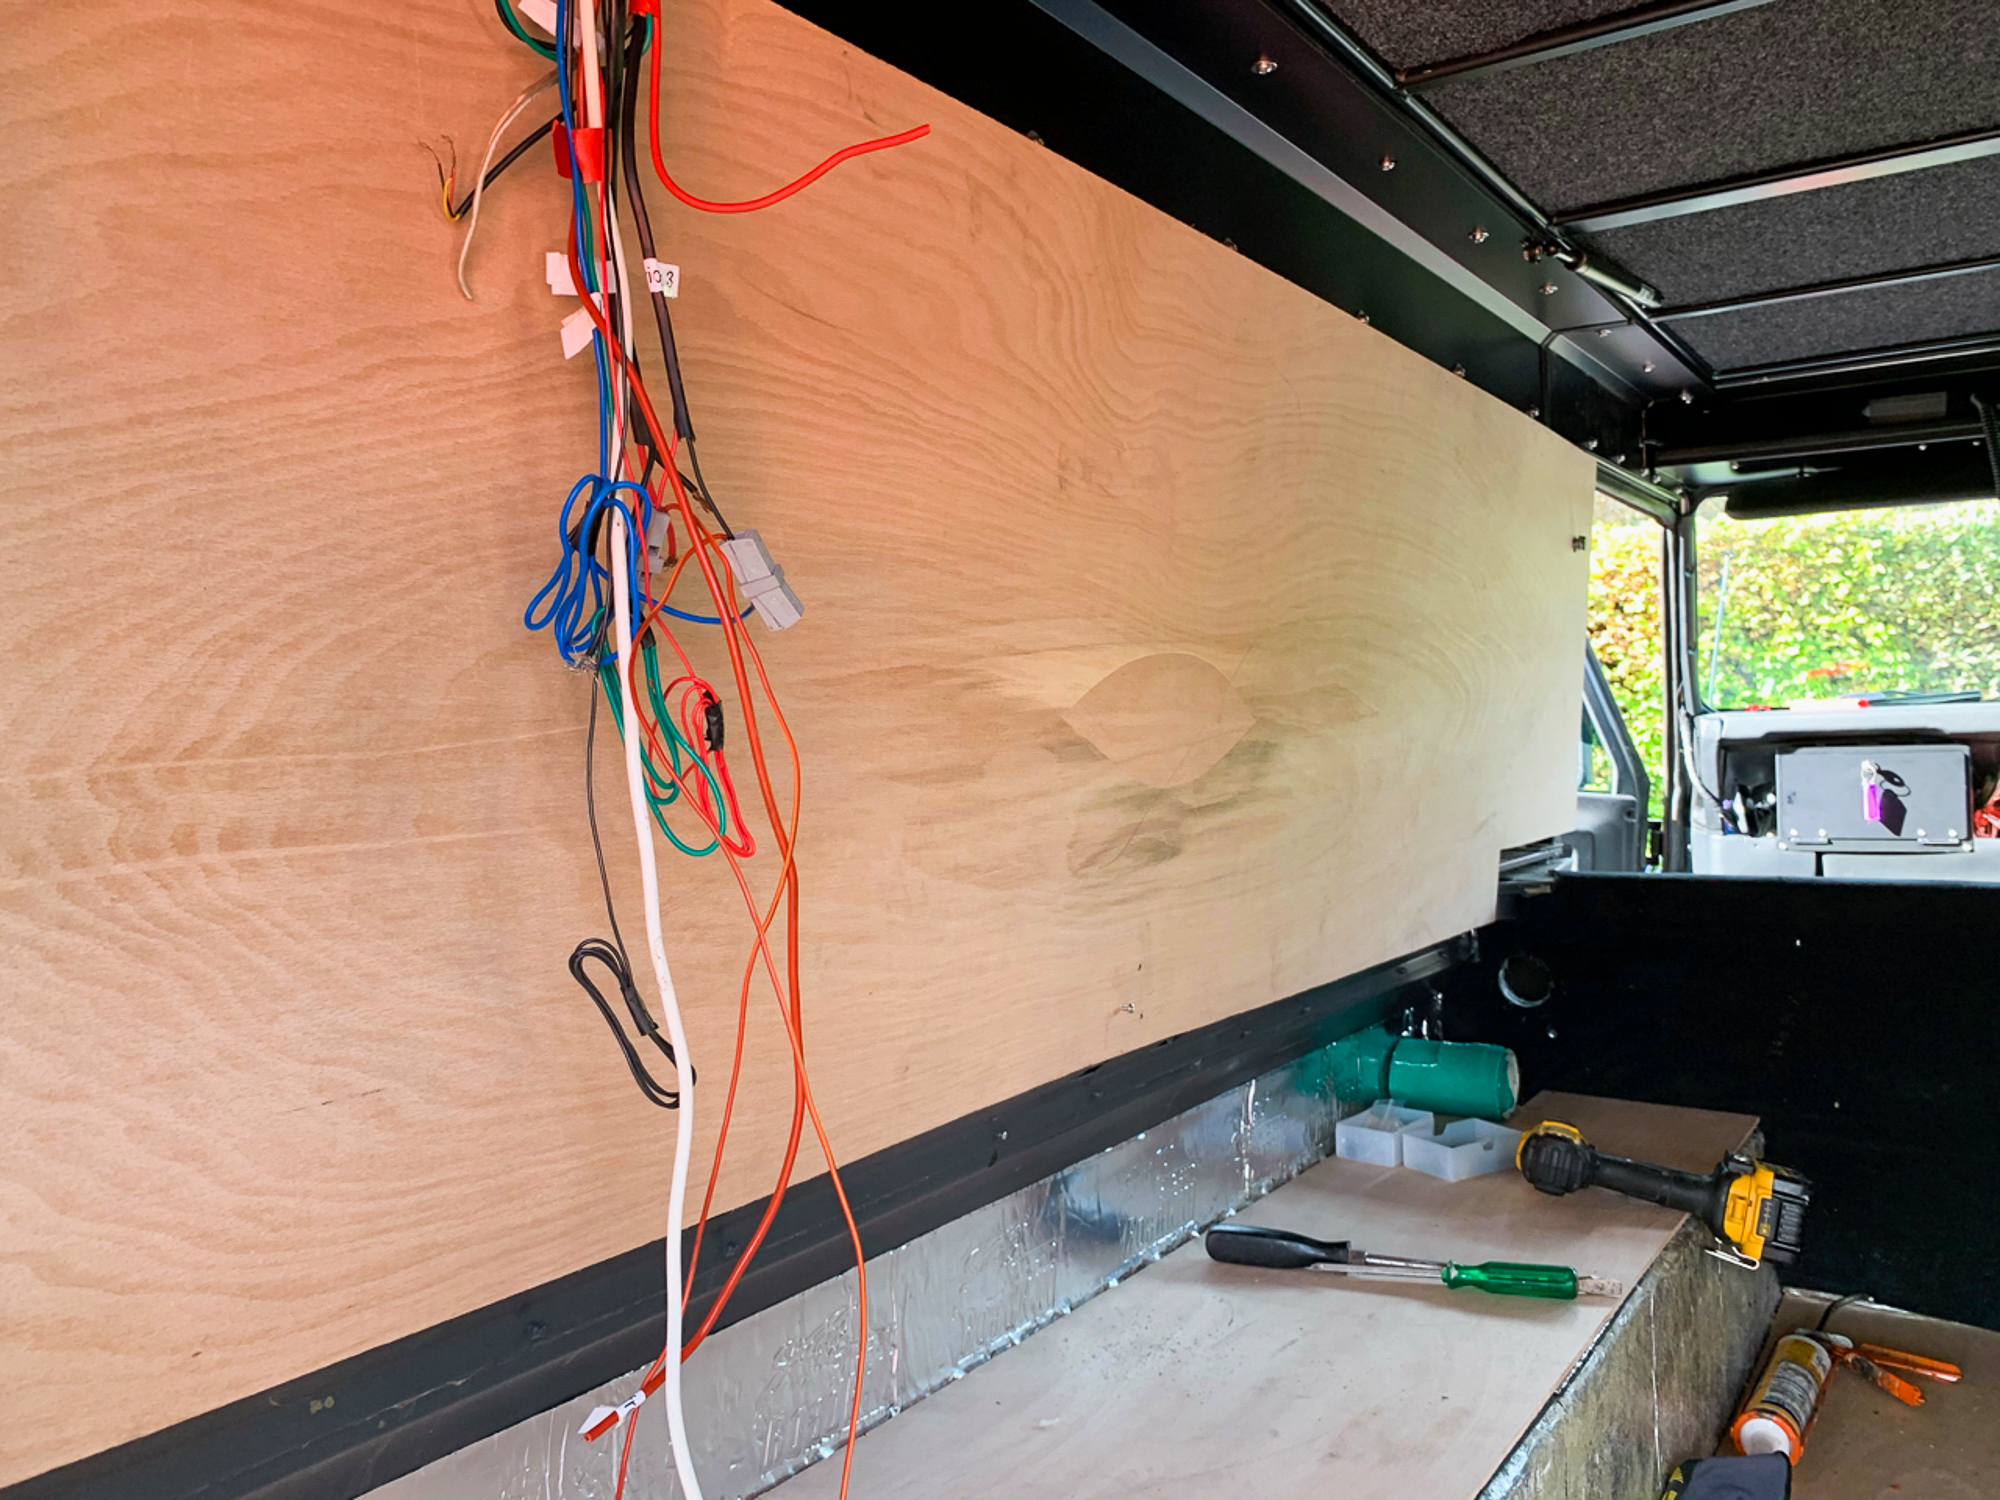
I then constructed a frame to screw the ply security into.
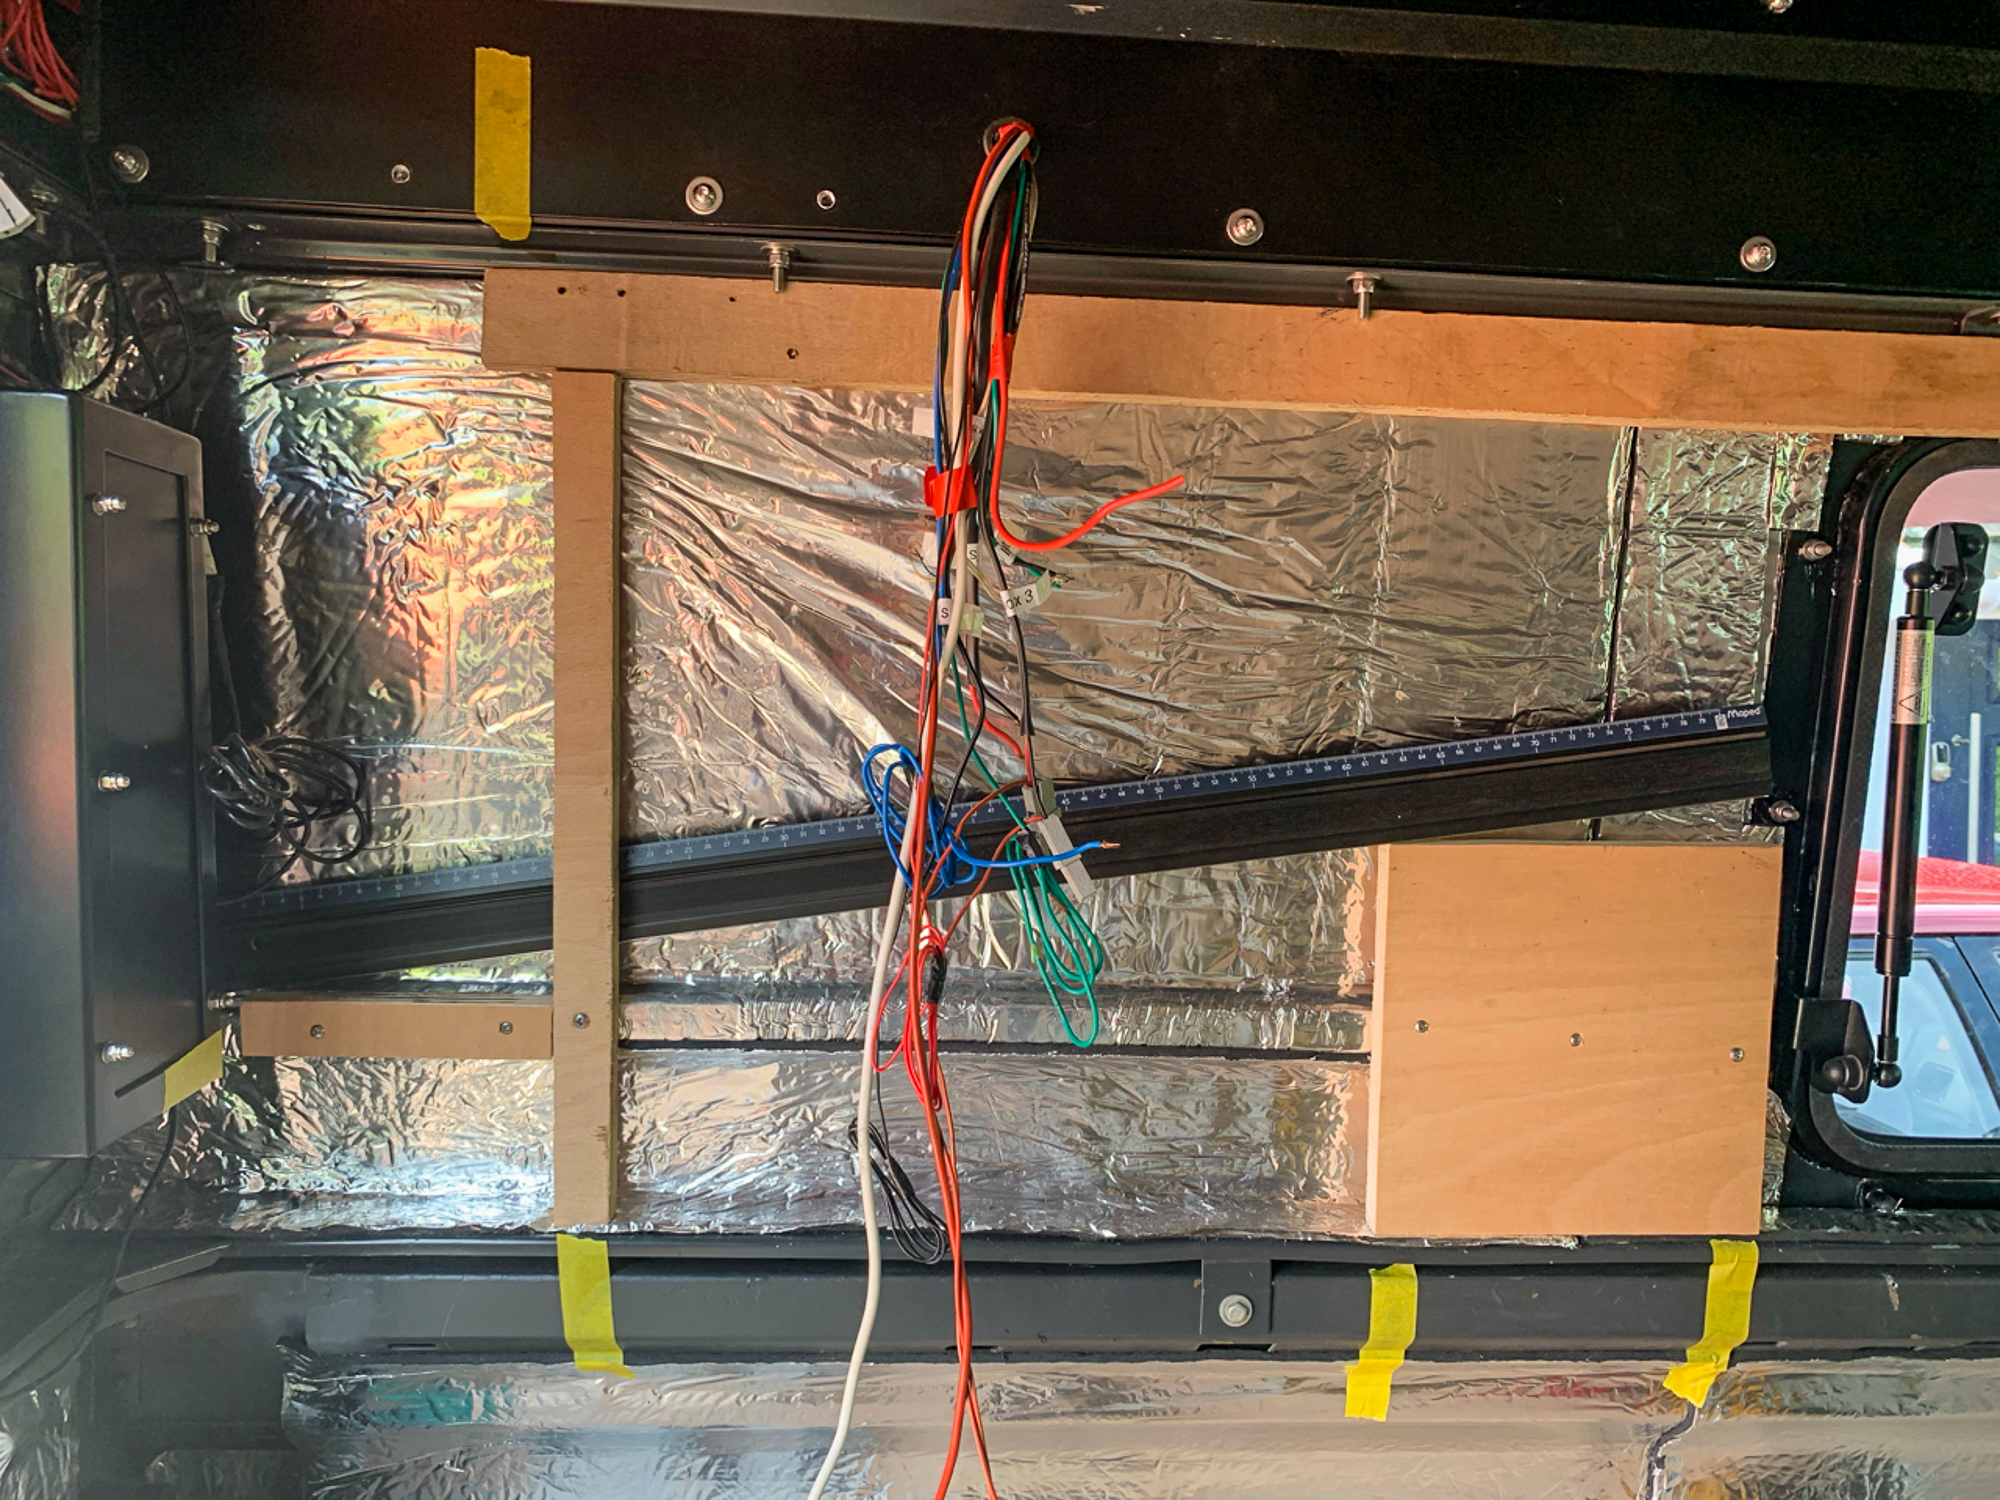
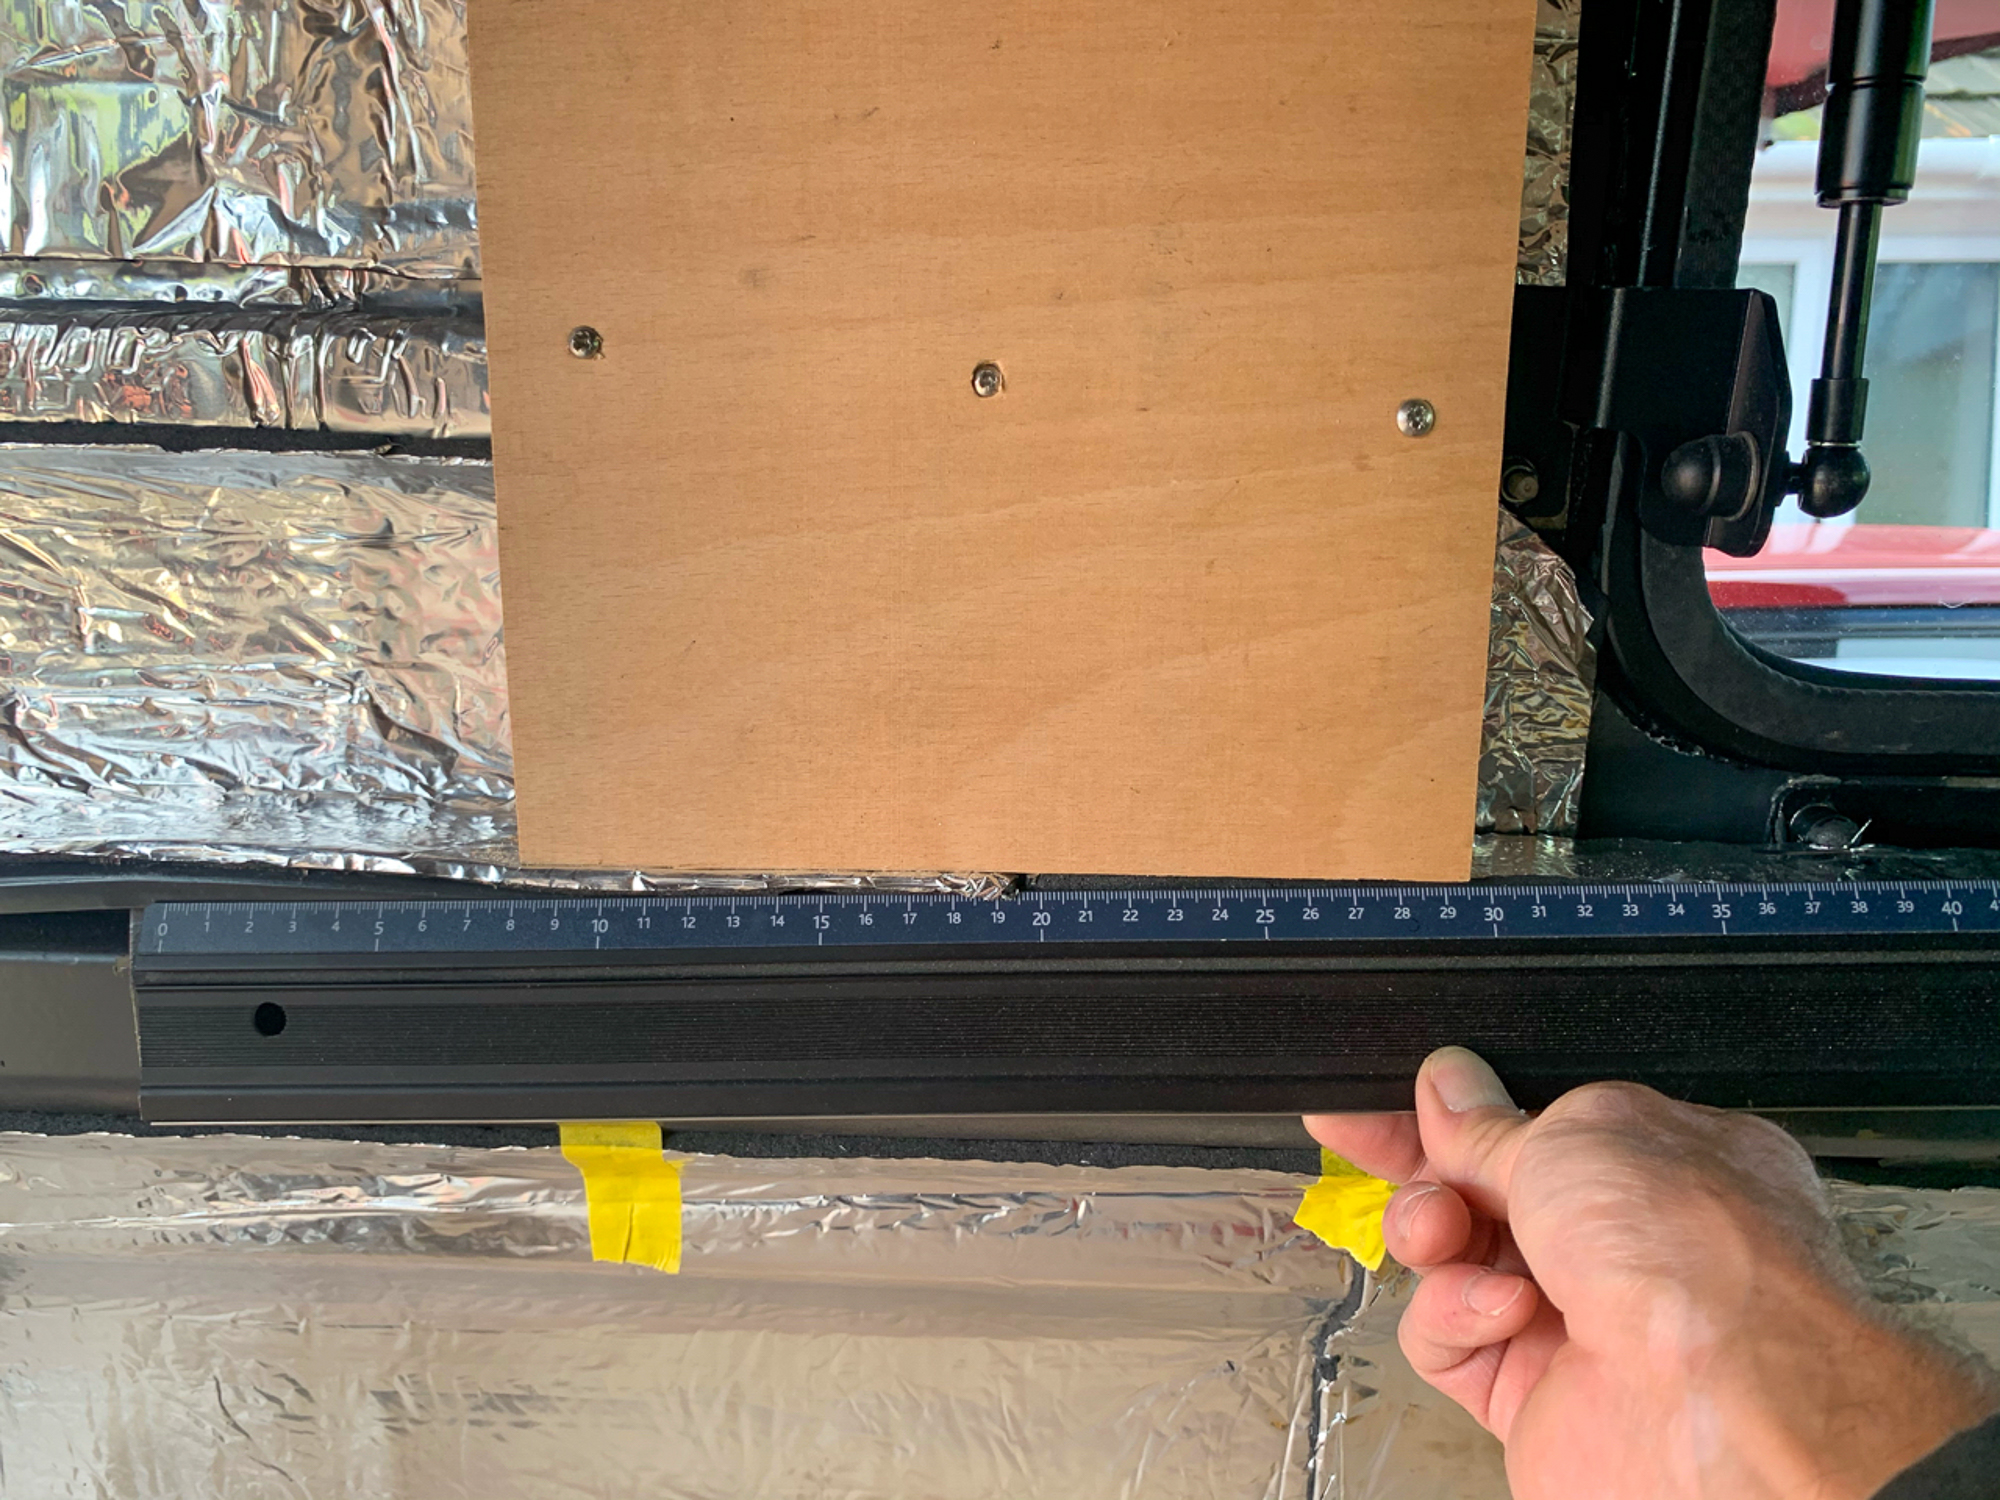
The tape will give me clue later where the frame is. I did pre-drill the holes for the ply, so I know exactly where they are. of course, that will be trimmed as well…….. The square of thicker ply is to mount a switch panel and maybe the remote panel for the battery control unit.
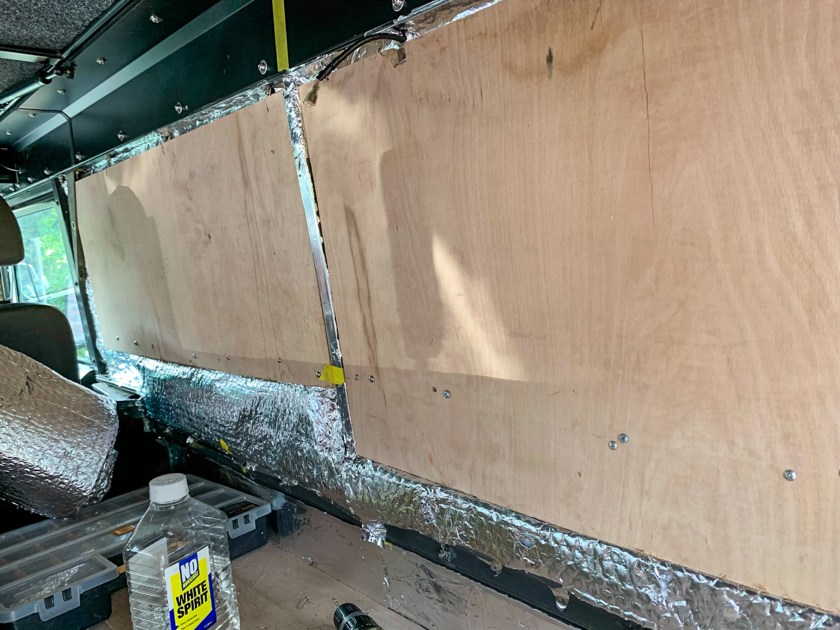
On the drivers side I added 12mm ply to give me the bass for screwing cupboards etc to later on in the build. This will make it a cinch too add the top layer once it it trimmed up. This has the vapour barrier in place. The yellow masking tape tell me where the supports are on the aluminium panels, so hopefully I can drill in the right place later; if needed.
The plan is to trim the side panels and the panels that cover the top of the wheel arches, but more of that later………..Benita wants red……..!
