I have mentioned these before, purchased from Land Rover Defender Security, also the fact that we are trying to make the vehicle as secure as we can during the build.
The security hinges, covered previously, and the dead locks fall into the category of “visual deterrent”……move on, find something easier to steal is the message.
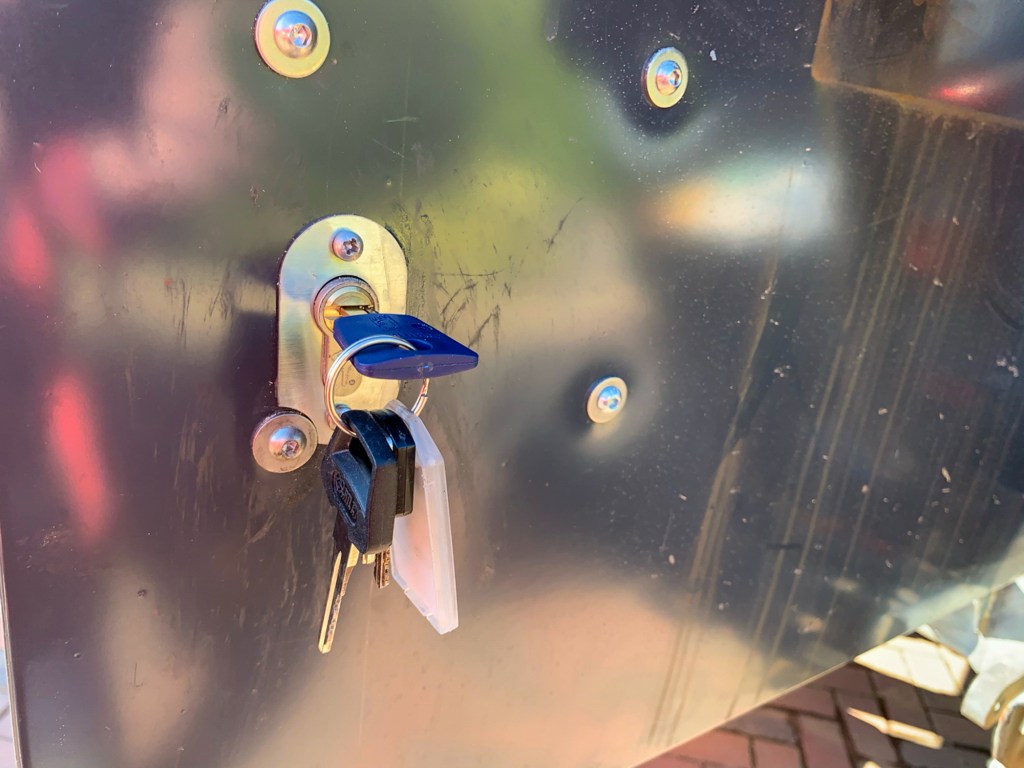
The locks, one for each front door and one for the rear, come with common keys and a set of very blurred instructions, which, are not clear; nothing new then! One page even tells you what to do, with pictures and then tells you not to do what is shown as the measurements are incorrect.
So, this falls into the list of Land Rover jobs entitled “This is going to be a pain”, rather than the list entitled “relatively straightforward” that then turns out to be a pain. This why the locks have been sitting on the shelf for a few months.
Anyway, the day has come, work has started on the interior and the rear door needs to be stripped down as there is some corrosion around the seams; so a good time to do the locks. Luckily, the back door is far from a basket case, and some rust removal, primer and paint, will keep it in service for a few more years. The rear wheel carrier needs to be unbolted and the fitting plate for this also needs rust-proofing and a re-paint.
So onto the fitting the rear lock.
There is nowhere to mount it on my door! – The lock is clearly designed for the later 2007 on – Puma models which have a plate under the standard lock, onto which the dead lock can be mounted. So I bonded a couple of pieces of plywood together to get the correct thickness and fitted this to the door, to give me a mounting point.
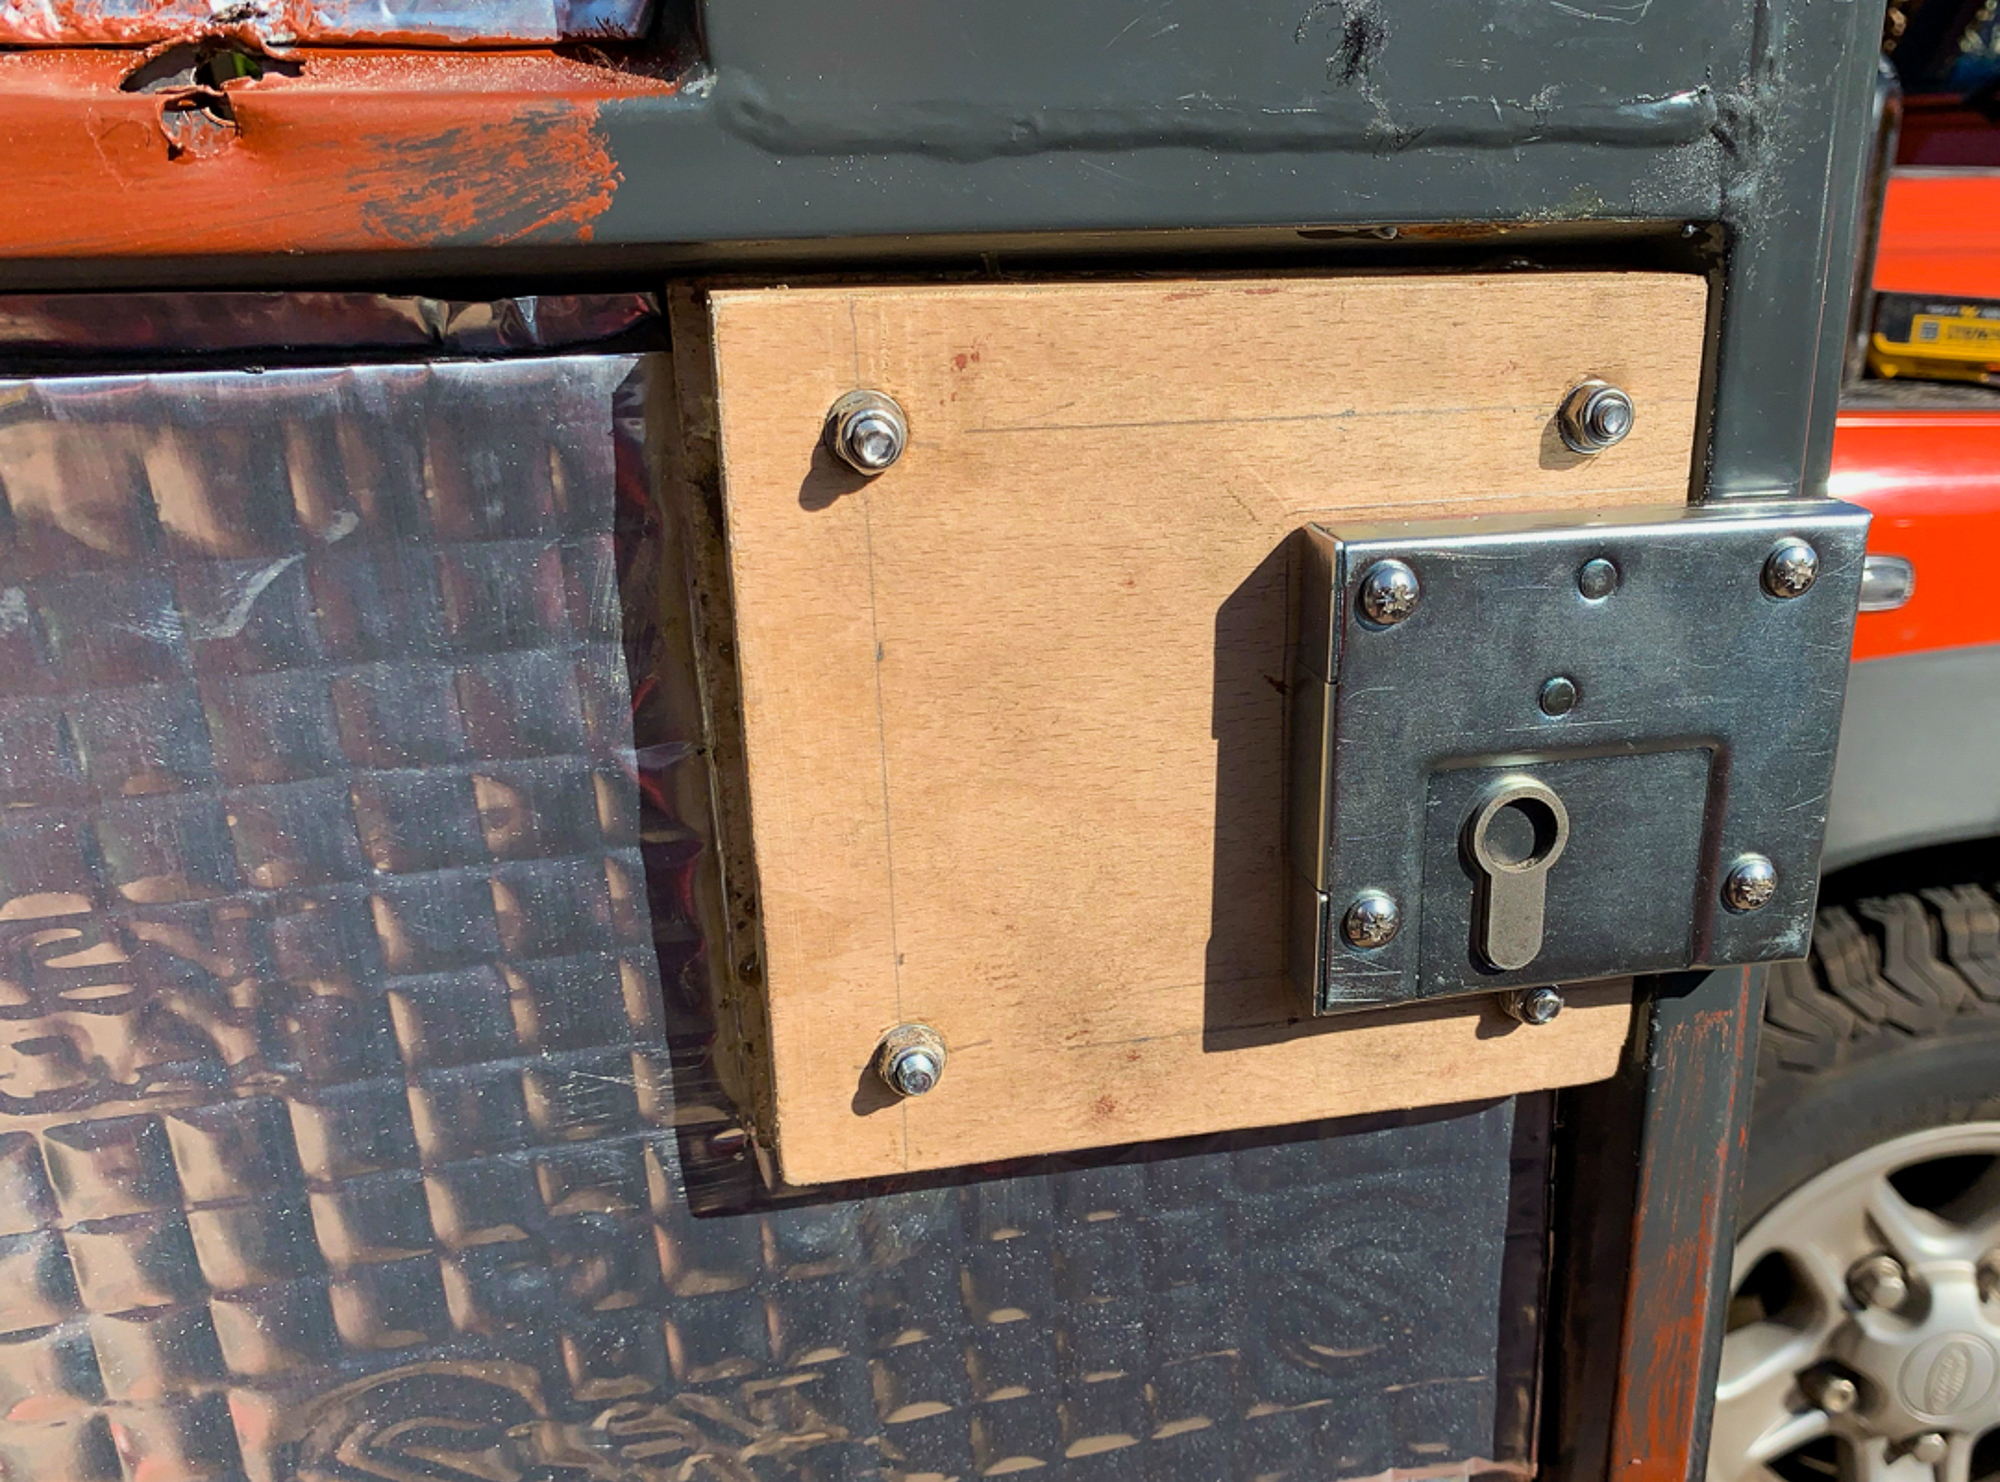

I took the opportunity to add some sound proofing to the rear door and to change the standard lock, that was starting to jam.
I also moved the position of the lock down a little from the suggested placing. This moves the key position on the outside of the door down, so I would still be able to use the lock when fitting a slightly larger spare wheel – more forward thinking!
The lock keep was straightforward to fit, so onwards to the front locks.
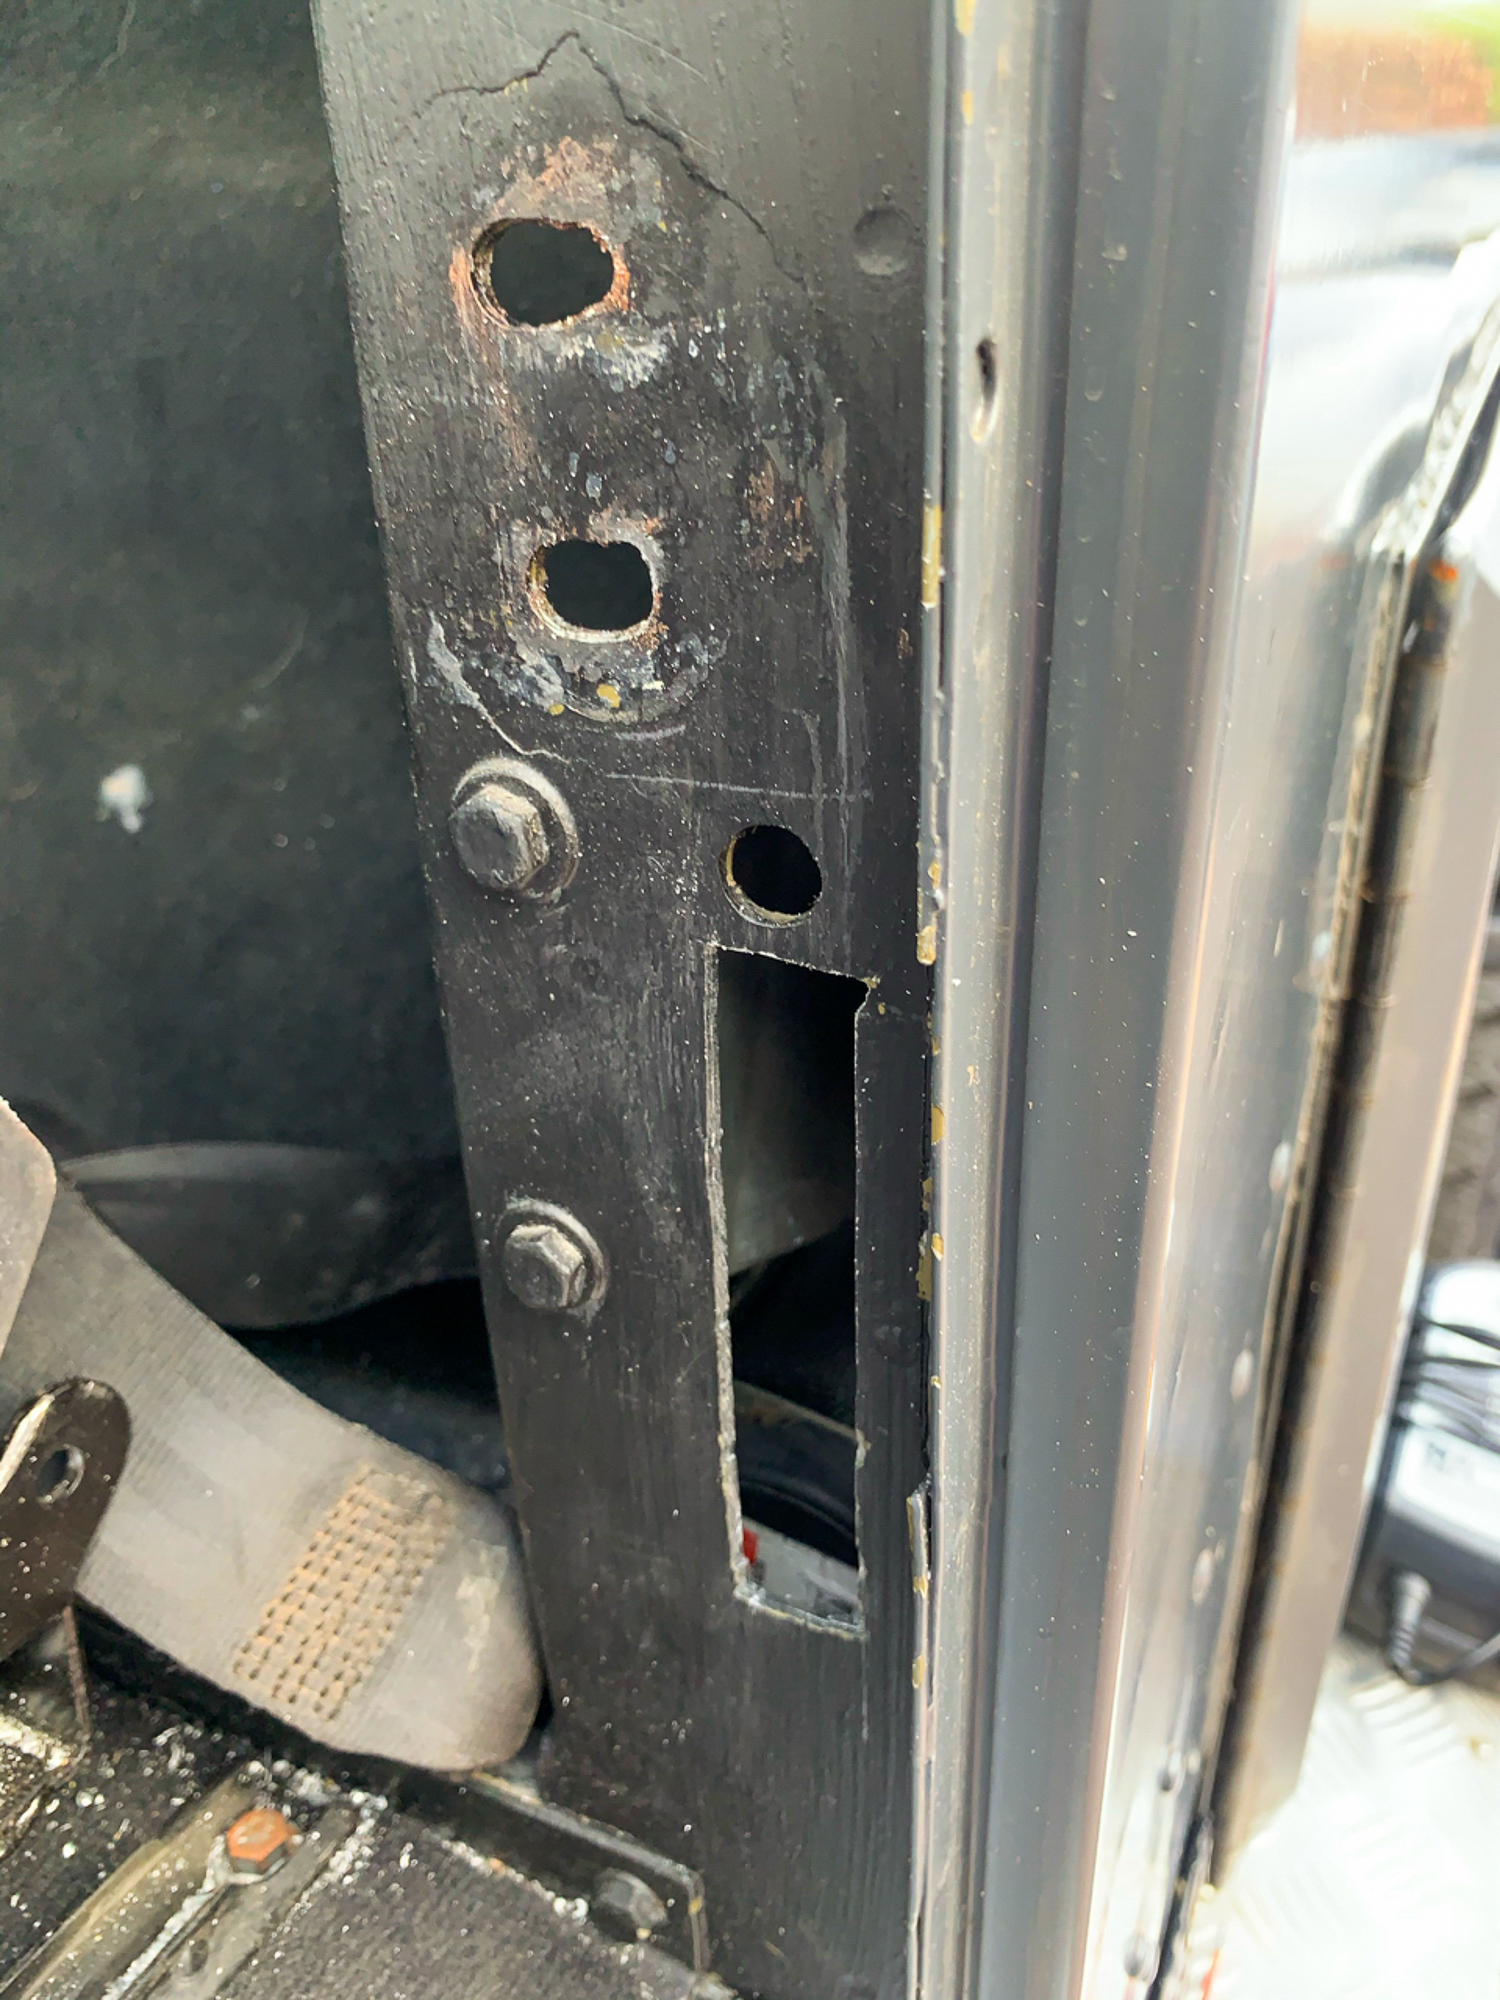
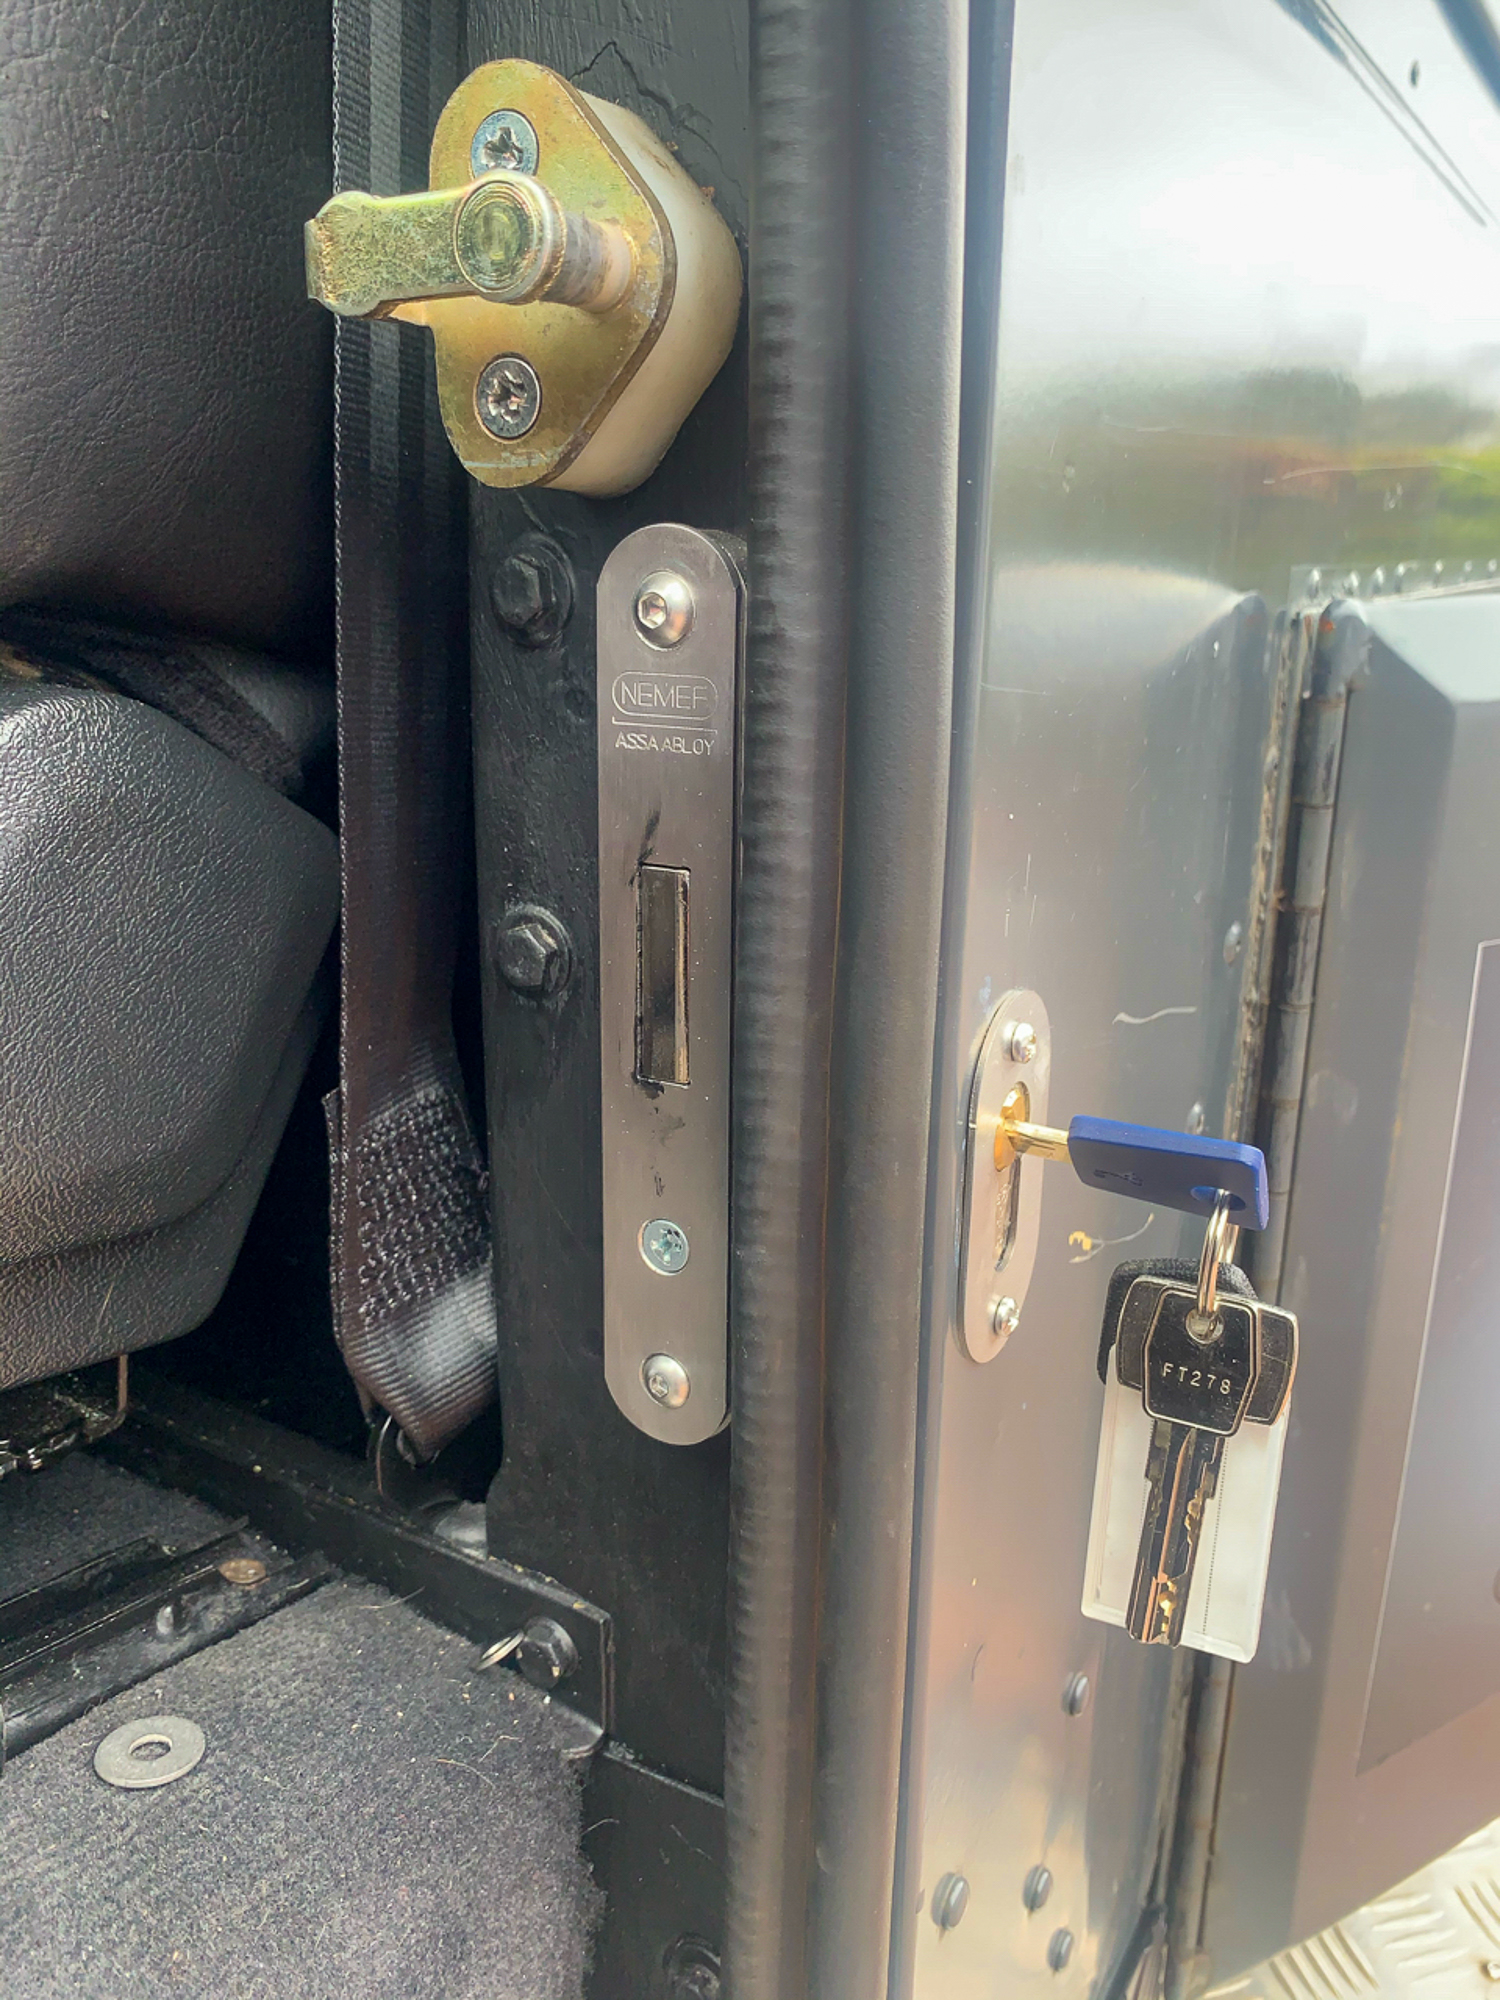
These were tricky as there was little room for error, I decided to ignore the measurements in the instructions and work them out for myself. The lock itself fits into the door post and not only has to avoid the existing door shut catch, but the seatbelt mounting, which sits behind the seat inside the door (B) post.
After some careful measuring and judicious drilling, not to mention the “getting the correct size” with the file, the lock eventually was bolted into place. I removed the door shut, to make access easier, hence the two holes above the lock.
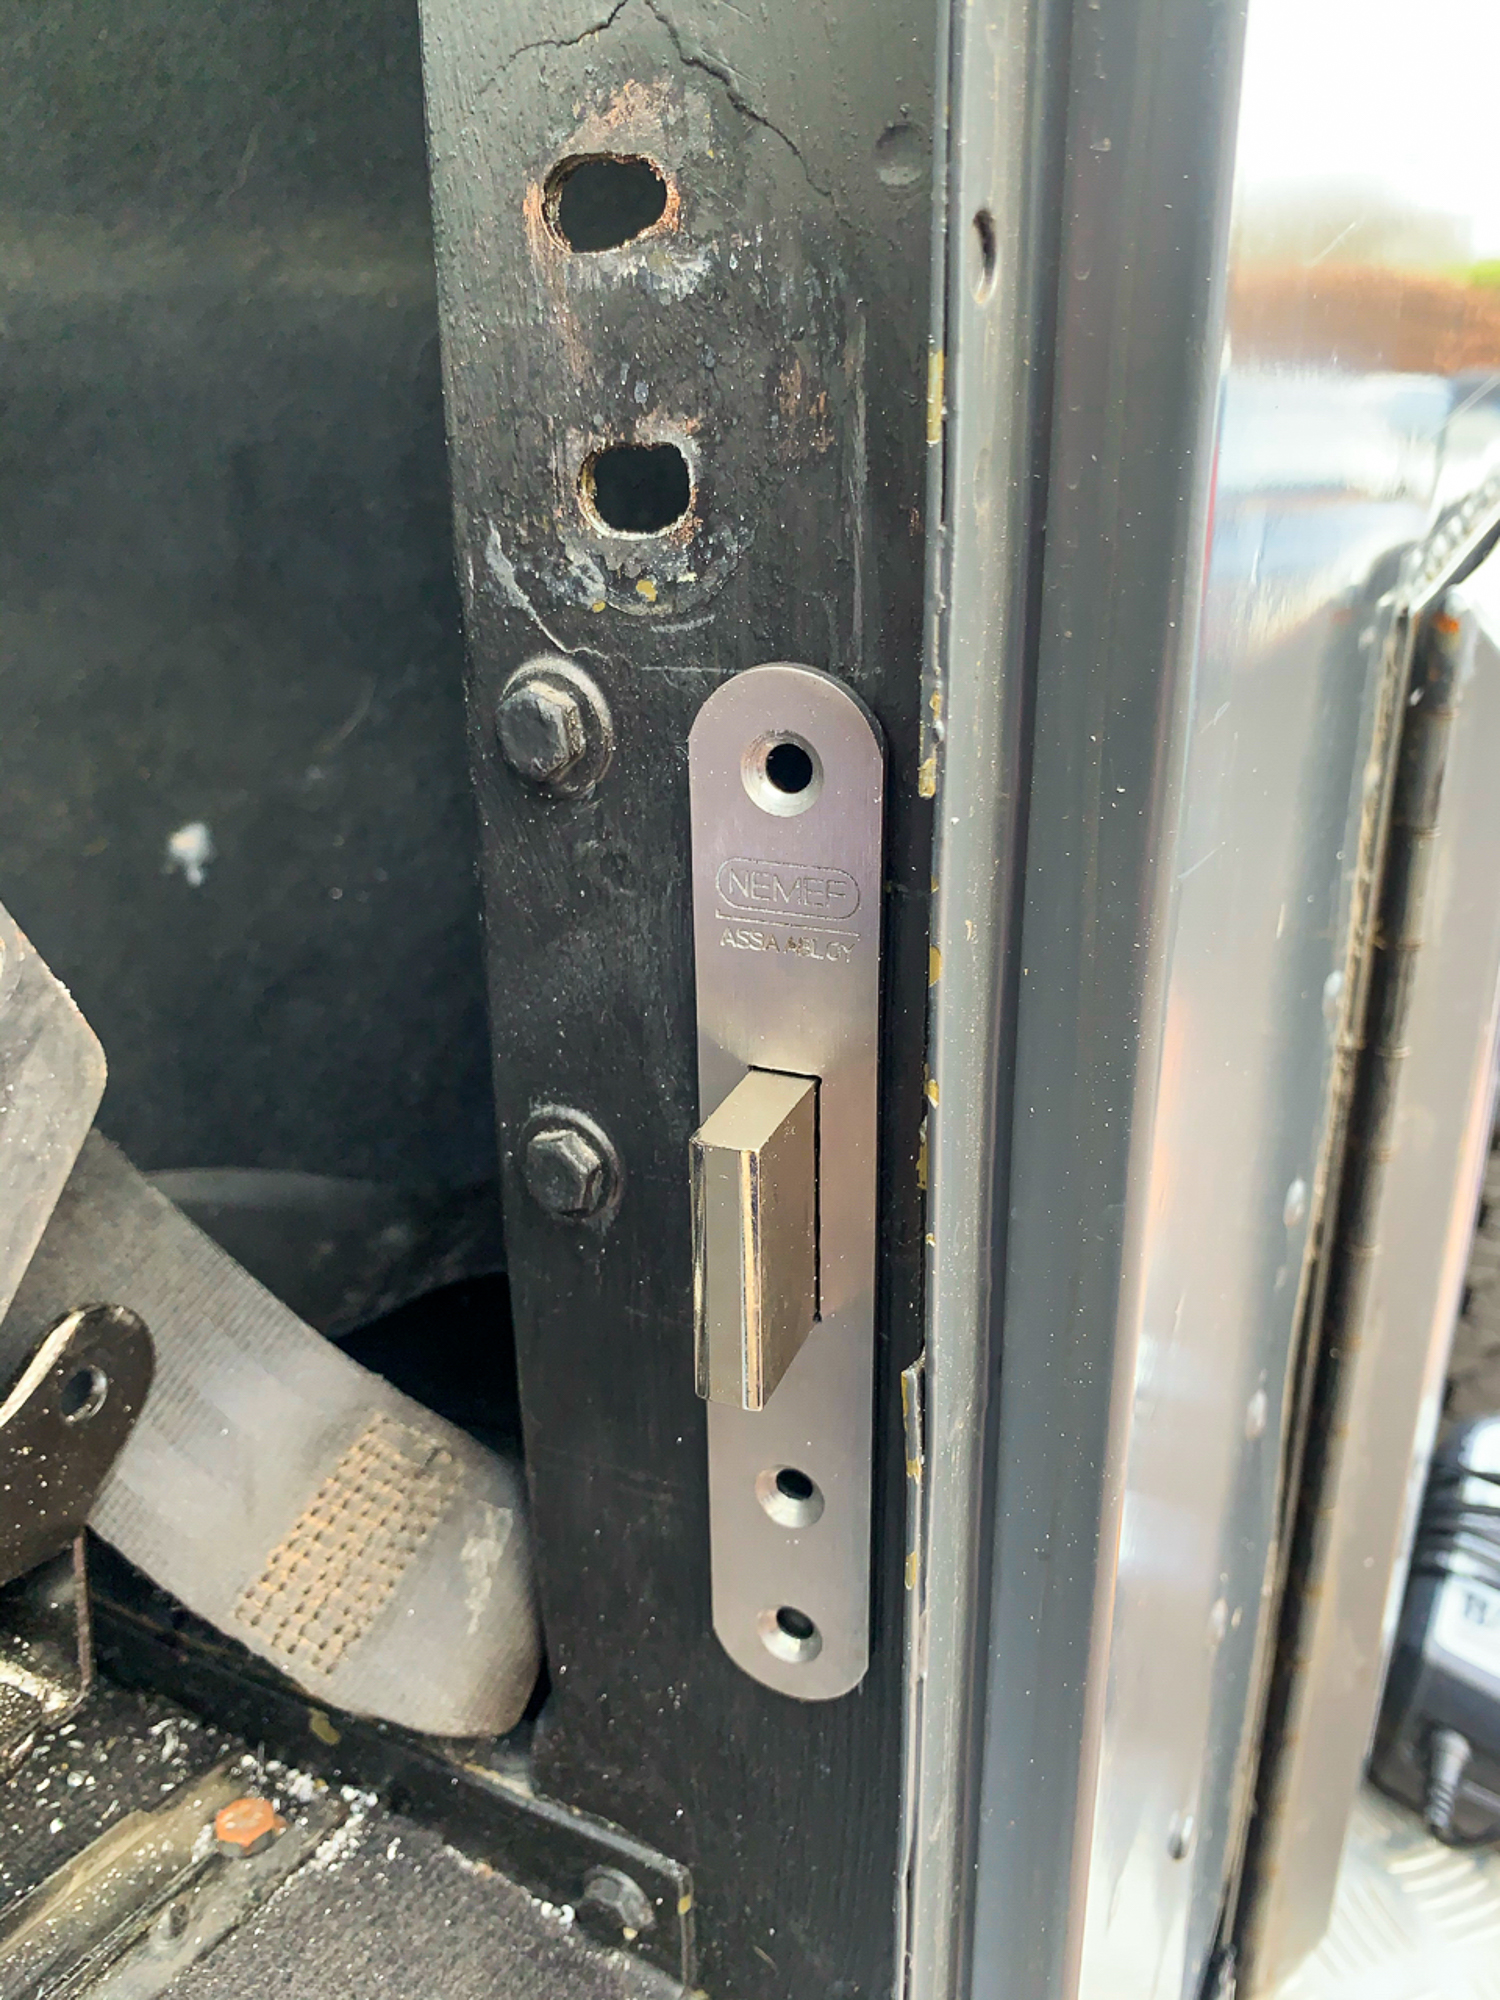
Then, I had to figure out where in the side of the car I needed to drill the hole for the key to fit. I used the measurements given as a guide and managed to get a pilot hole in roughly the right place. It was, as they say “a right game” to enlarge the hole to get the key to engage on the lock and to turn, without making the hole so large as it would not be covered by the trim. Anyway, eventually this was achieved; the word “eventually” apparently, means a very long time………
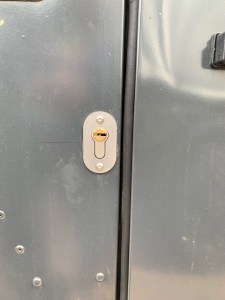
So all I had to do now was fit the keep in the door, in the right place. An issue here was that I have Puma Doors on a 1989 body, so the where the lock throw goes through the keep is perilously close to where the standard door lock is fitted. I did think to start with that it would foul and not fit.
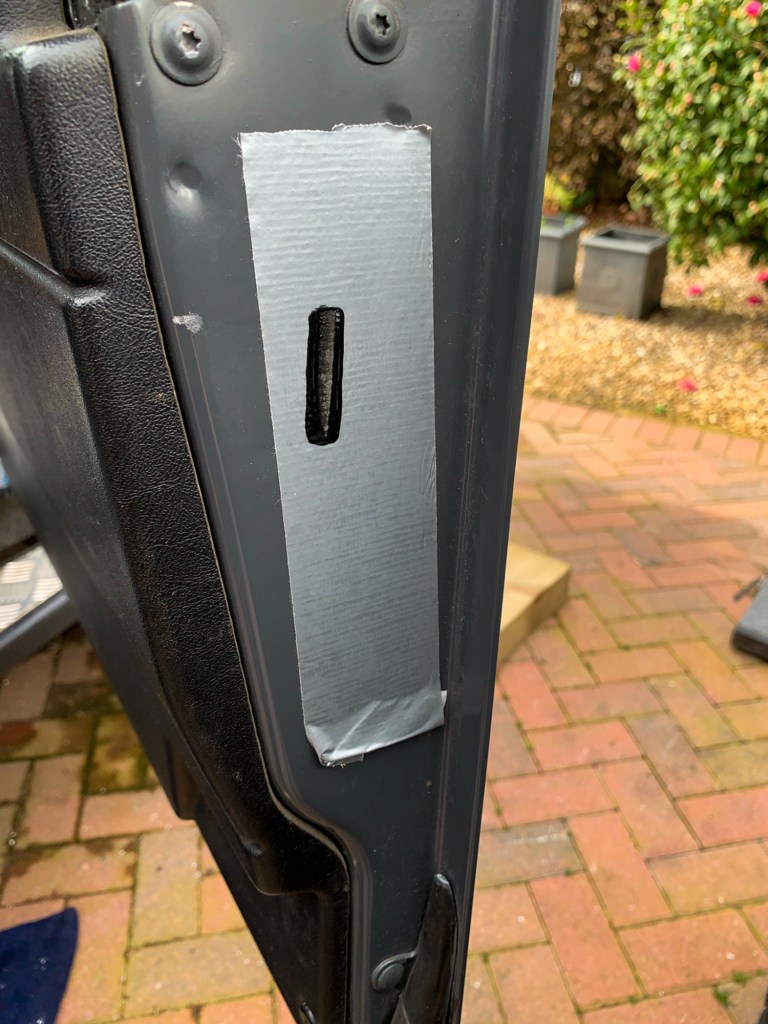
The puzzle was exactly where to drill the hole………….so I place a piece of masking tape on the door shut and put a large blob of paint on the lock, shut the door and operated the lock a few times – this gave me a pretty good idea of where to drill – not bang on, but near enough. Out with the file again!
It was a painstaking task to get the hole and the keep fitted so the the throw would fit, but I got there in the end. A learn from the first door, was to tighten the actual lock in the door properly first; I got it all to fit and then tightened up the lock and then had to tweak the keep as the position had changed. I suspect that this might be an ongoing issue when the door moves with use – we will see.

Overall, a good job done and very pleased with the result and the product, although a decent set of instructions would have been helpful.
