Before I start talking about where I have installed electrics etc, I guess it is best to discuss the internal fixtures and why they have been used.
When we bought the vehicle it had a large very secure and lockable “Gun Drawer” this was the width of the floor at the rear and about 1m deep. There was also another steel cabinet (“T” Chest) which is designed to sit between the “wheel arches”, this is made from heavy steel and is also lockable.
In addition, there were two other cabinets which the the previous owner was going to install either side of the rear door, on top of the wheel arches. These were actually tool chests, but turned their side they became a cupboard; but with one problem! You can get this of thing from various places but I think they were sourced from Mobile Storage Solutions.
These items are all very heavy, so again help was enlisted from my Dad in order to check out how these were going to be installed. Regular readers will recall that they were removed because a leak soaked all of the carpet underneath them. The leak, seems to have been fixed…………….
The idea was to fit the “T” Chest where it should be, behind the bulkhead and then place the gun drawer in front of it, the idea being that the gun drawer would open though the open rear door.
When we tested this, the gun drawer extended towards the rear door to the point that the two cabinet doors would foul the top of the gun drawer. Whilst this could be solved by the application of an angle grinder, this would make a right mess and was filed under “too difficult”. Given that we would have to stand on the Gun Drawer when inside the vehicle, was another reason for not doing this, although it would have made accessing the bed in the awning easier. We will have to find another solution for that.
So we ended up with this layout.
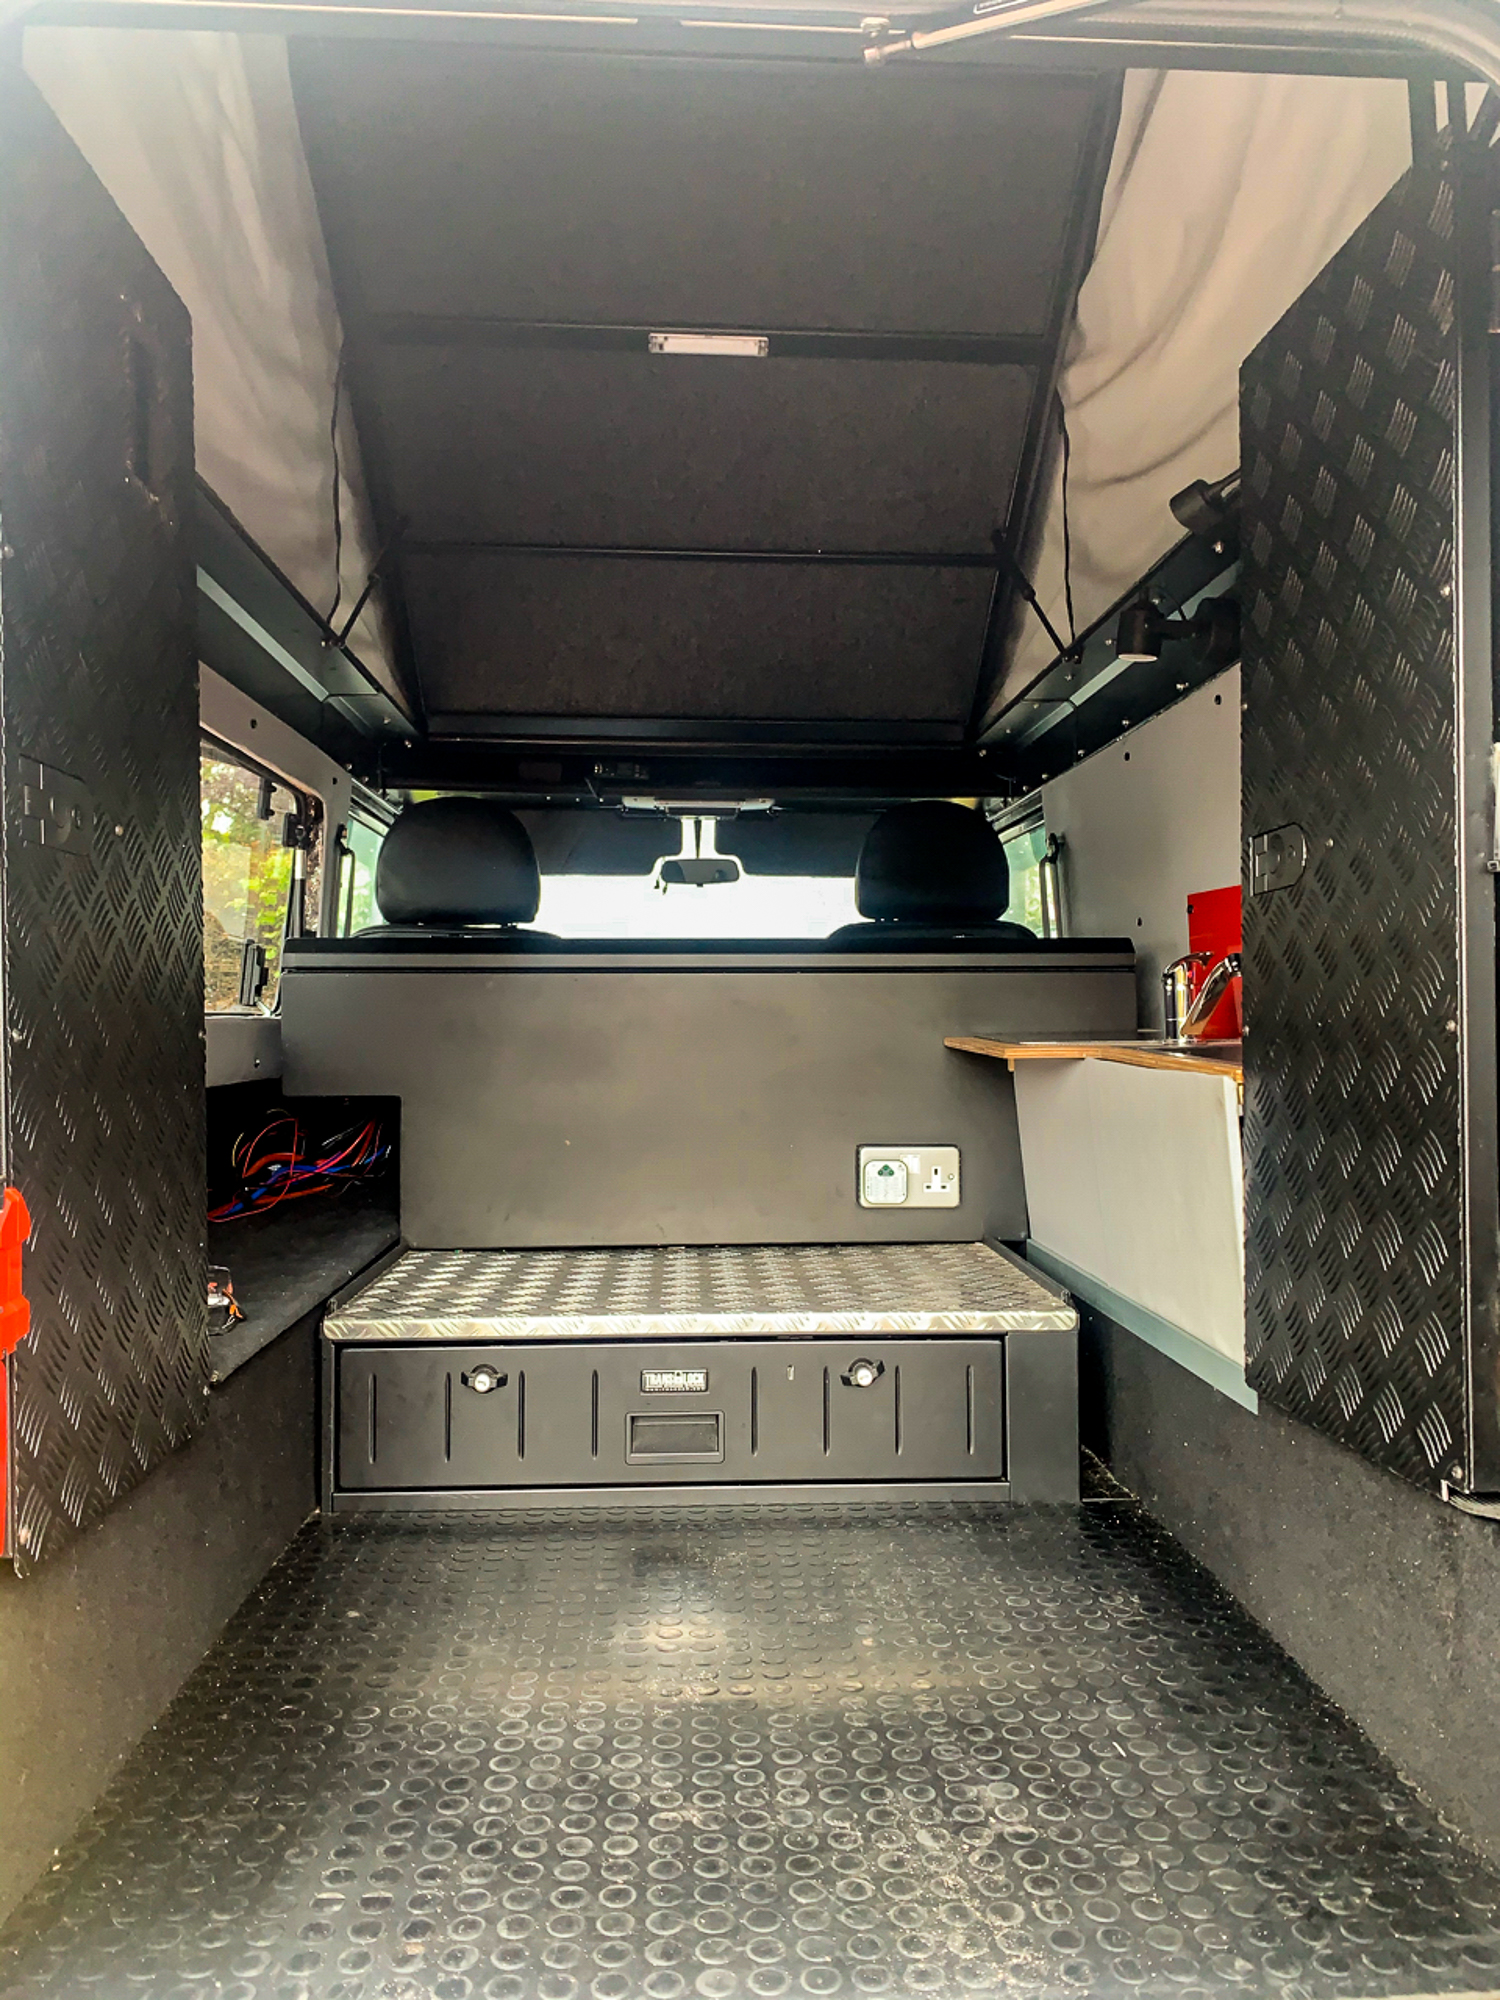
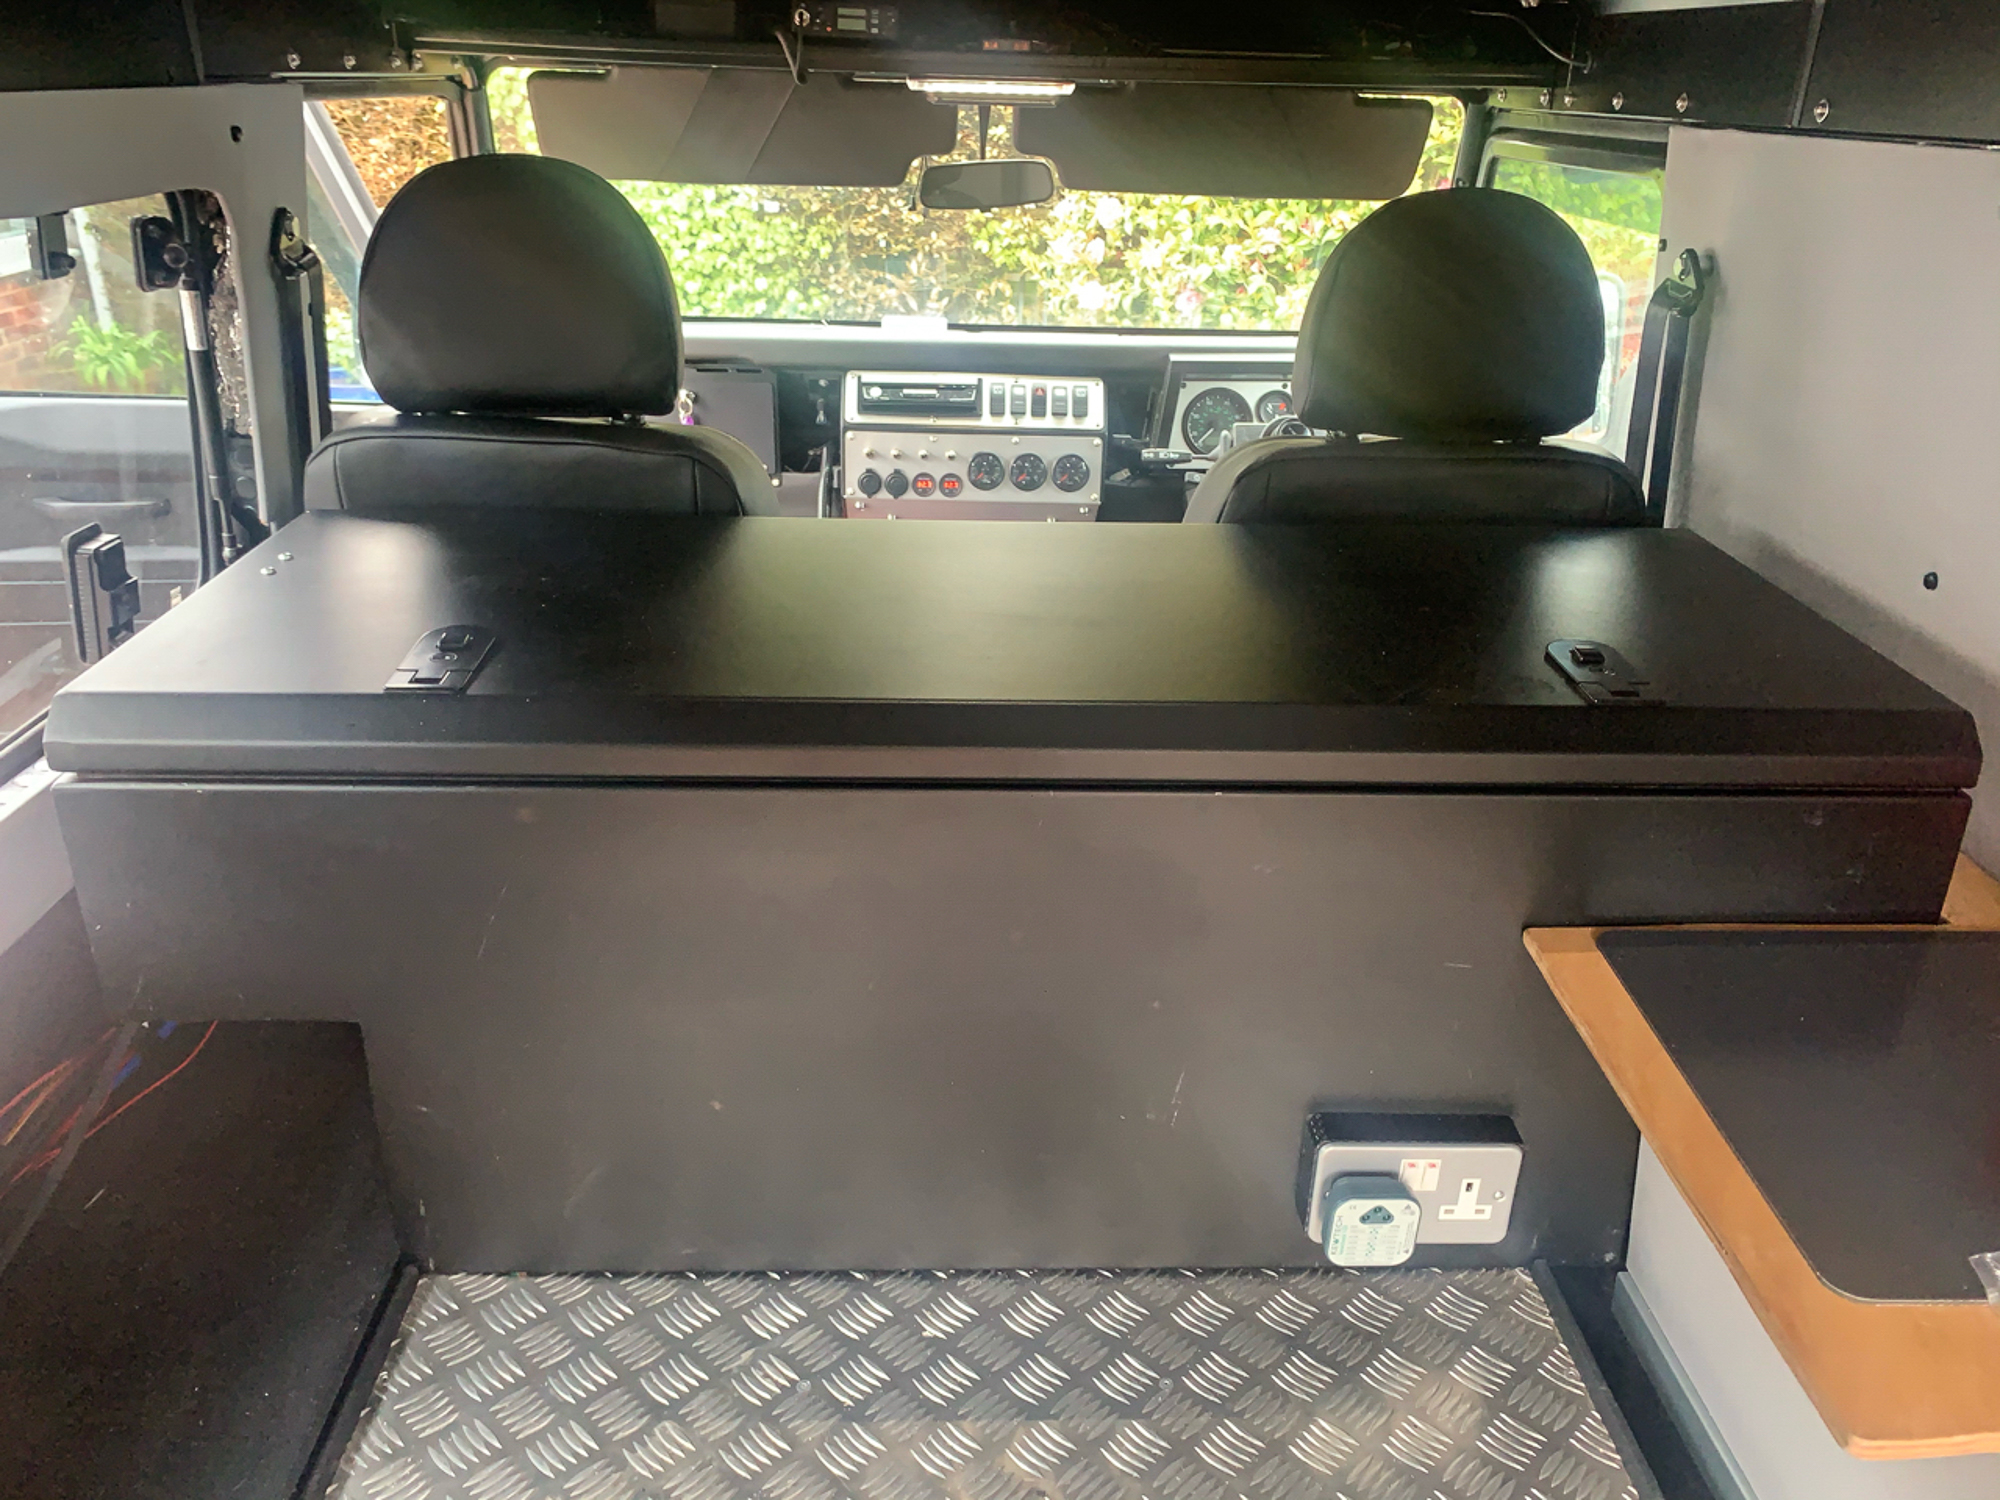
The gun drawer was pushed right back up against the bulkhead and the steel cabinet was placed on top of it. Not ideal, but the space under the left and right hand sides of the back steel cabinet can still be used. I could have had the shape of the black cabinet changed, but I did not, in case I changed my mind on the layout.
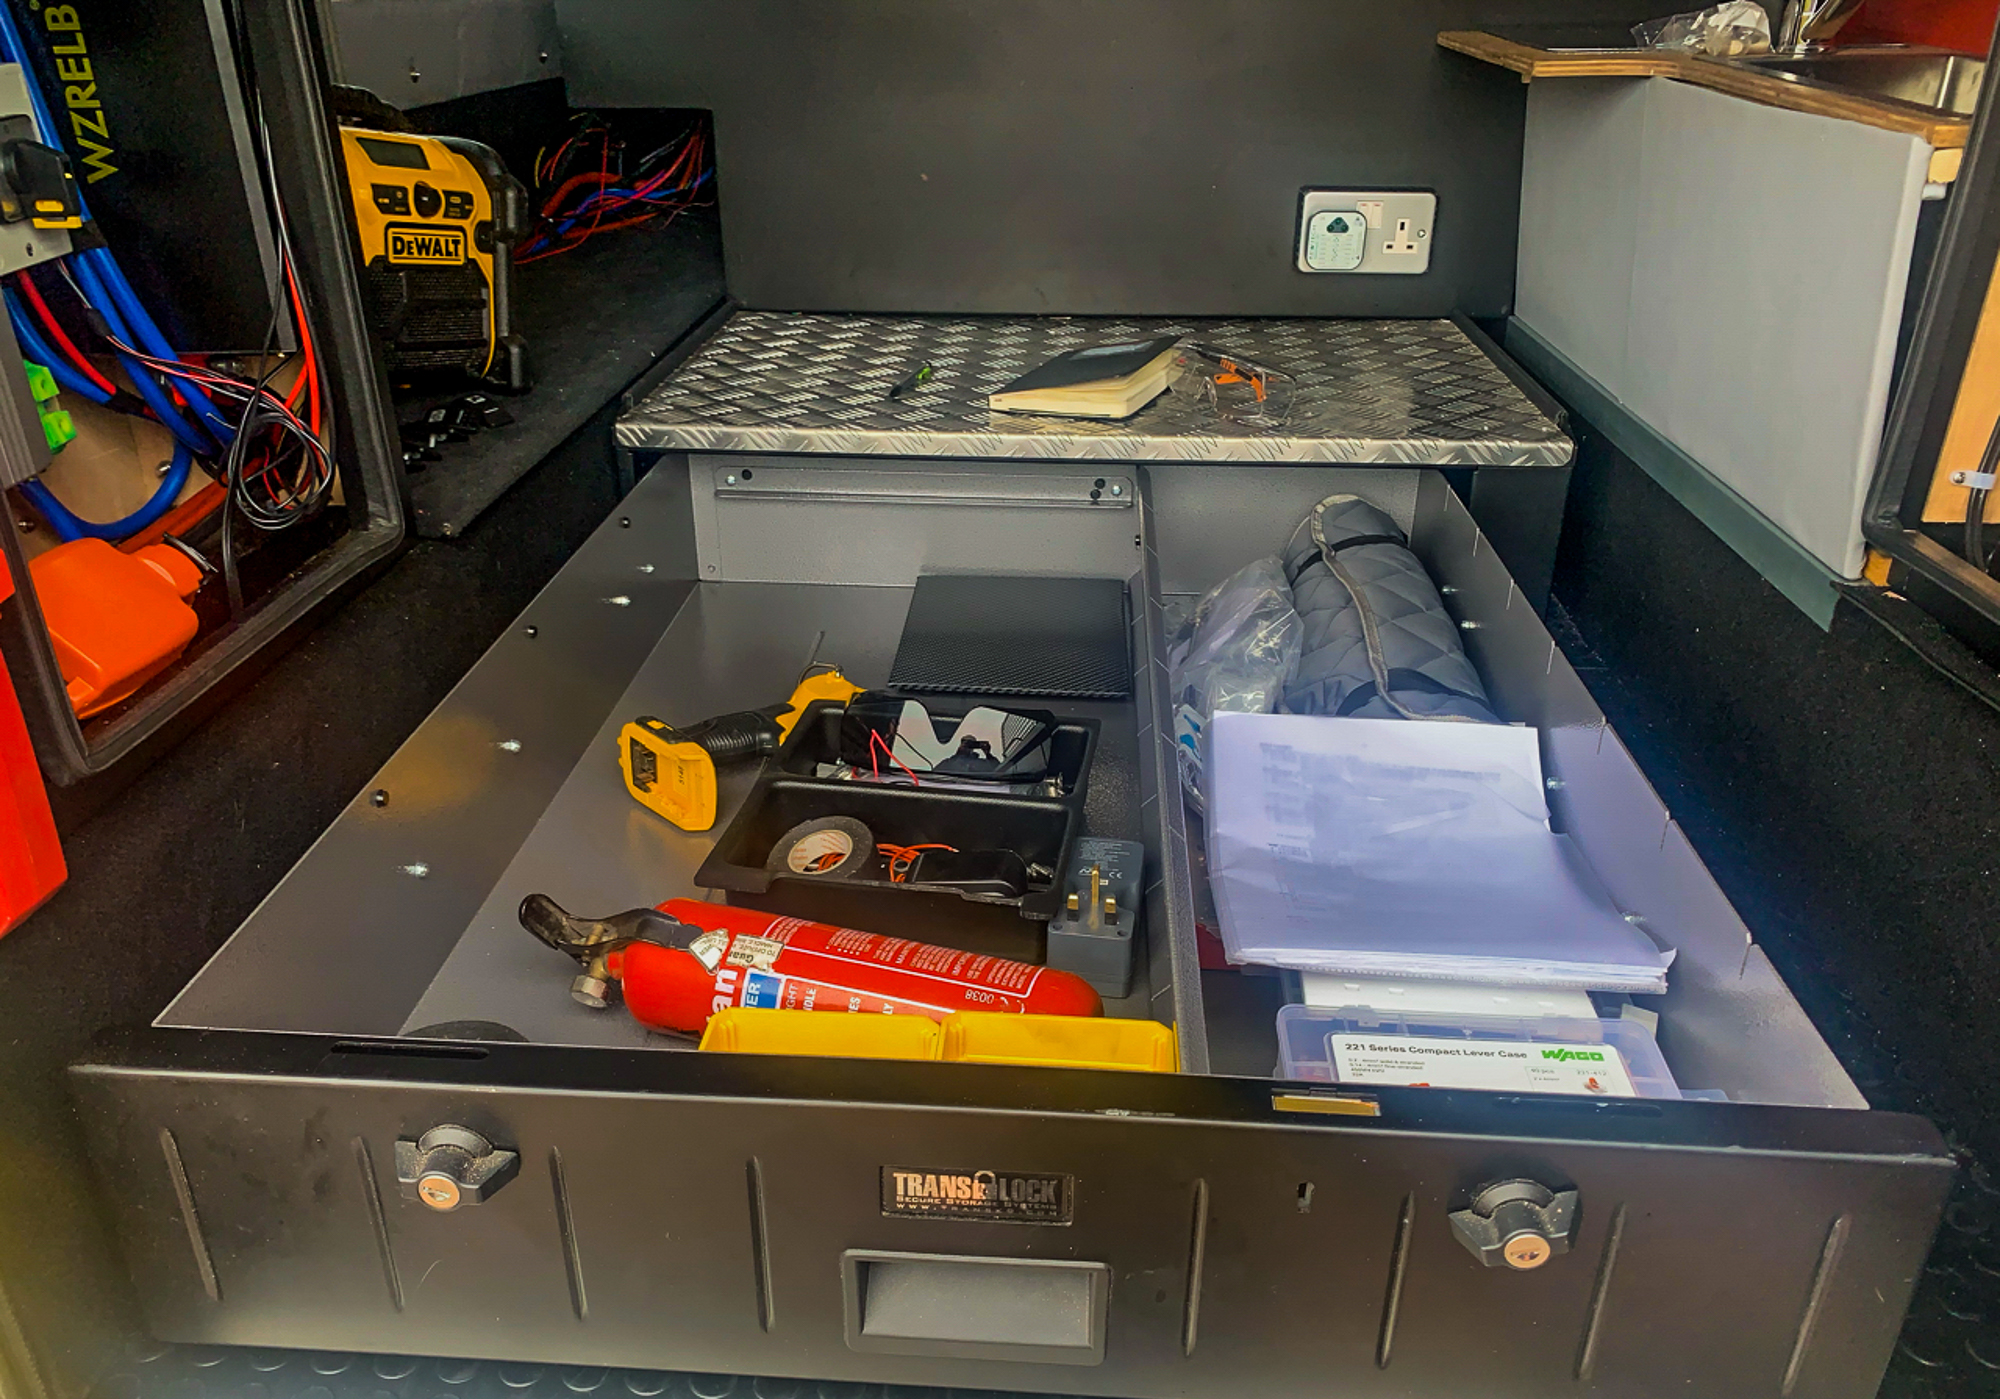
You can see how the drawer pulls out to give a fair amount of secure storage.
The leisure batteries will live in the black steel cabinet, which is why you can see all of the wires heading that way.
I bolted the “T” chest to the bulkhead through the back and to the gun chest though the bottom. I will bolt the gun drawer to the body of the vehicle through the floor, next time I am underneath with the drill! – Which will be when I fit the waste water tank which will be in the same area. I just did not want the fittings for the gun drawer to be under the water tank, in case of future maintenance.
In the image below, you can just make out the other cabinets which sit just inside of the rear door.
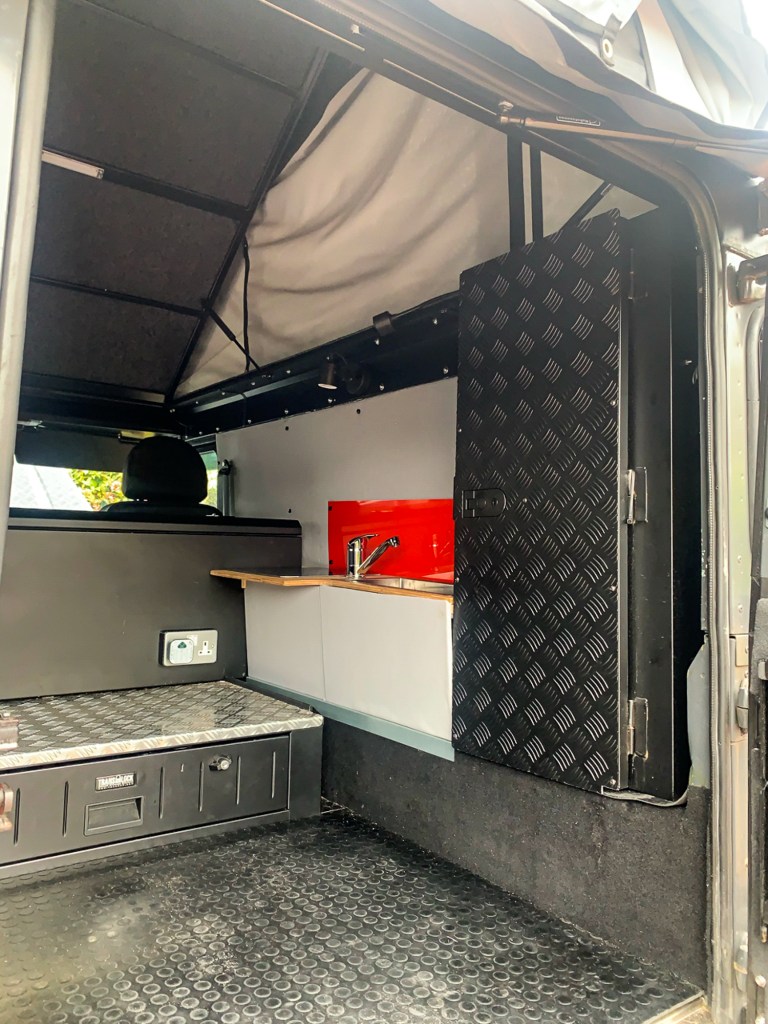
Here is the cabinet on the drivers side which will house the water pump etc, there will be one on the passenger side which will house the electrics.
The problem that I mentioned earlier with the cabinets that sit inside the rear door, you can see one here with the black chequer plate, is that they are designed to lay flat with lid opening upwards.
We wanted to use them upright, but with the door opening towards the back door to give space inside if they were opened, this meant that the door would slide off of the pins in the hinge after a while. After a little puzzling and dismissing re-welding the hinges, a simple solution was figured out.
Each door has three hinges with a pin that can be removed. I fitted the door using the hinges on the top and the bottom, and replaced the middle one with a cable tie; that will prevent gravity from working when the doors are open, which will not be that often.
I hope all of that makes sense, please ignore the sink……….I will cover that later.
