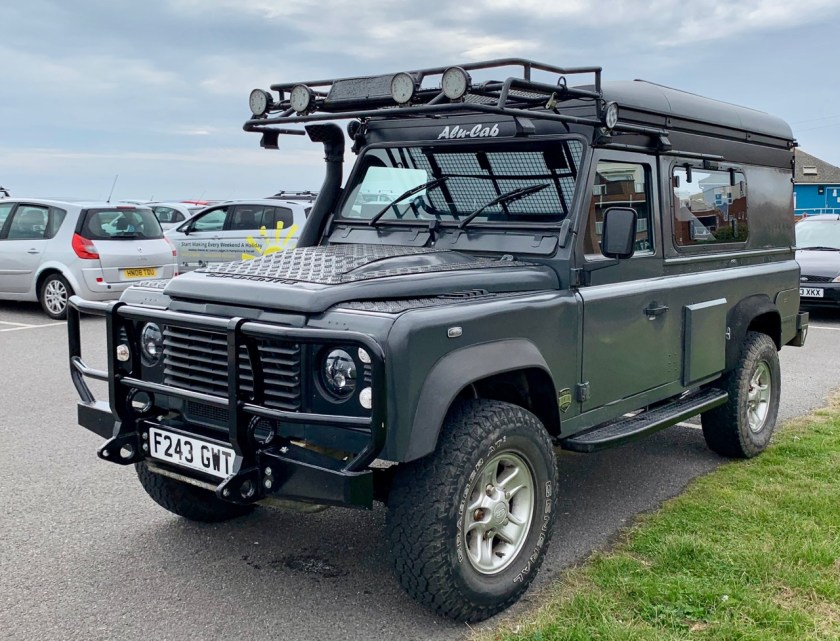
If you remember right at the beginning, the Perentie had what I call a front roof rack.
Secured to the guttering it projected out above the windscreen; one of the first jobs we did was to add support to the front wings so that it could bear stop weight and also to stop it from moving.
You can see it before the supports were installed, in this early picture – below..
The roof rack was not in the best condition and was removed early in the build as the gutter fixings were in the way when we fitted the side awning.
It sat in the garden for over a year rusting even more…………
As we were reaching the end of the build I started to consider what to do with the rack, it was heavy and rusty and needed some TLC. I could get an aluminium one made which would be lighter, but more expensive.
I had mentioned this to my friend Neil at Read Fabrication when we made the changes necessary for the heater. The rack was big and heavy, so Neil offered to come over with his van to take a look and if needed take it back to his workshop.
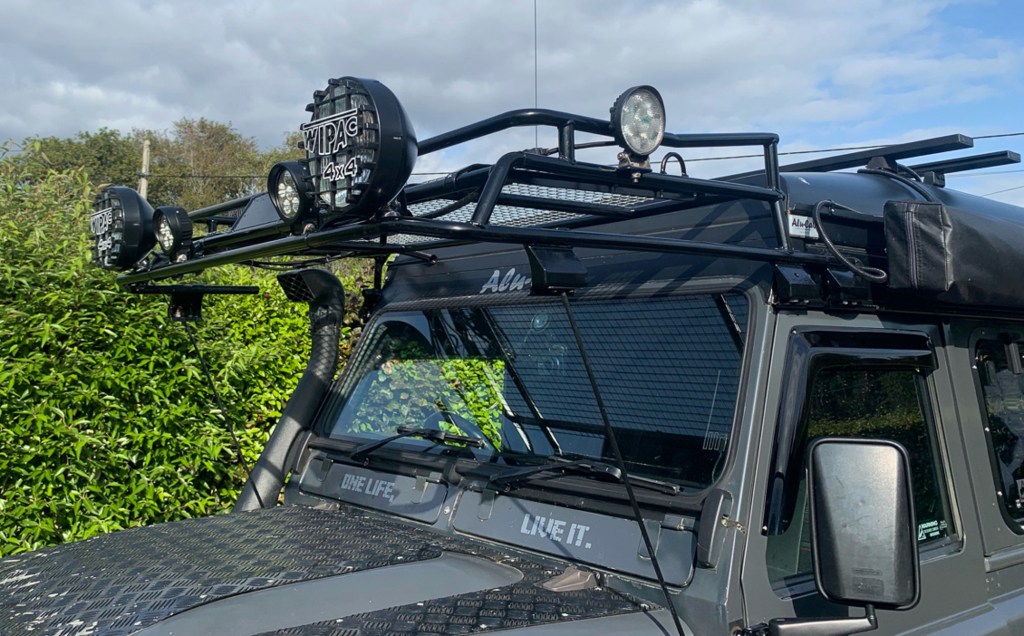
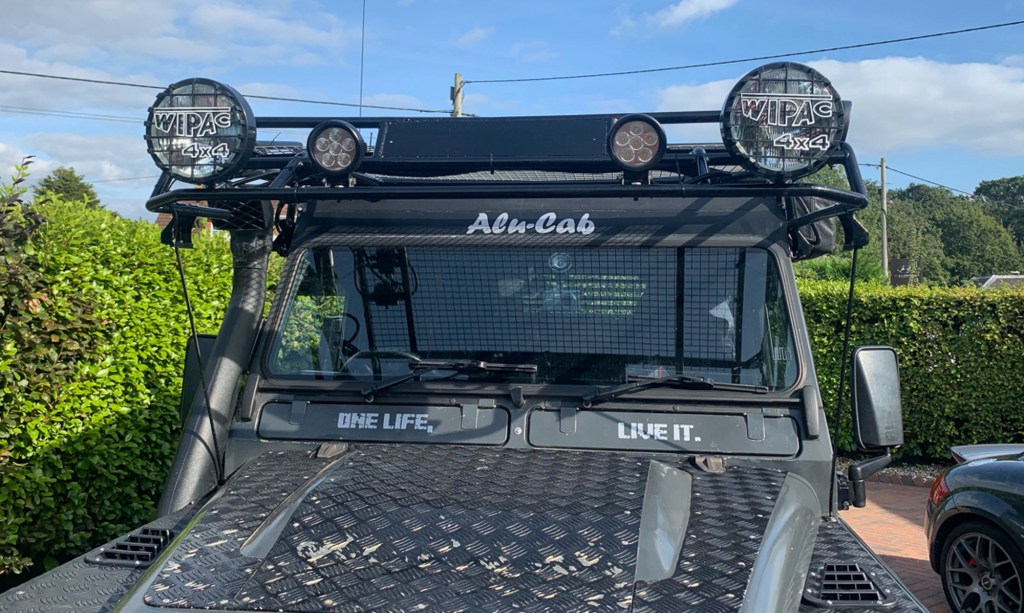
Neil said that he could cut out some unnecessary metal from within the rack to reduce the weight, shorten the gutter mount so it did not foul the awning and make a couple of other small repairs. Neil would also weld in a couple of brackets for some different lights. It would then be powder coated – This was in May .
Neil did his part of the job quickly and kindly took to the powder coaters in Totton for me, along with some other parts of his. The coating company kept putting the job back and it was not until September, after many phone calls that we eventually got the parts back – just in time for our big trip (see later!)
I drove over the Neils and we fitted the rack together, it was then ready to have the lights fitted.
The old LED lights fitted to the side of the rack were fine, but I decided to replace the others as they were quite corroded. I opted to get a pair of old school halogen driving lights and team them with an additional pair of powerful LED’s – should look good I thought.
I had already run cables from the switches in the dash for the LED’s. The Halogens needed more power so I used the last spare feed on my fusebox to power these via a relay behind the main dash – a separate switch was placed in easy reach of the steering wheel. This happened to be a permanent feed, so I can run these lights without the ignition if needed, the other pair are ignition controlled, so a nice option to have.
I used a pre-existing hole on the side of the Alucab top to get the wires outside. I used 1.5mm twin core H0YRN rubber cable for this, job and will use the same to wire up all of the lights. Another scanseal will keep it all watertight.
Ready for the Scan Seal 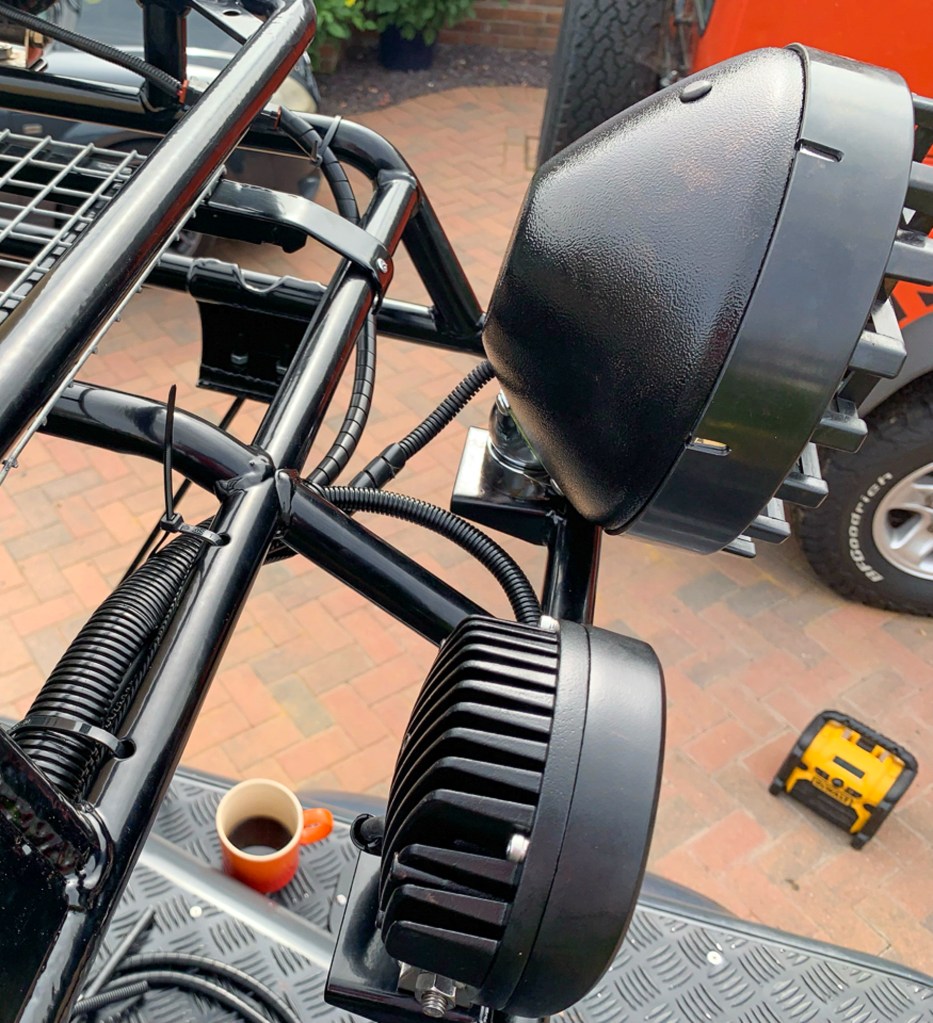
Lights fitted 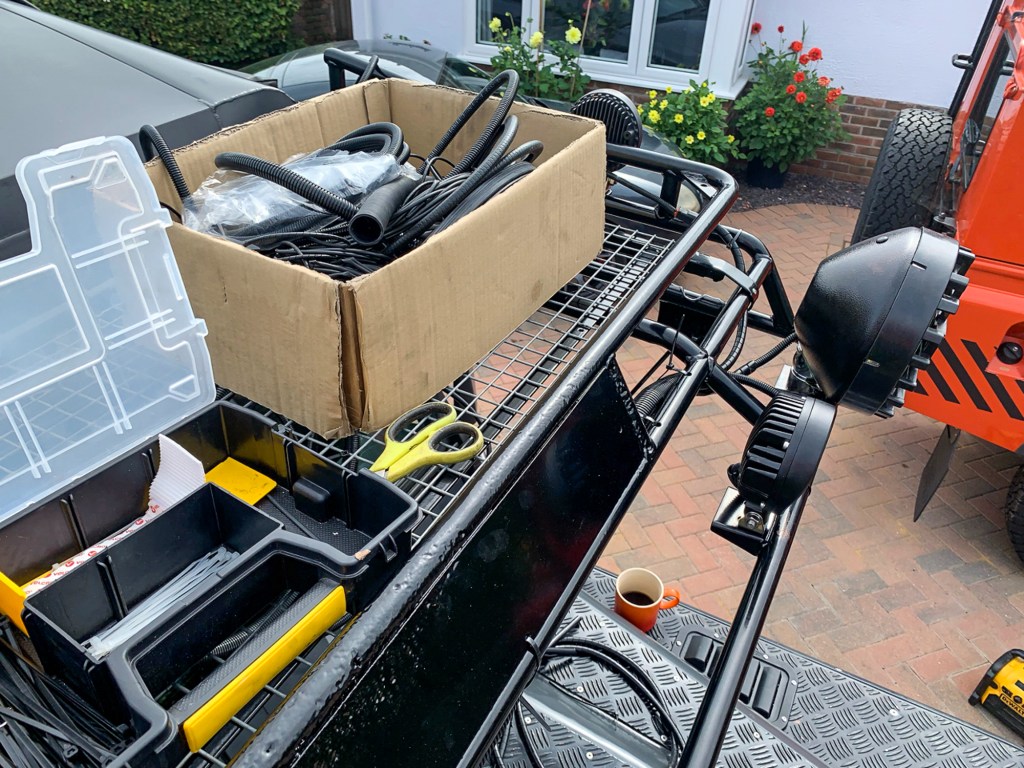
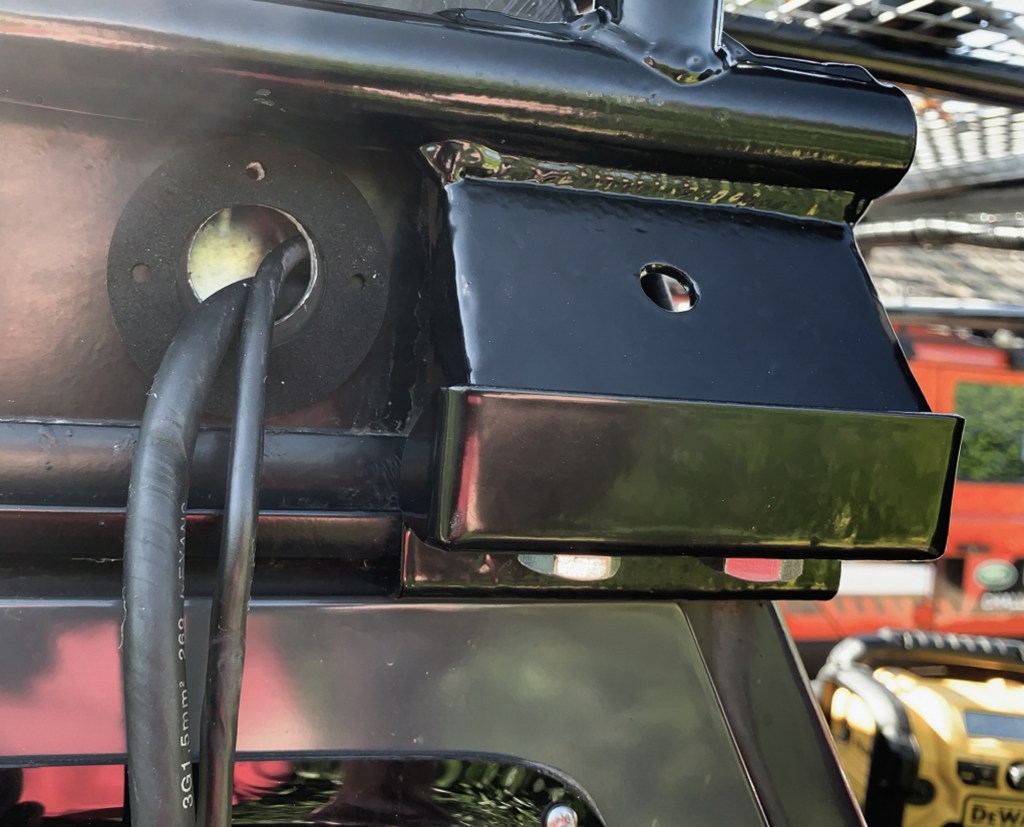
I pre-fitted Deutche Plugs to the lights before mounting them on the rack – this makes it easy to swap out a light of one gets damaged. I also sourced some weather proof boxes for the connections. It was then a question of figuring the best run for the cables and connecting it all up.
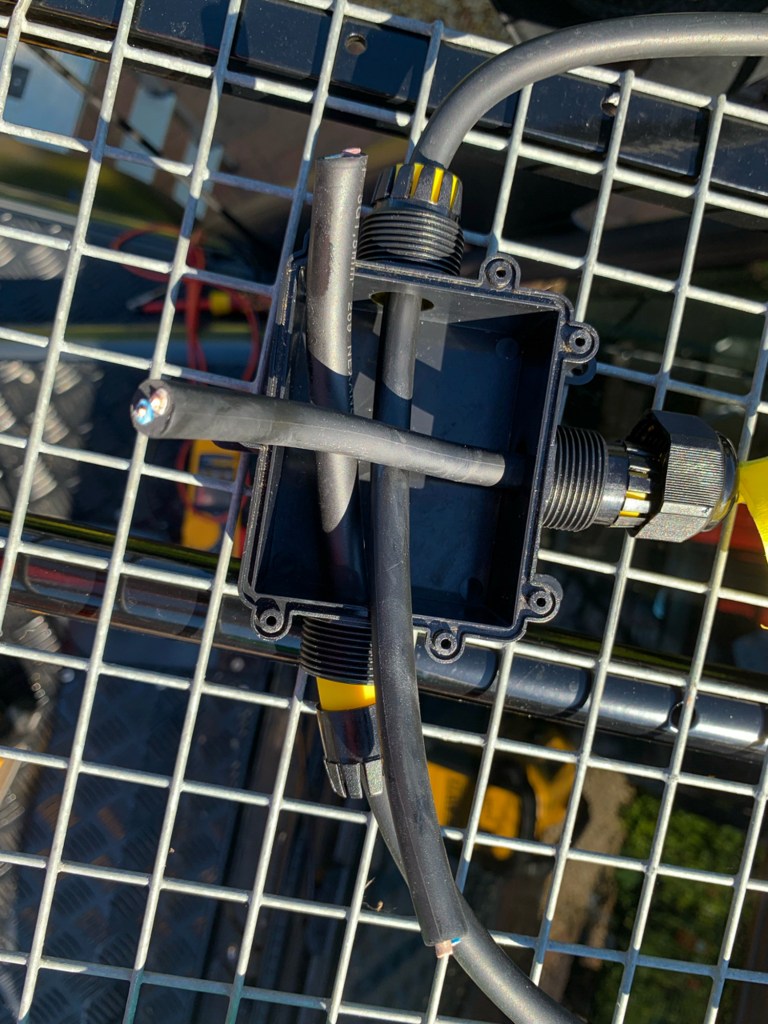
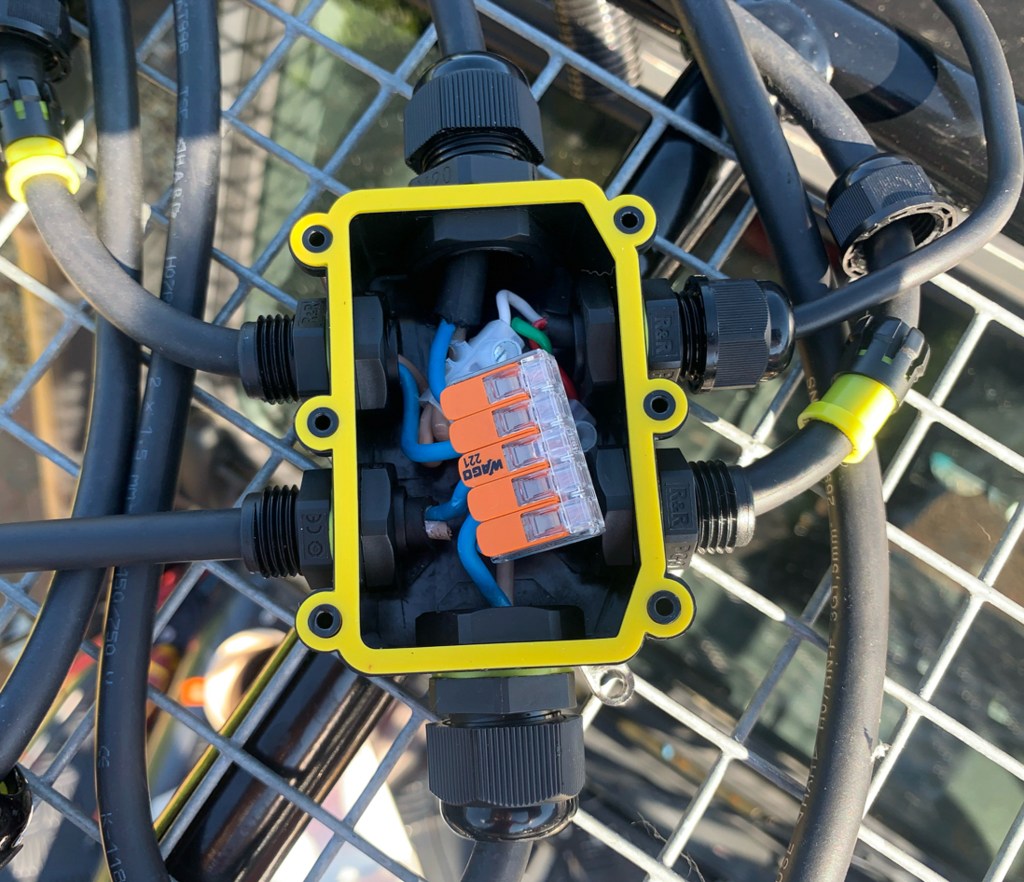
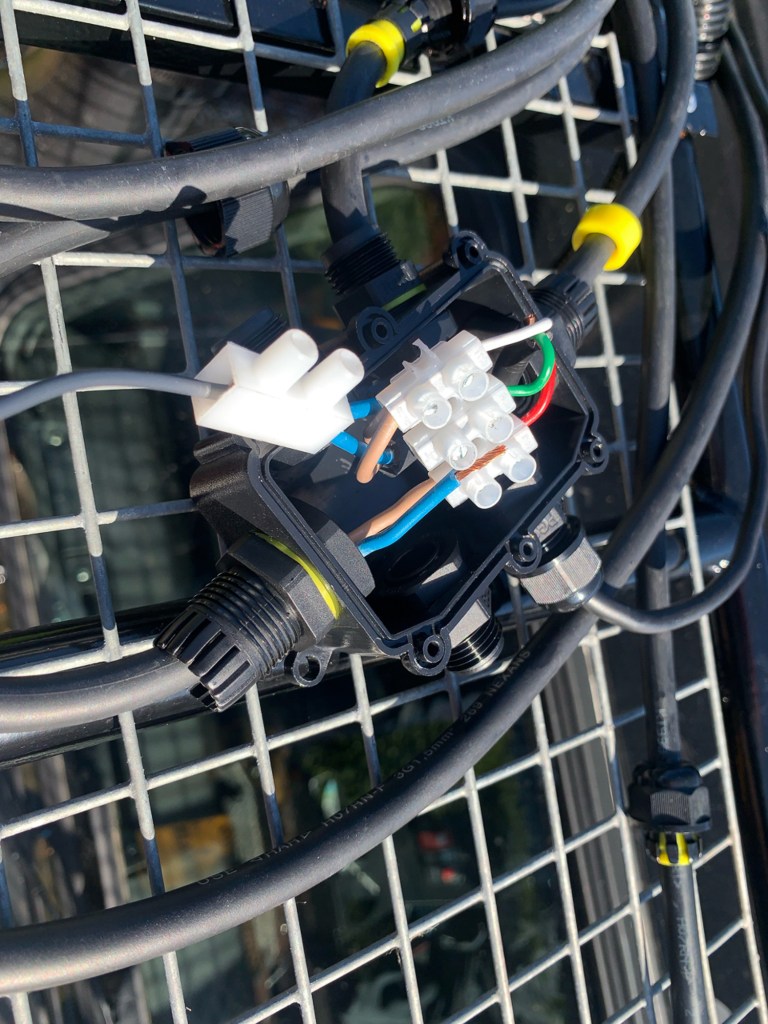
The H0RYN cable is not that flexible and making some of the connections in the boxes was a little tricky, I used wago connectors in one as space was limited.
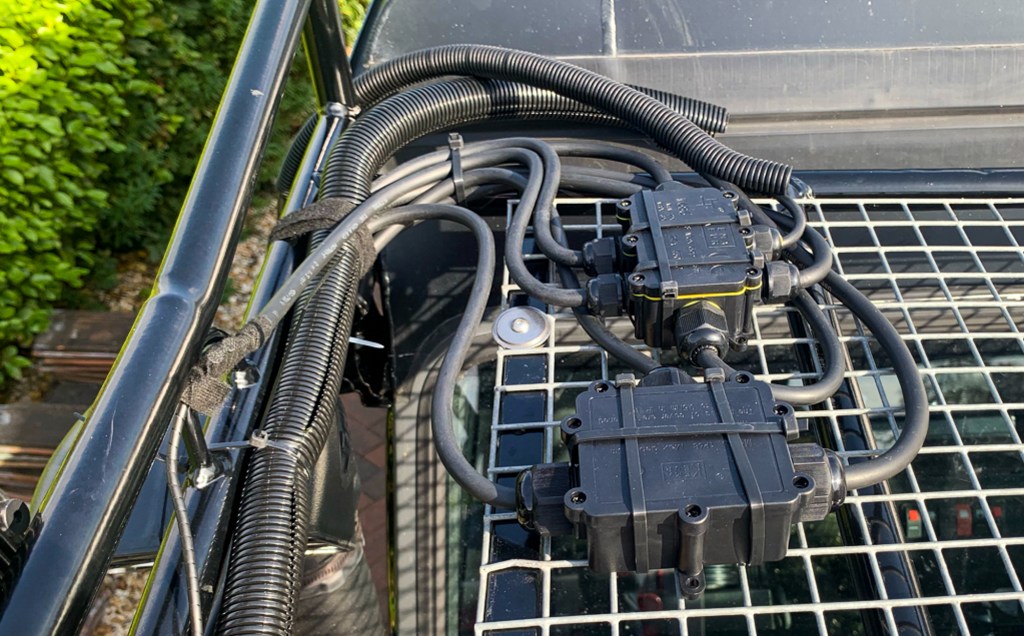

Eventually the task was completed, all six lights wired in and working.
Whilst I had had the forethought to run an earth from the interior of the vehicle, I ended up with two connection boxes. It was either run an earth from one to the other, or create a new one “up top”. I chose the later, at least I knew where it was should there be a problem.
You can just see the supports onto the wings.
