So, we left off at the point where the following parts had all been replaced/refurbished at the same time:
Heater fan and box
Starter Motor
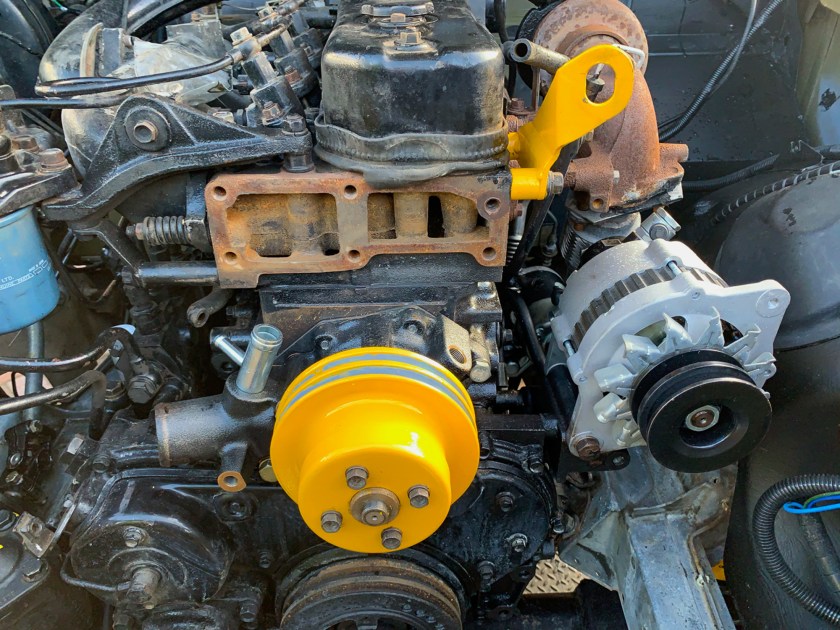
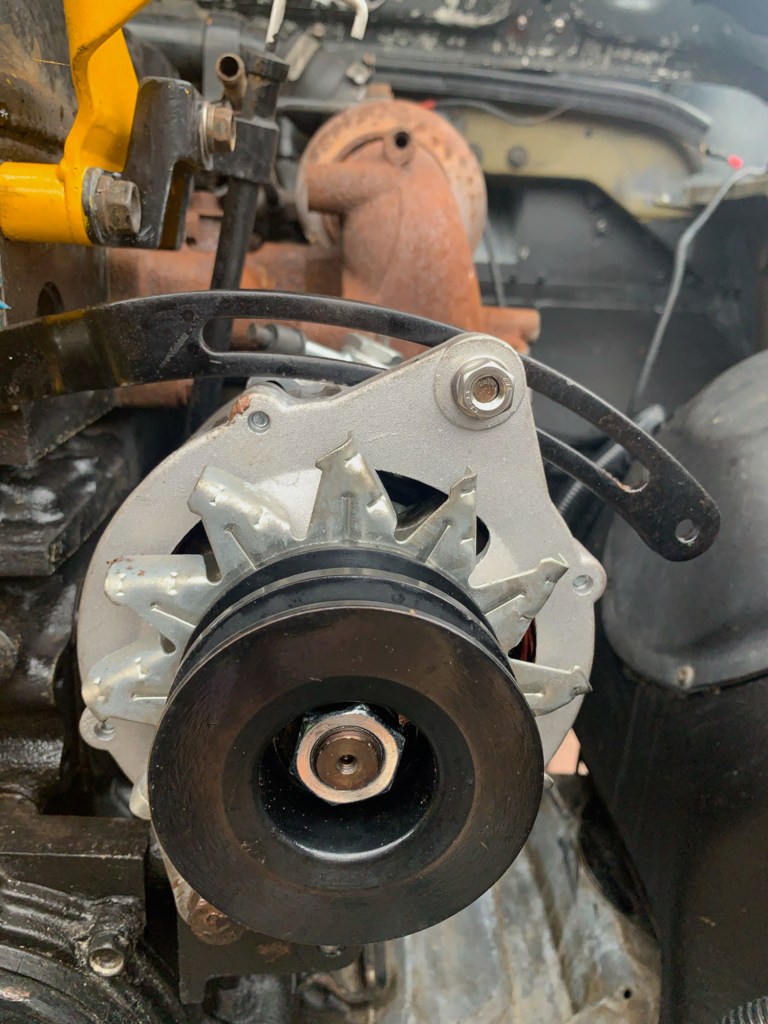
Alternator
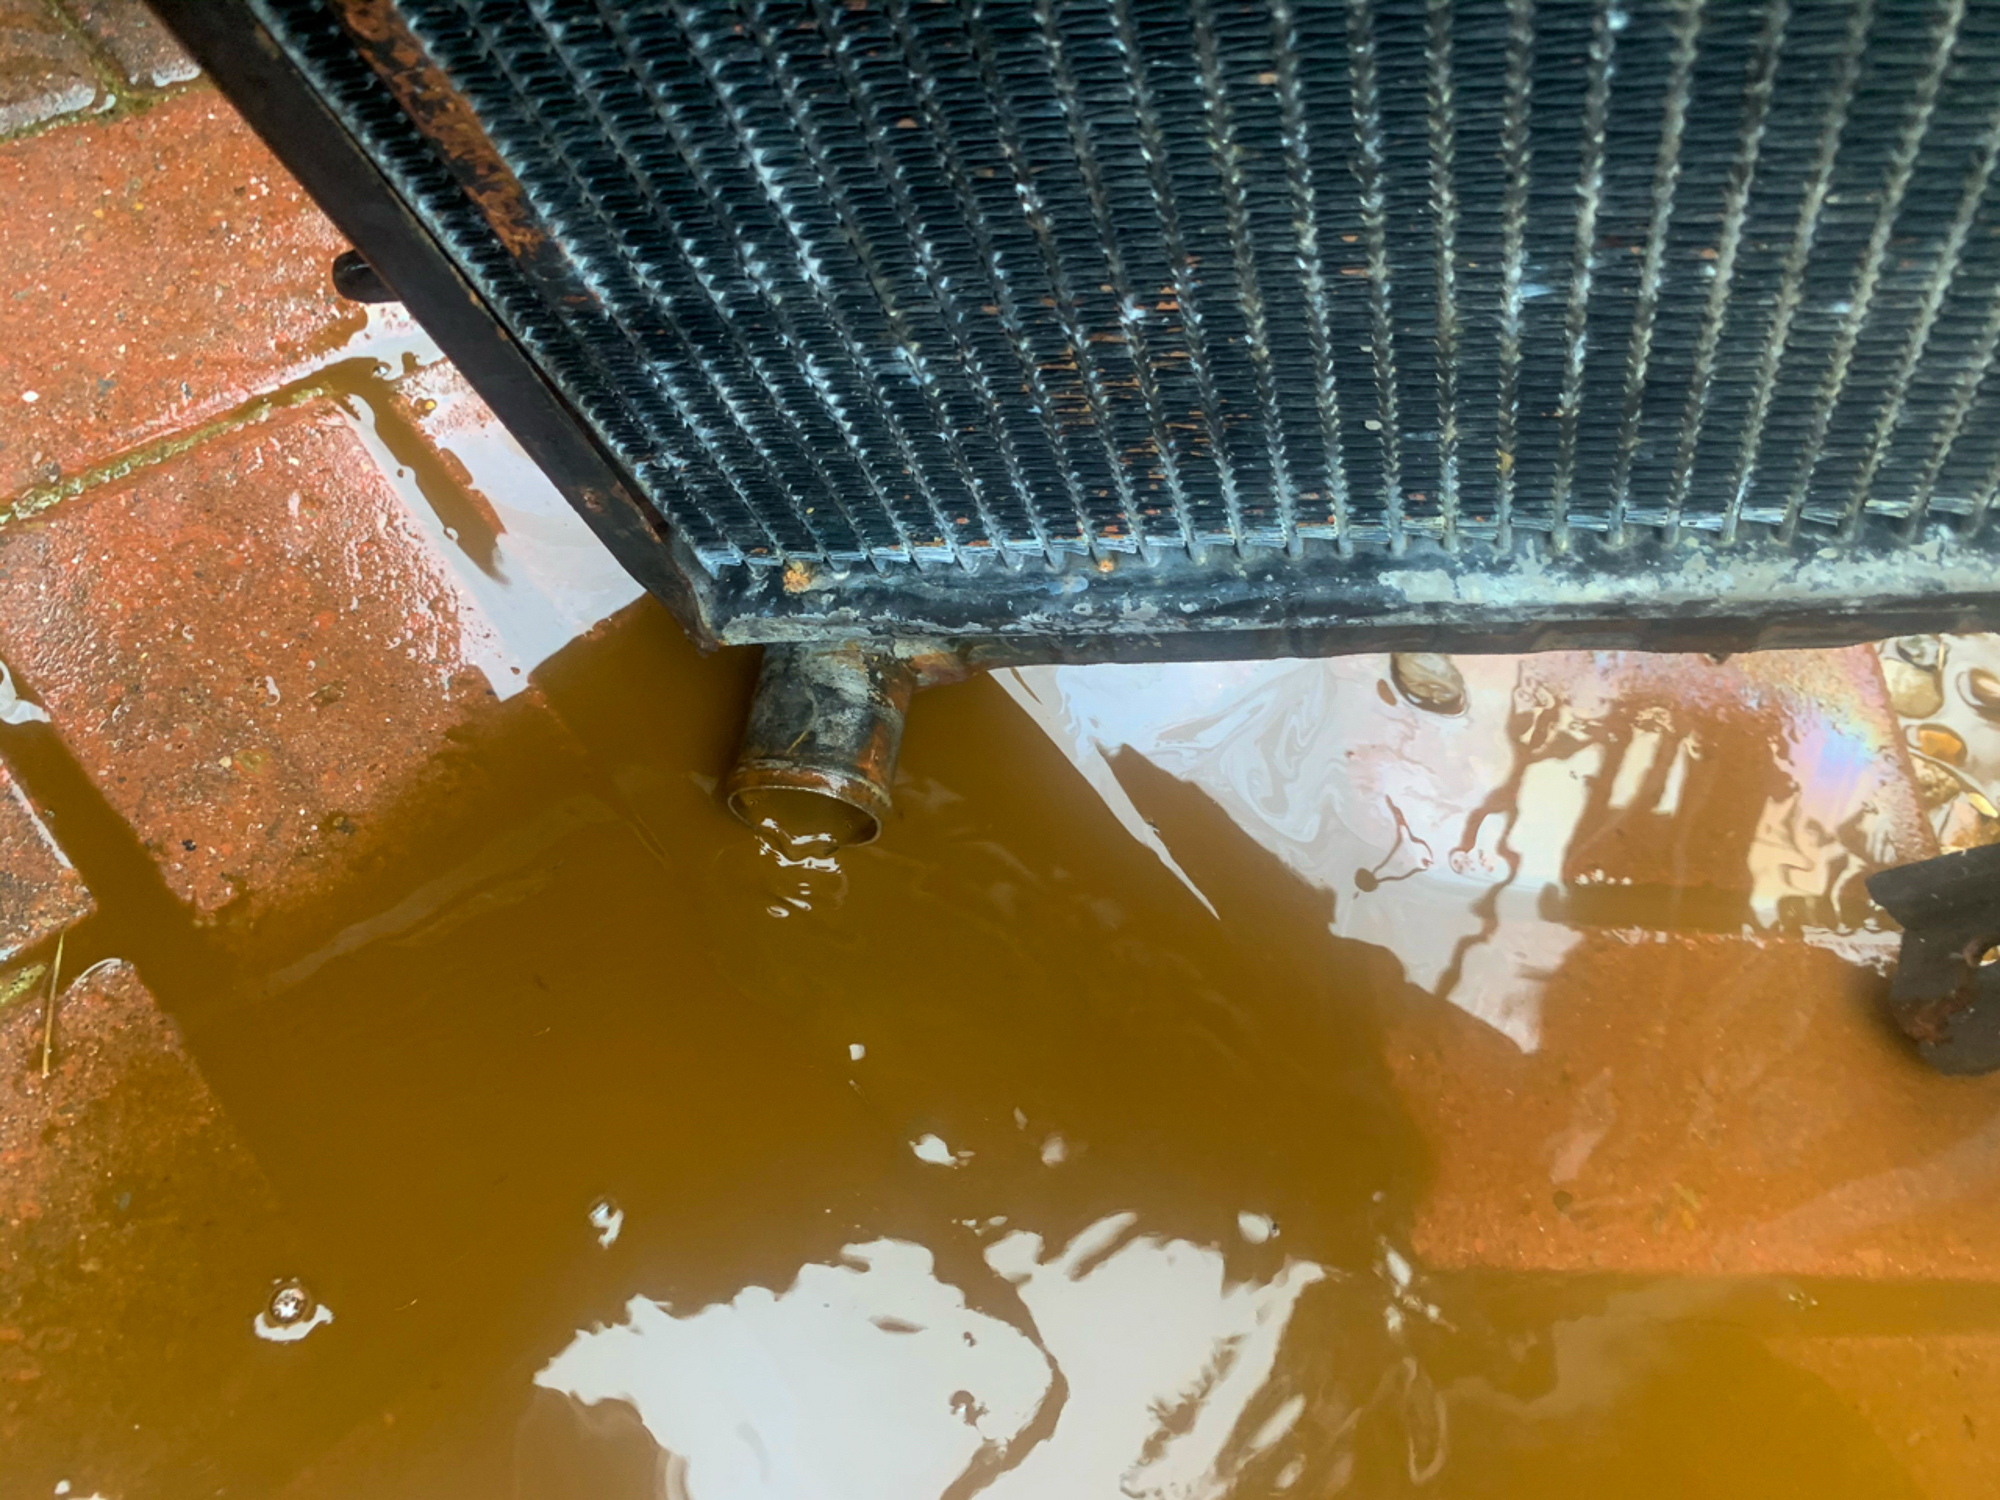
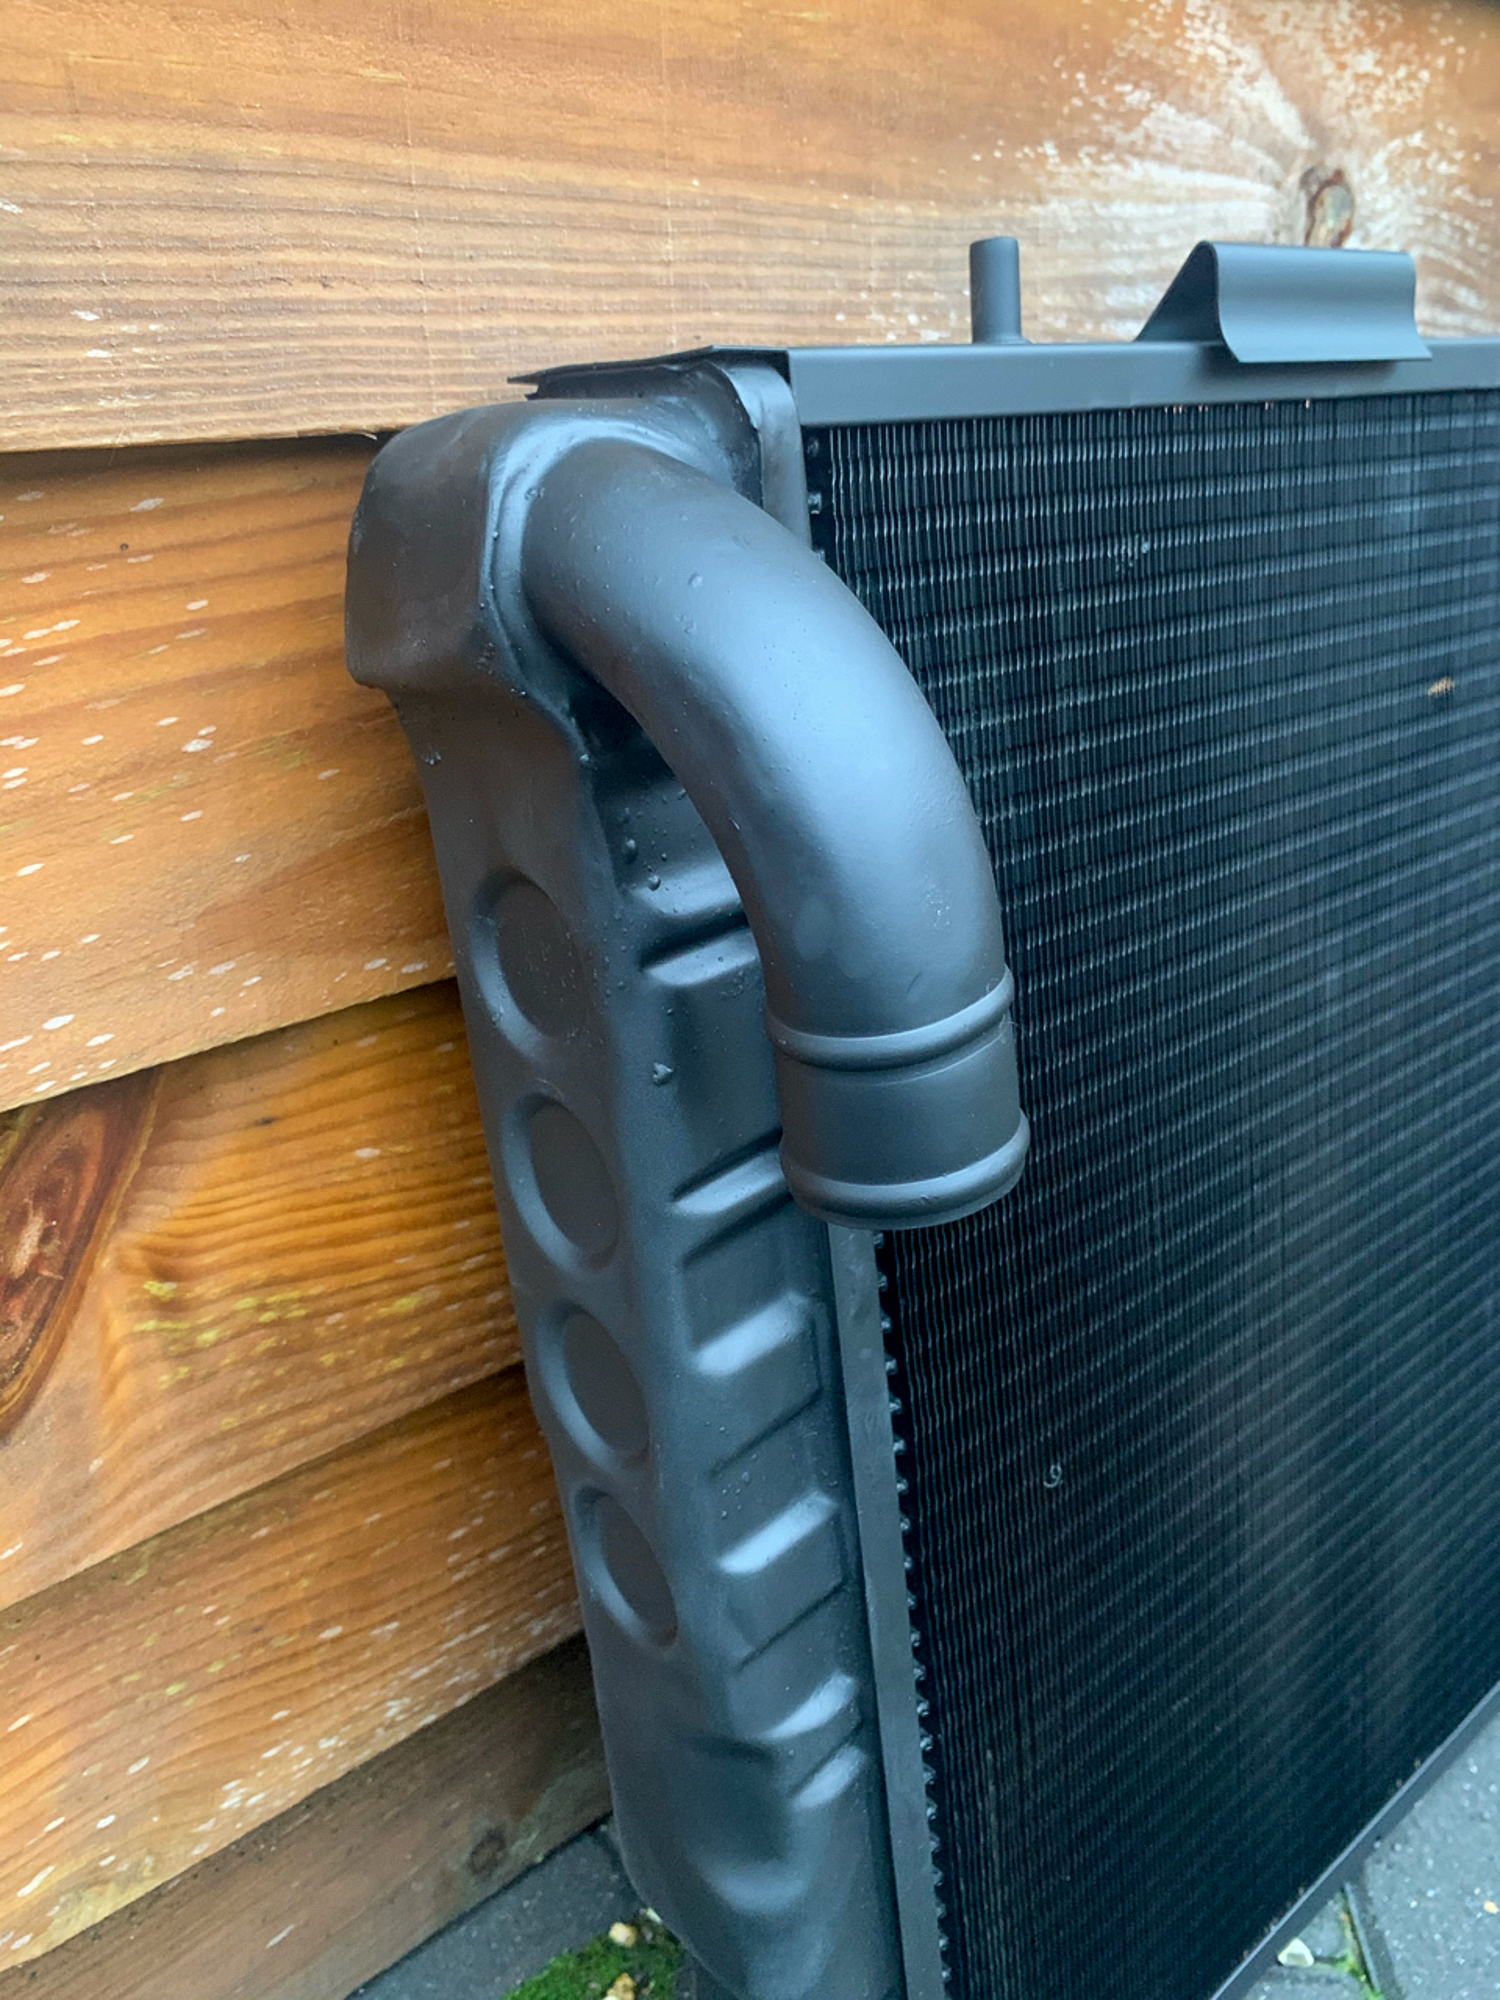
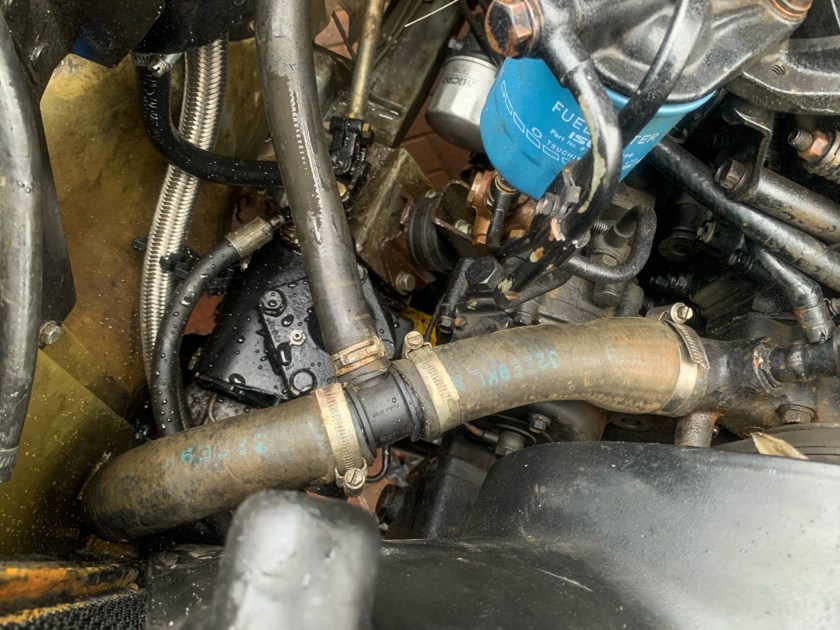
Radiator
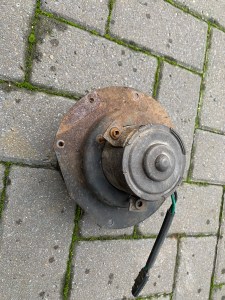
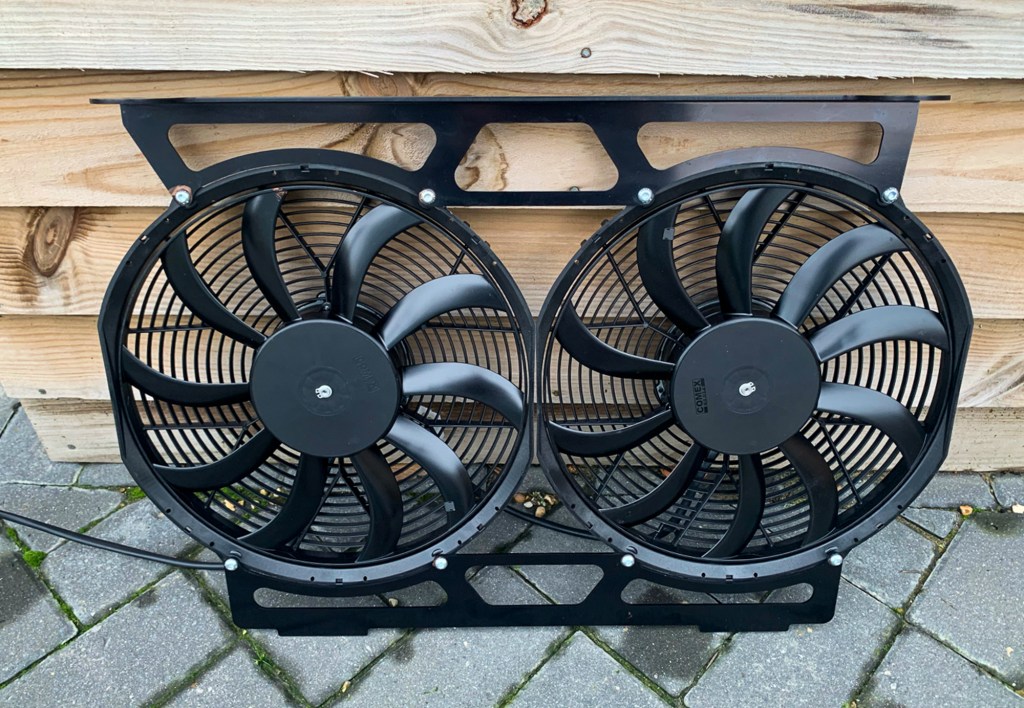
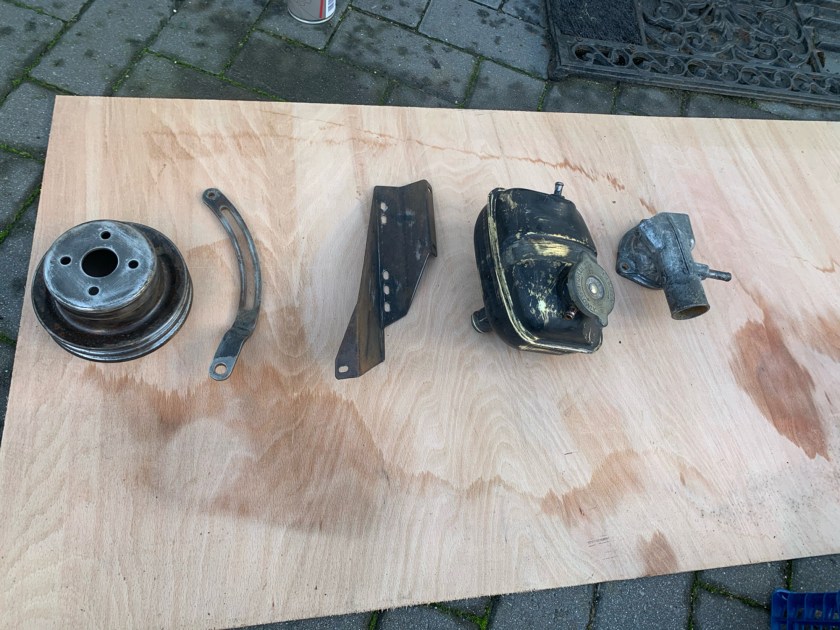
Cooling changed to Electric Fan from viscous coupling
Thermostat
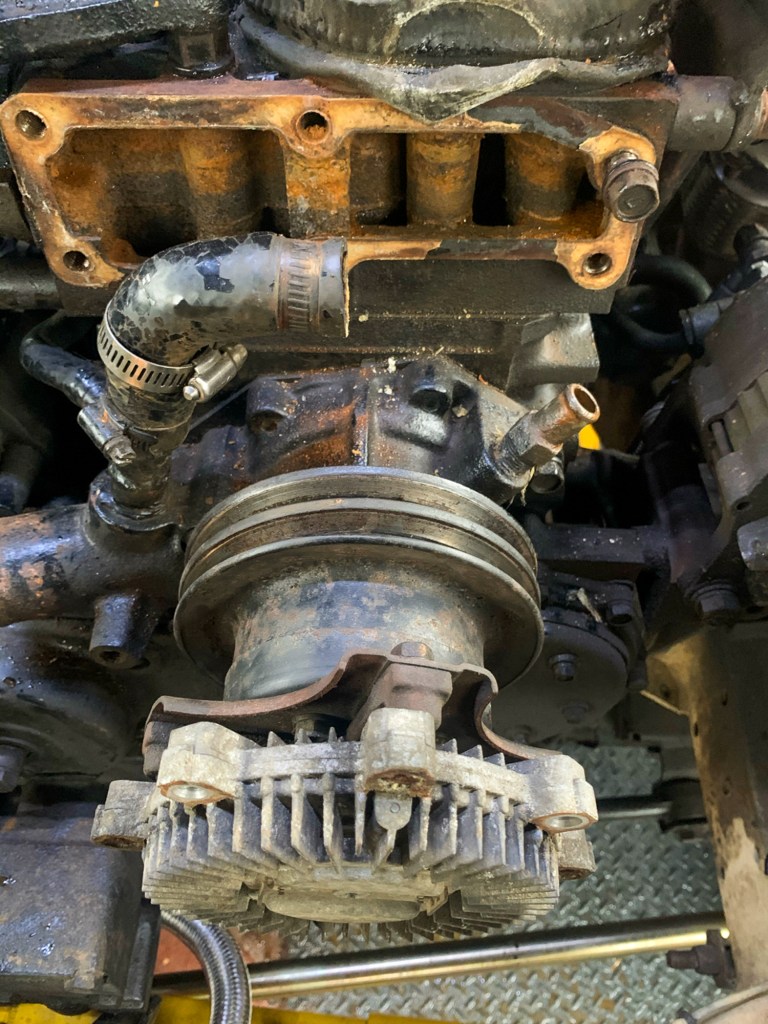
Water Pump
and all of the nuts, bolts hoses, gaskets etc etc.
So it fired up OK and I could see no leaks………which was good. As stated in the previous post it was getting late, and it was not getting up to a temperature sufficient to start the fan.
So the next day we go out for a drive, not venturing too far from home. Eventually the water temperature gauge gets to normal; after staying static for ages, it made a sudden sprint for the middle part of the gauge – which was also a new part.
I could not hear the fan kick in, but the windows were open and there was no floor as I was still working on the interior, so it was somewhat noisy! I headed back to home to have a listen and to top up the coolant if required. Expecting a quick pit stop at home, I just pulled onto to front of the drive, not all of the way to my usual spot. The fan was running which was good, so I waited for it to stop and checked the coolant level which was also OK.
I thought then I would go for another longer drive………..but it would not start. The starter was operating, sounding like a machine gun, but was not engaging to turn the engine over. Luckily my friend Darren was passing by and he dropped in to do some trouble shooting.
We did all the usual checks, the hammer whilst cranking (not sure why this would work as it was a new starter), relays (these were all new), and checking that current was getting to the starter.
What, no current to the starter with all new wiring? The battery isolator had failed. Once bypassed it still did not start – a red herring, but something thats needs to be dealt with (See another post)
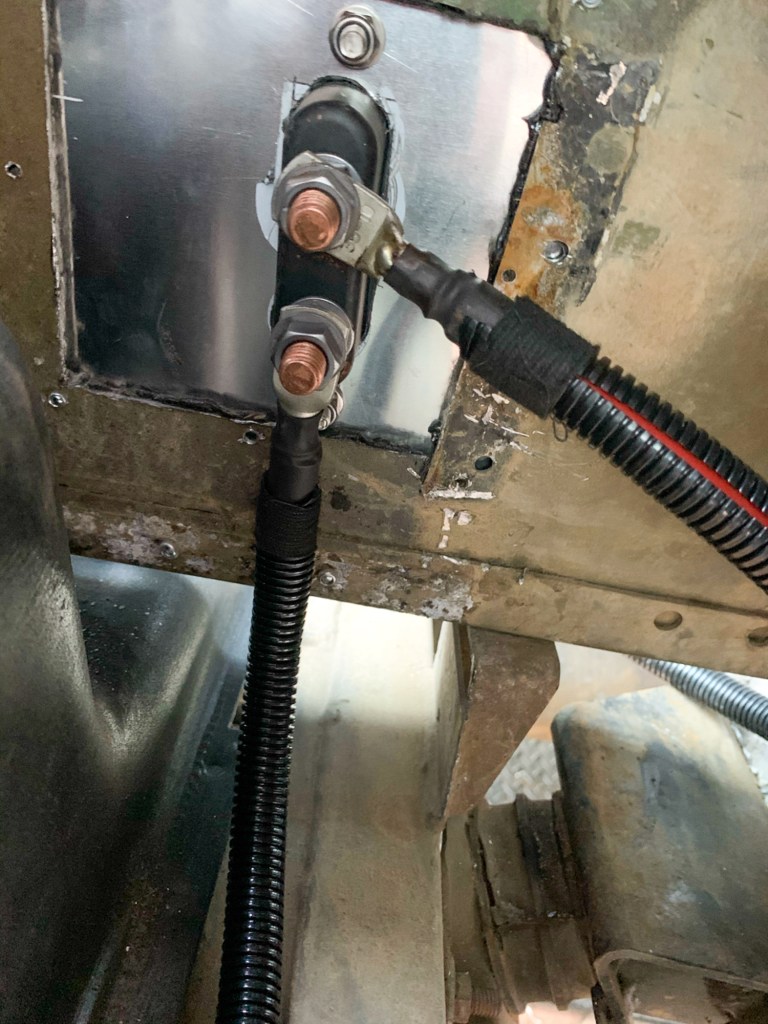
We did notice that the earth between the block and the chassis was getting hot, very hot in fact and smoking…………This is ironic as it was the only piece of wiring that I did not replace. I did take it off and clean it up, but because it seemed to be copper I took the executive decision to leave it on. That will teach me.
We decided that the earth was probably the problem, so the next day I made up a replacement – no smoke , but no start either. The Perentie was blocking access to the drive, by chance I had moved Benita’s car onto the road in order to get the Perentie out of the drive; which was lucky for me!
I had to get it moved, so I re-fitted the old starter and – it fired up on the button
Oh, what to do – could it be the new starter; which I had had on the shelf for over a year – out of warranty………..
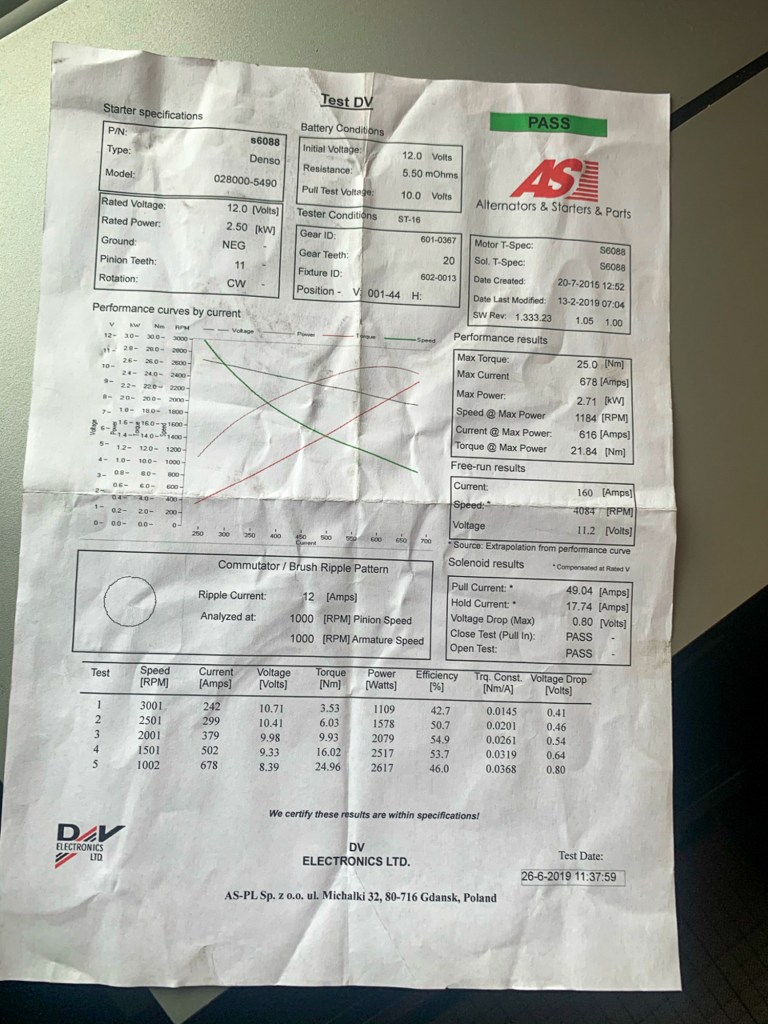
Anyway I called up the supplier, the Alternator and Starter Motor company, who were extremely helpful. They walked me thought a few tests during which it “machine gunned” again and they agreed to send me out a replacement.

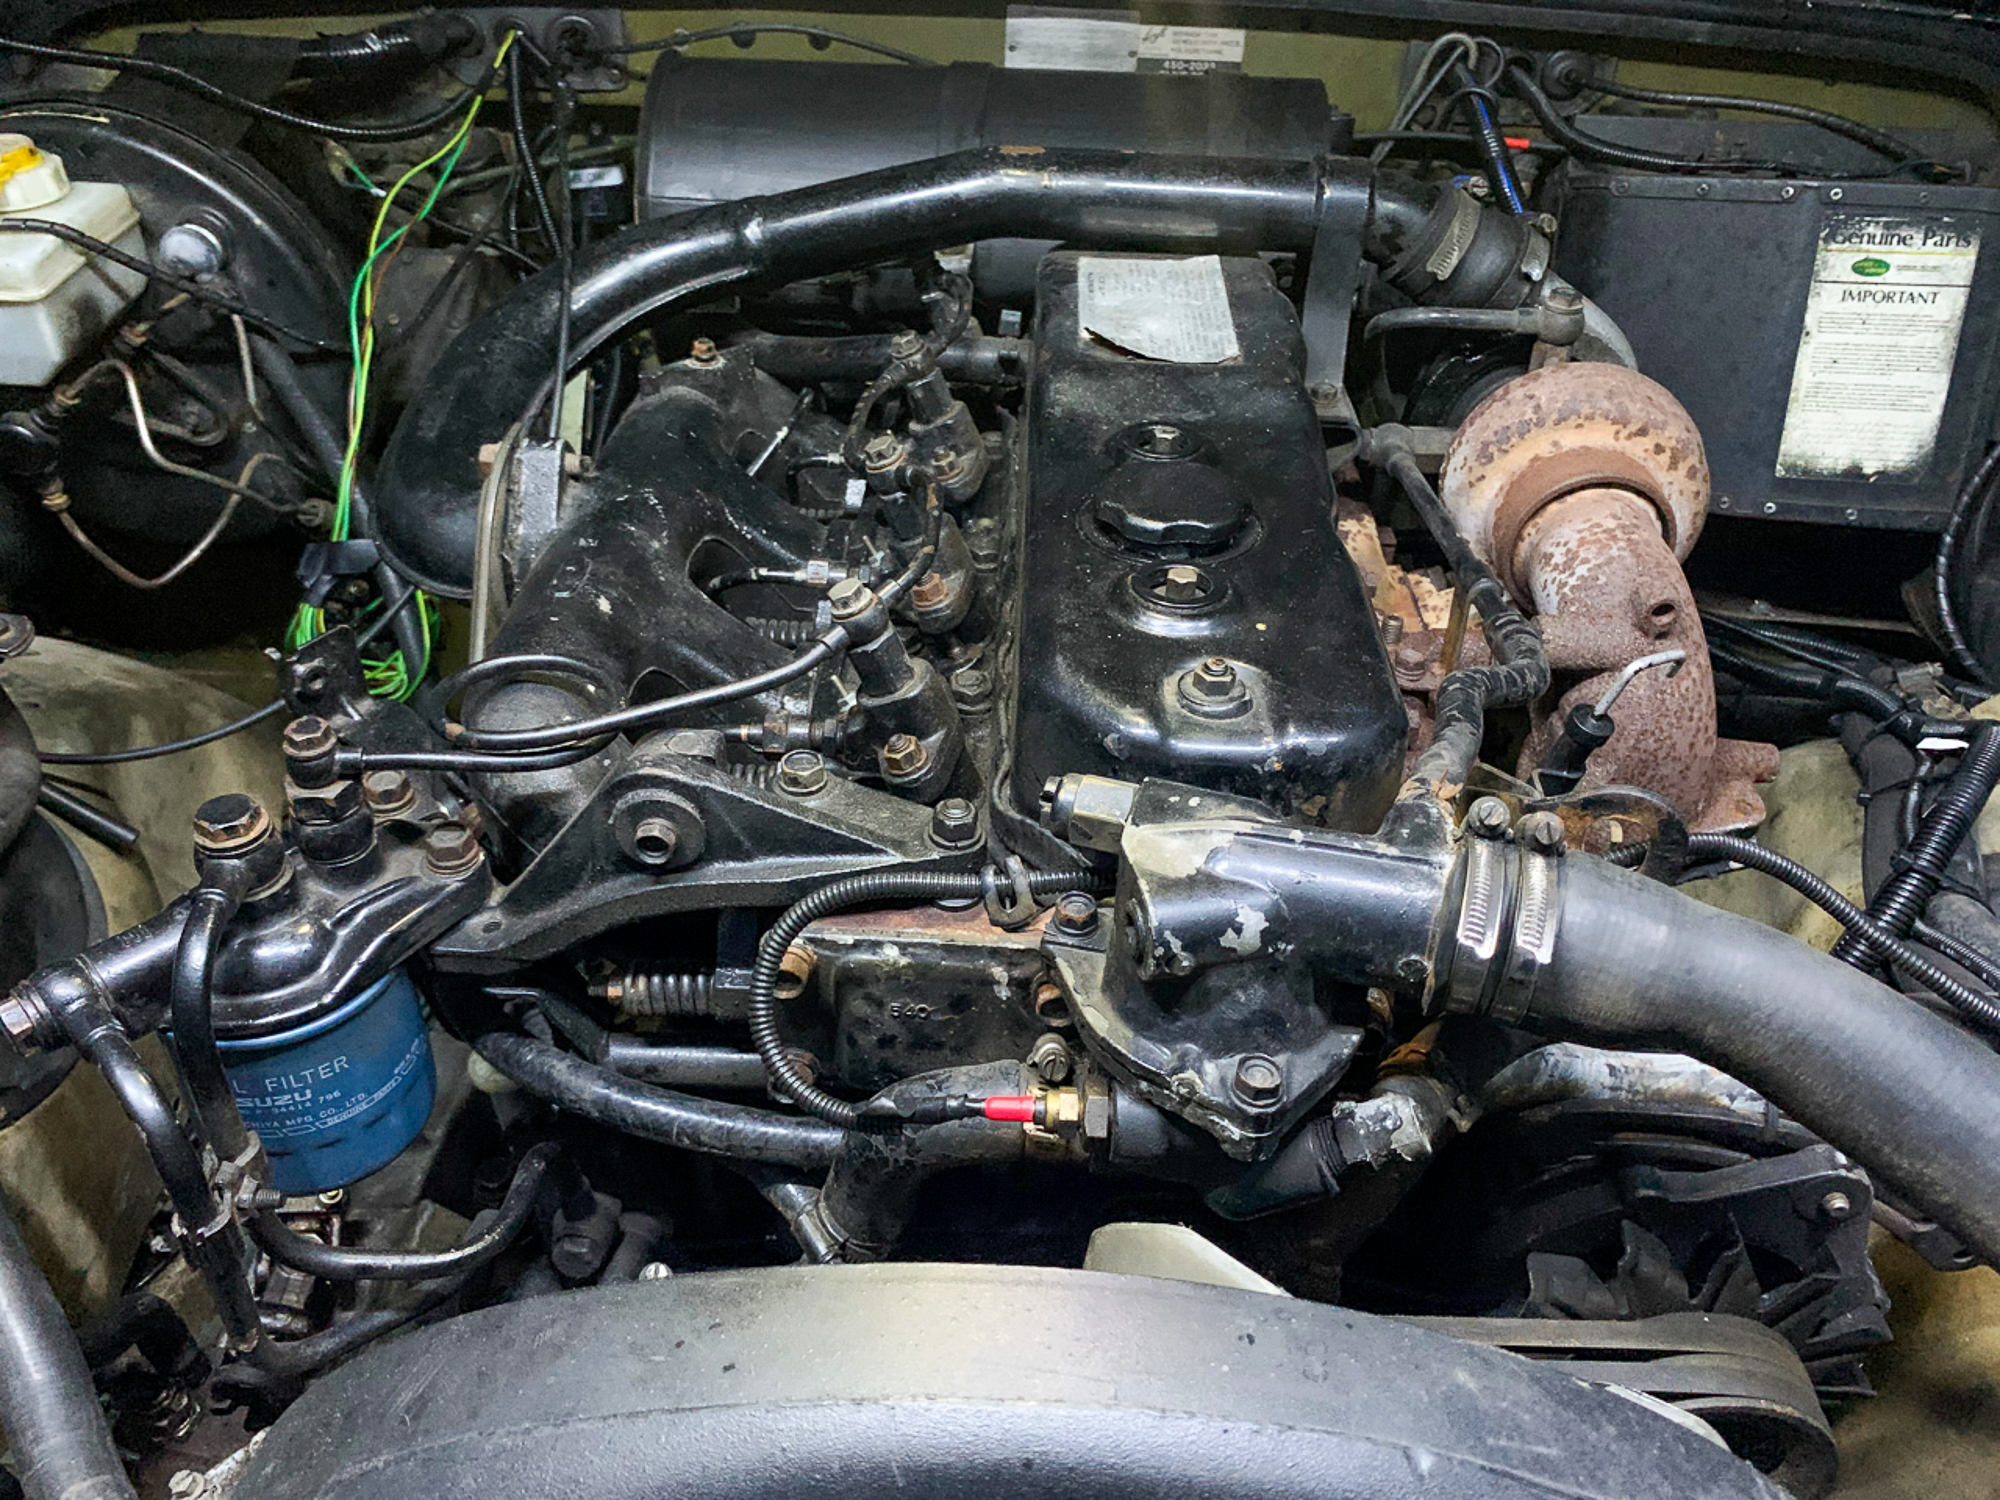
Once the replacement was fitted……………same problem, no start, which made me sad!……..I hasten to add that it was easy to fit the Starter when everything was stripped off of the engine whilst doing the other work, not so simple now. It is heavy and awkward to manoeuvre into place, especially when you are on your back in the cold.
Now these starter motors are not the easiest to find and I found the part number by trawling a few forums, as I could see no part number on the original whilst it was on the vehicle. So in desperation I started to hack the gunge and paint off of the original, eventually I came across as sticker which was almost illegible, but I could make out a telephone number. A quick google brought up a supplier of Starter Motors in Birmingham……………..Nippon Distribution – makes sense for an Isuzu part.
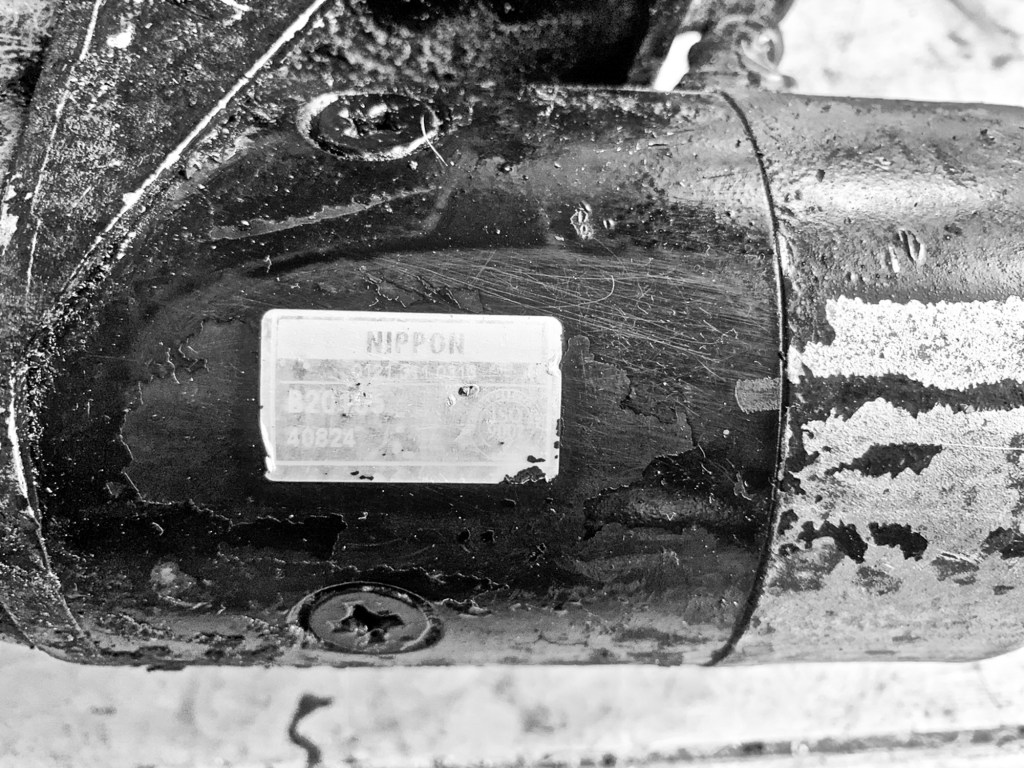
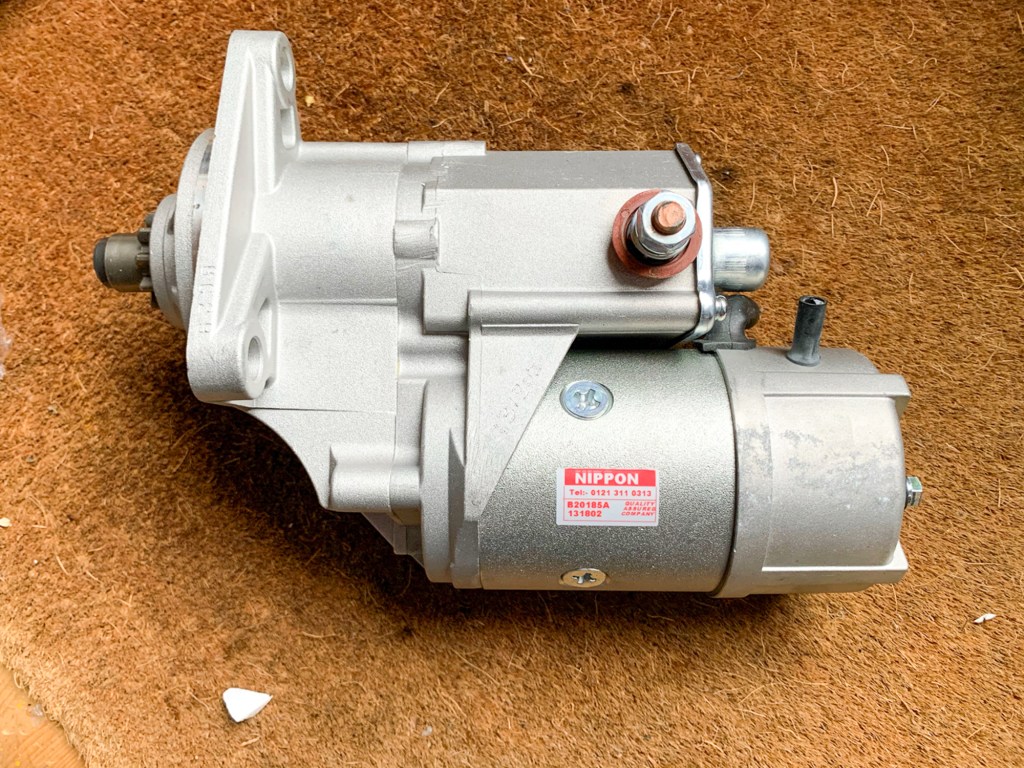
A quick phone call and a new unit was on the way to me. My original unit was suppled by these guys many years ago, the serial number which I could just read on the sticker was some 18,000 units behind where they are now, so an old unit.
Anyway, the new unit was fitted (getting good at that now) and the Perentie started – no problem. No idea what the issue was with the other starters – they were not original parts, which are impossible to get, but made in Poland. The Starter motor and Alternator Company took the replacement unit back and refunded me – so a credit to them.
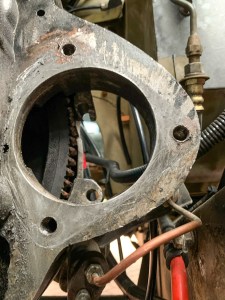
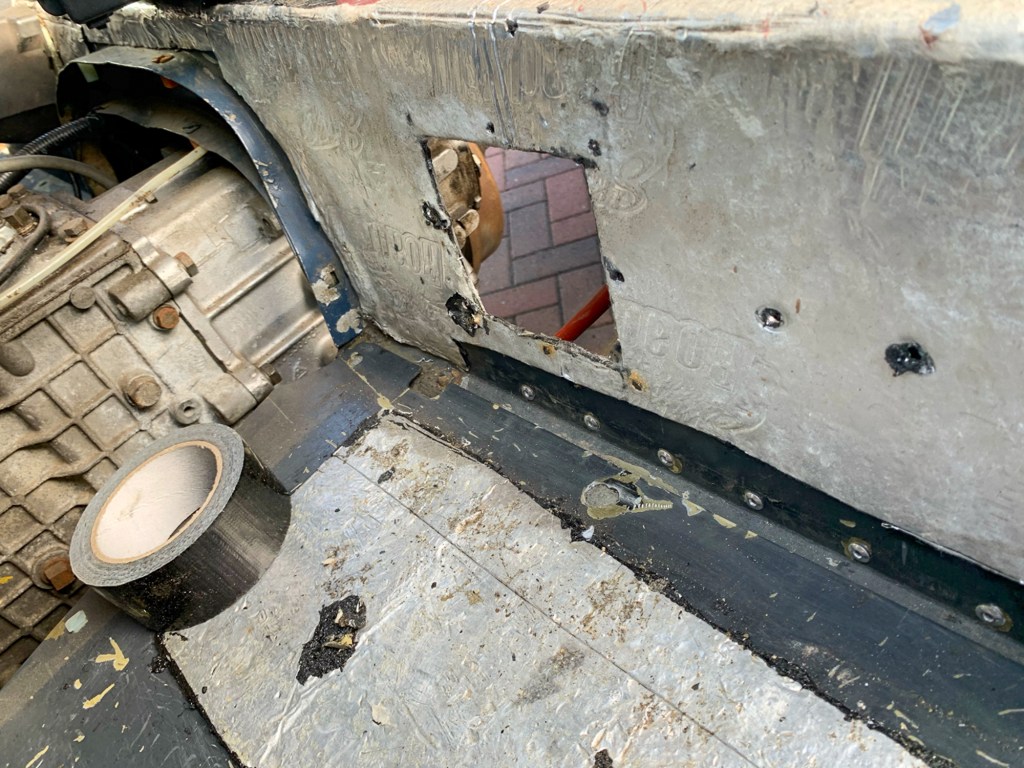
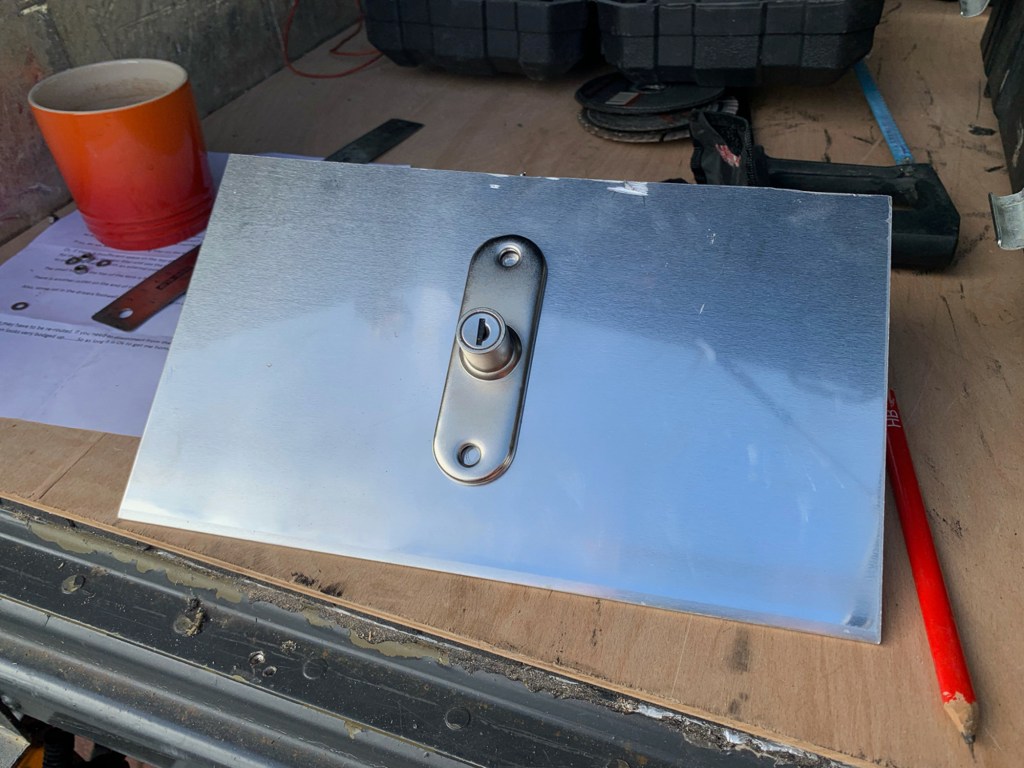
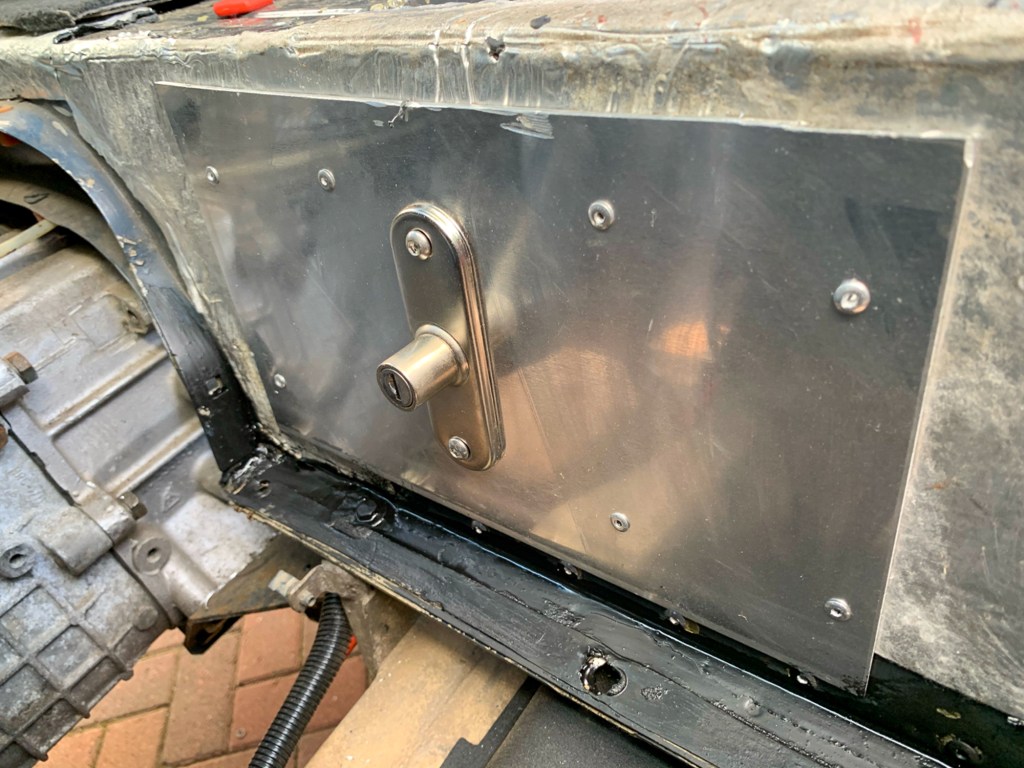
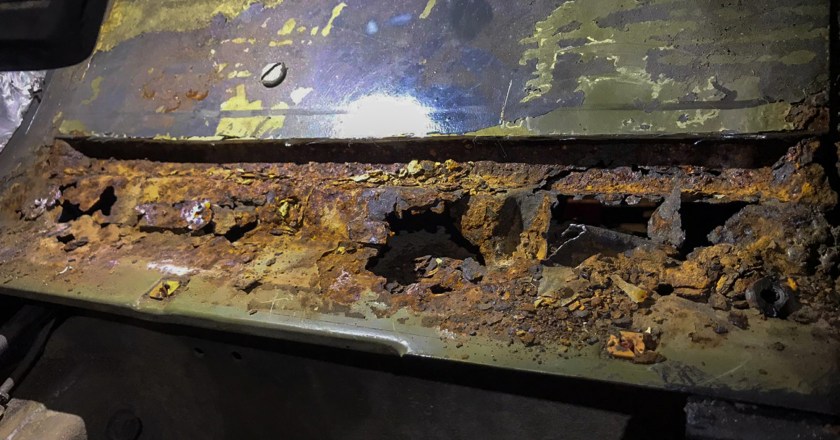
i did notice during all of this that the Bell Housing (which was not the original) was open at the rear, exposing the Starter to the elements. A job for the future is to make up a plate to protect it.
So on with replacing the Brake and Master Cylinders……..