The fuel pump returns and wire woes!

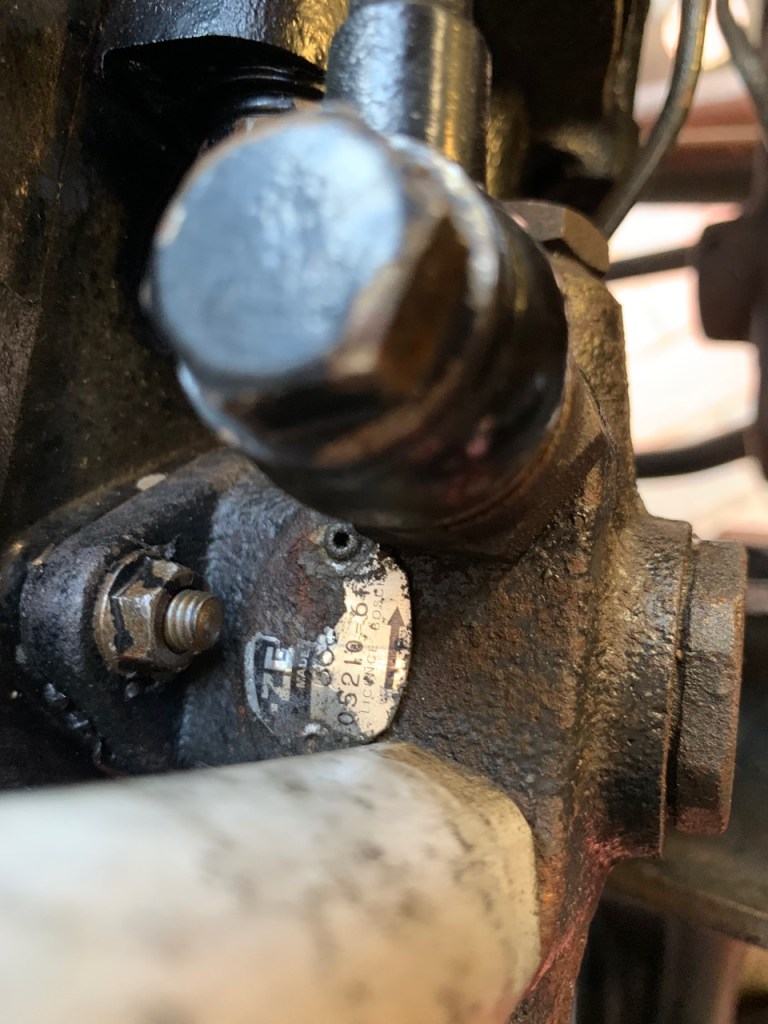
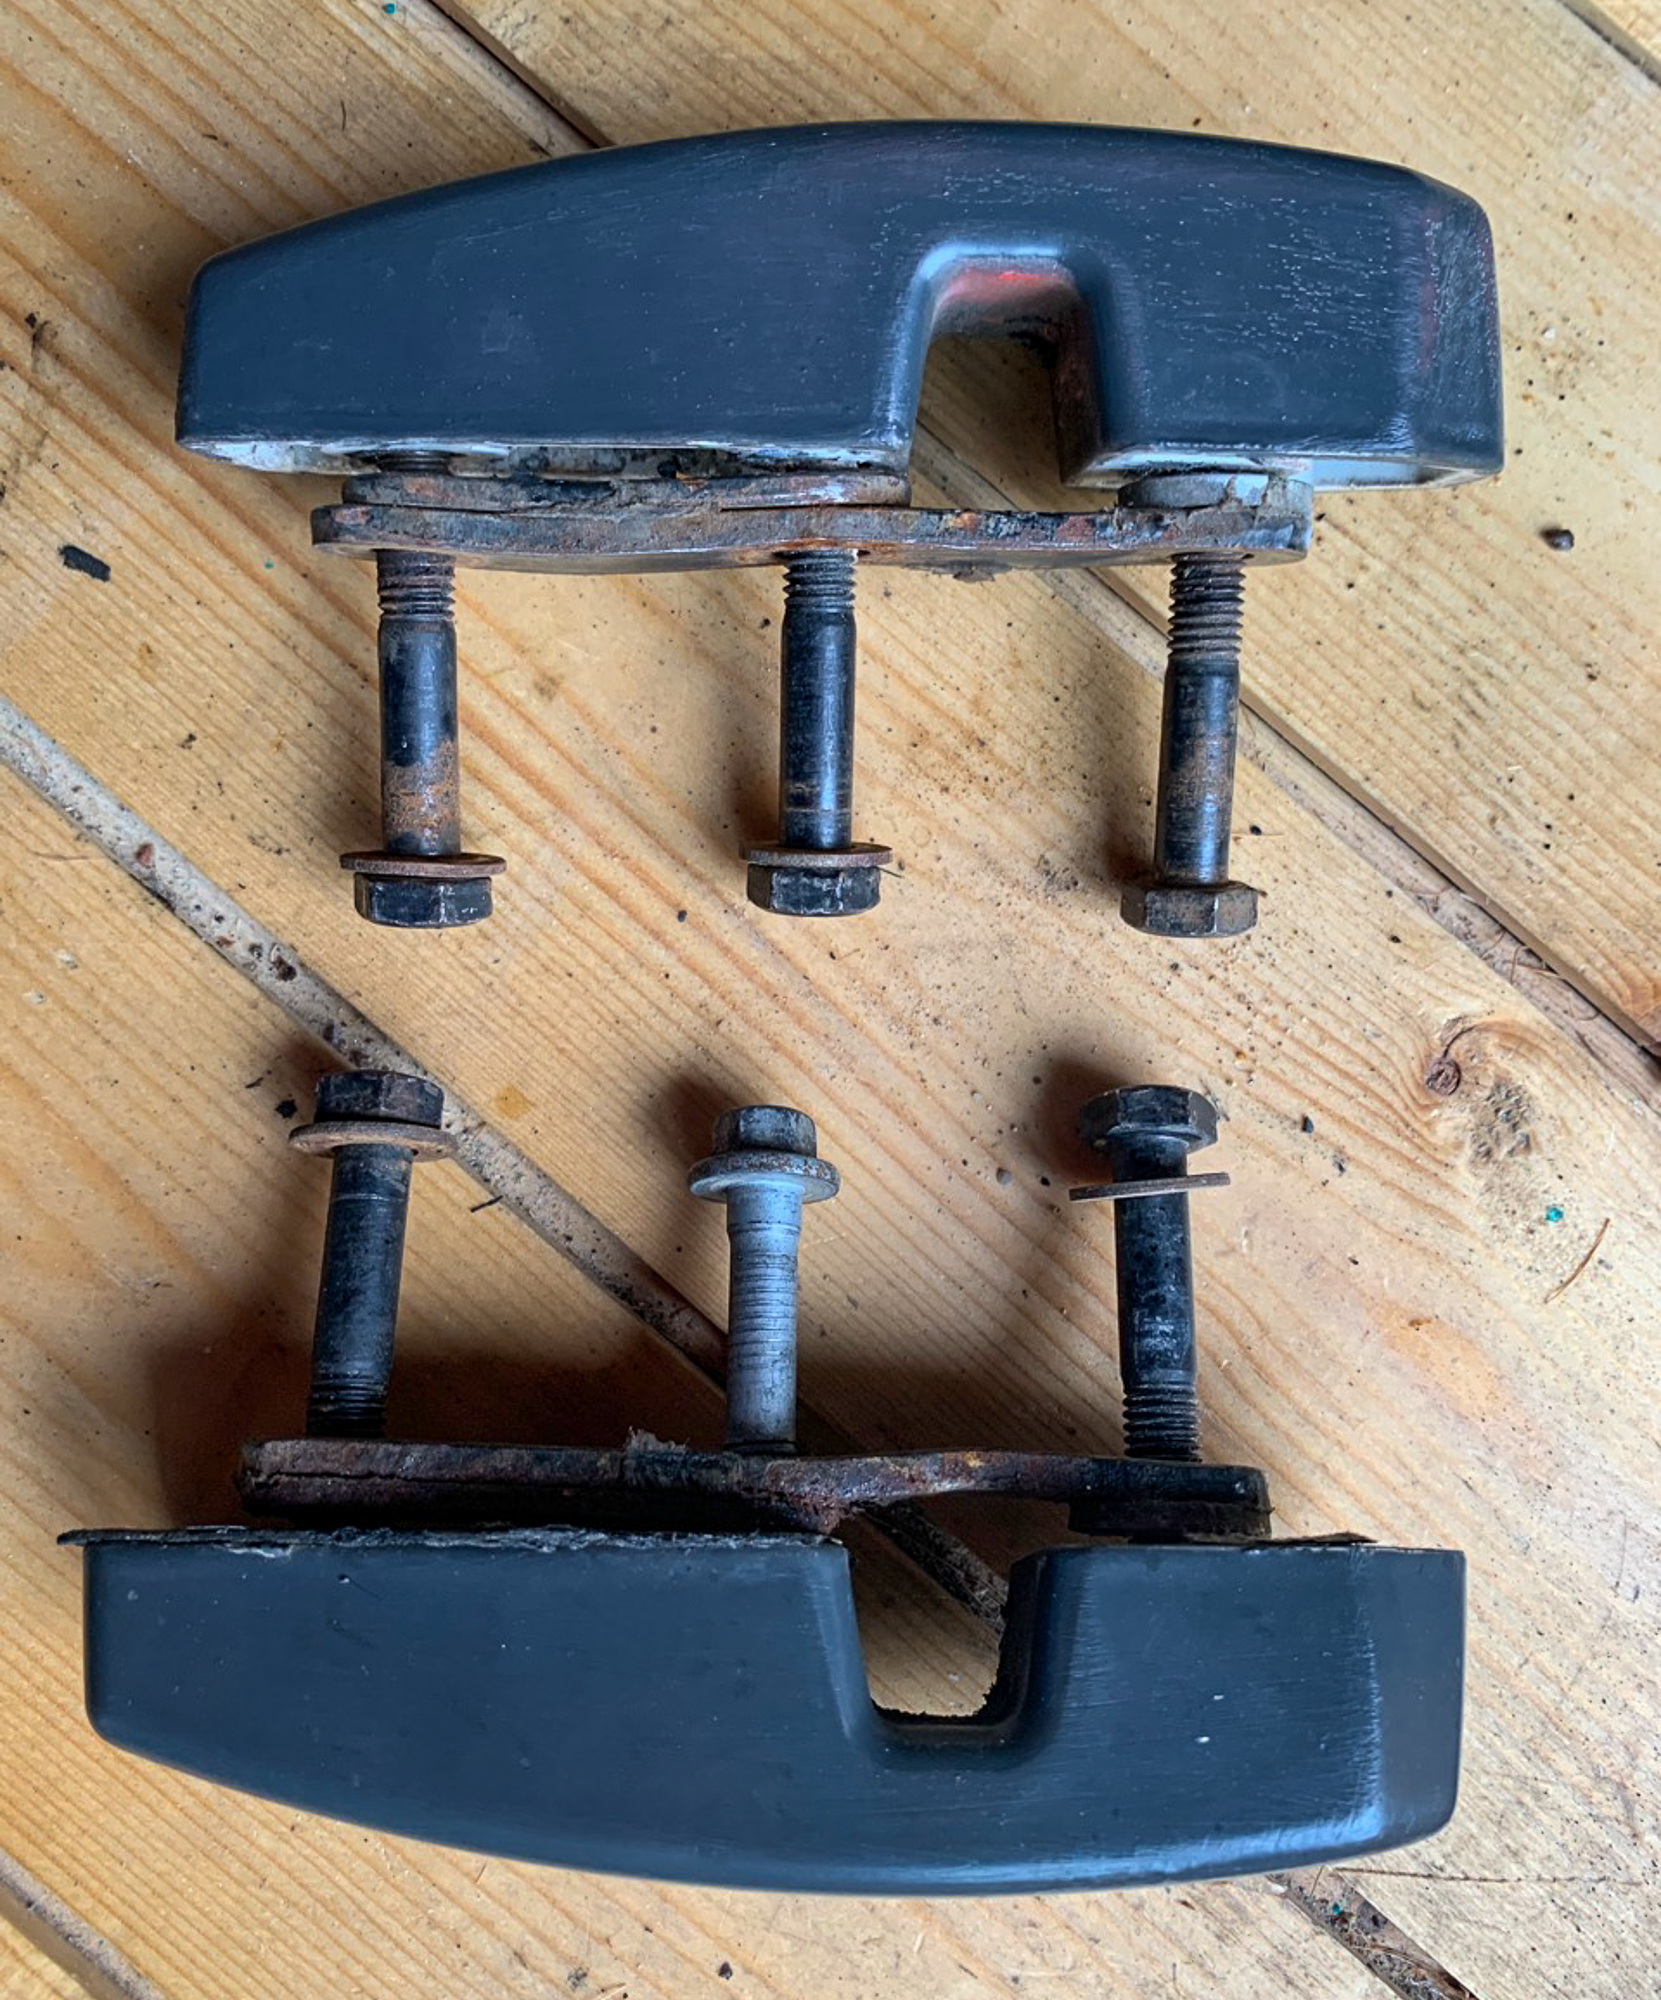
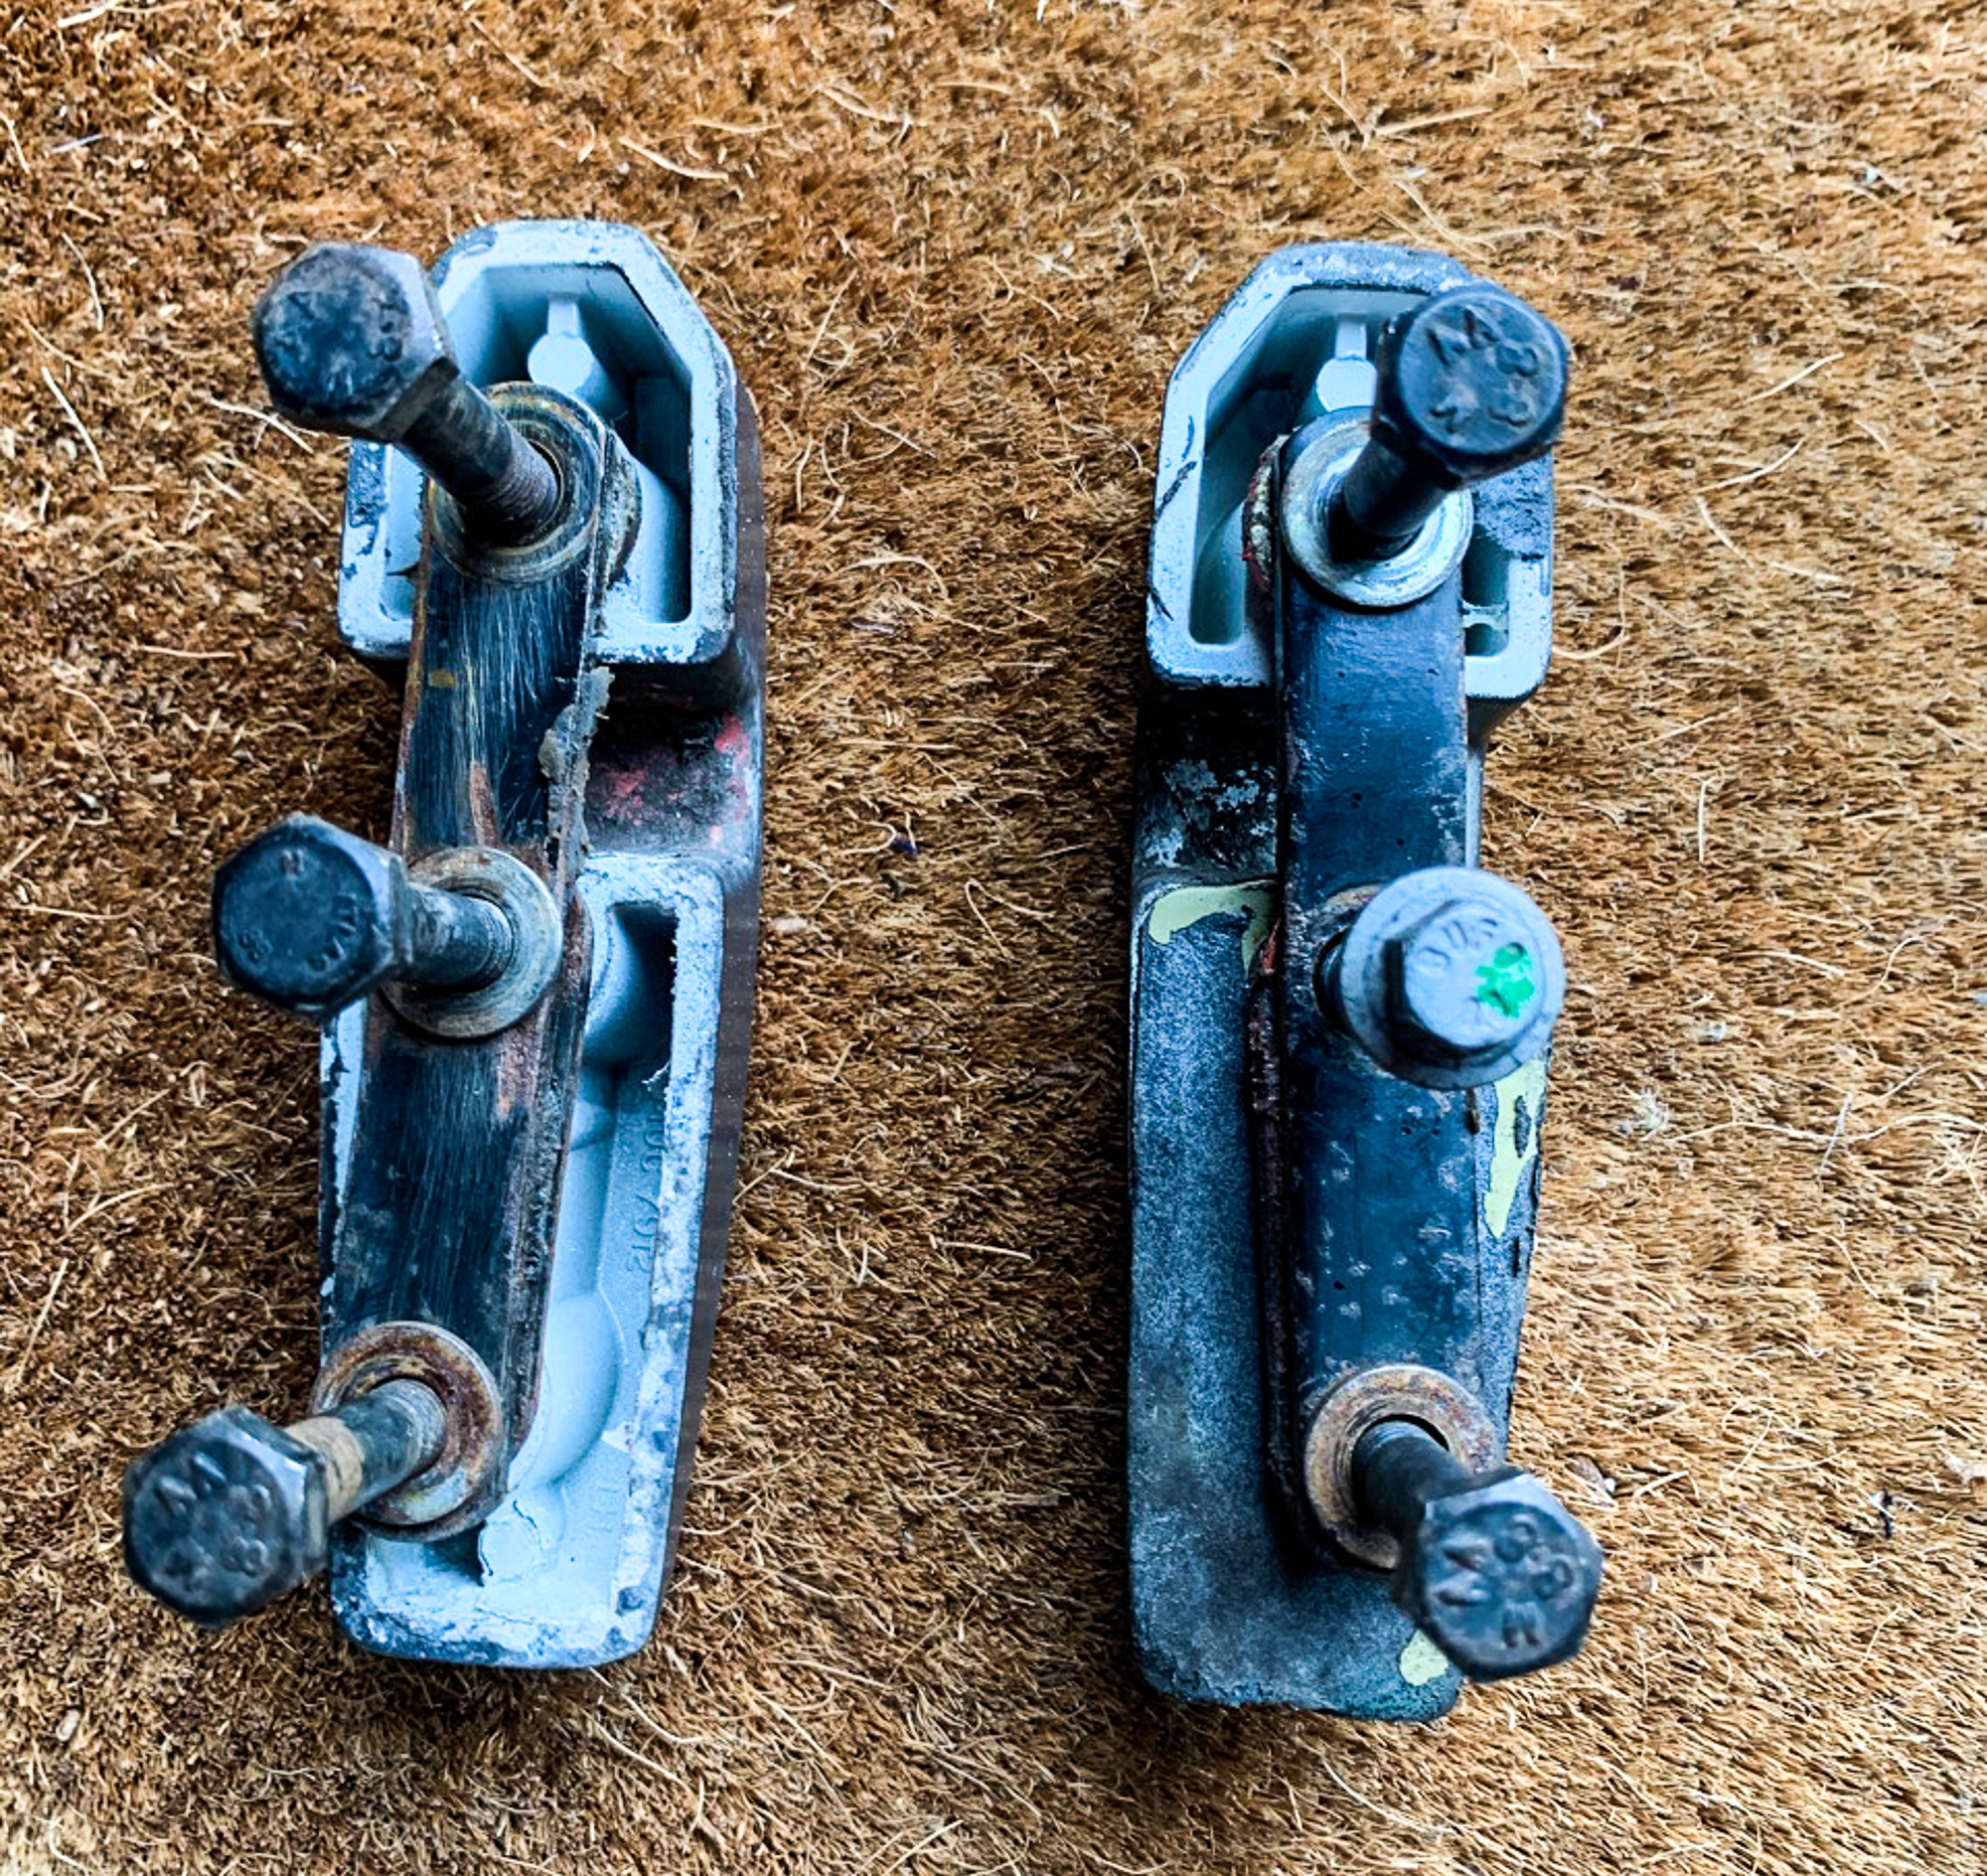
Well the fuel pump has returned and is looking good!

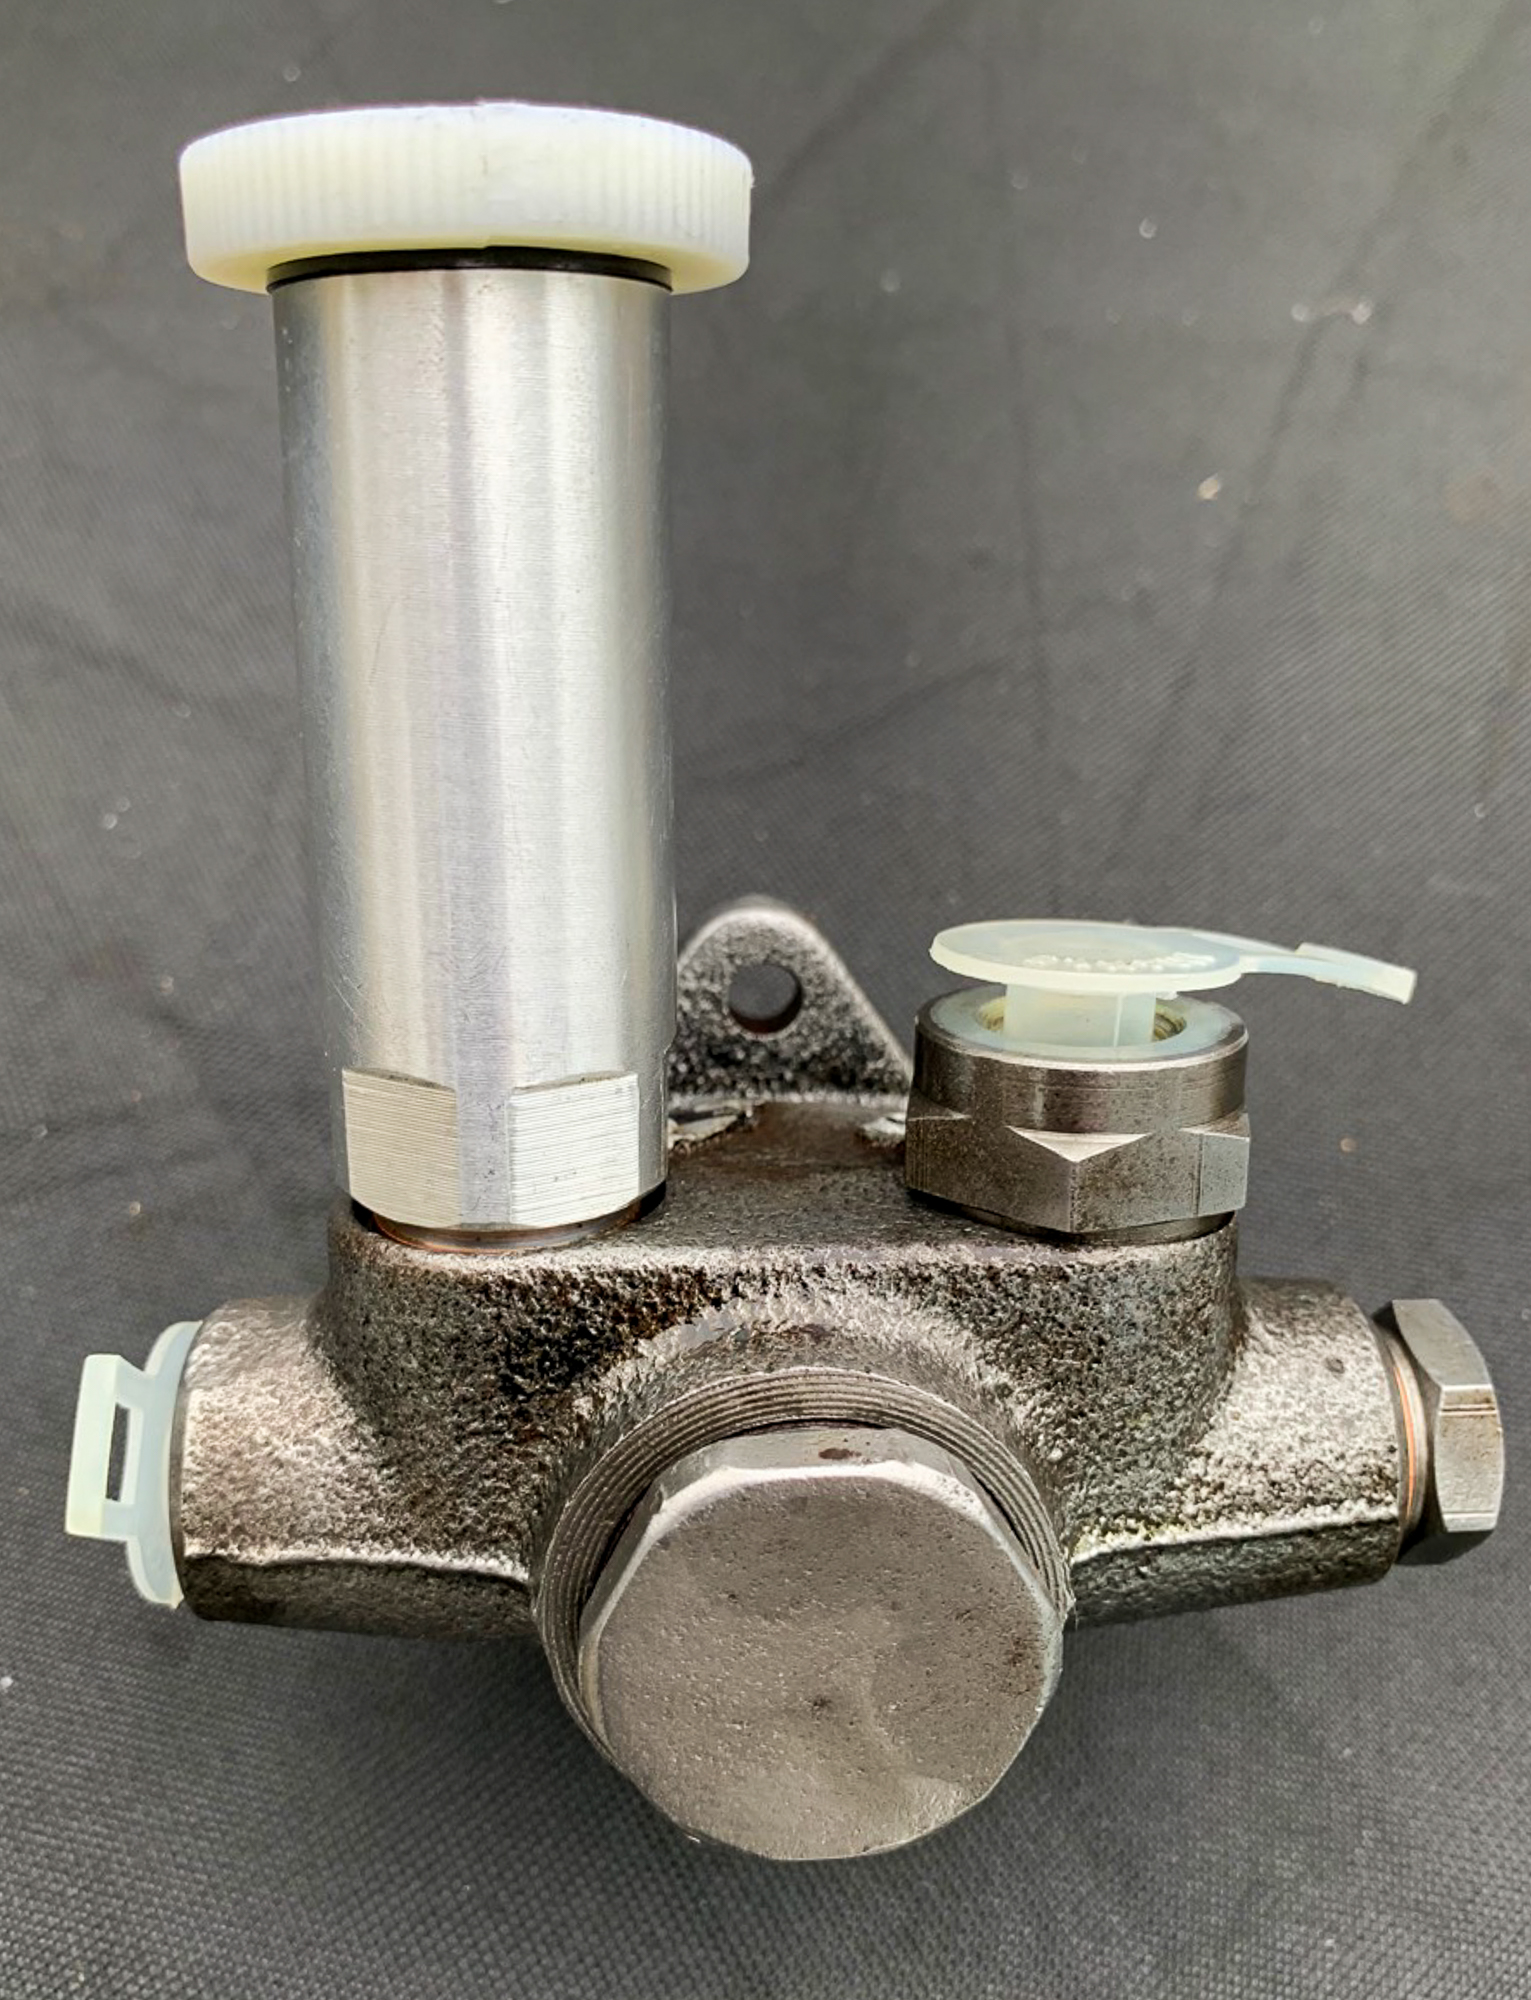
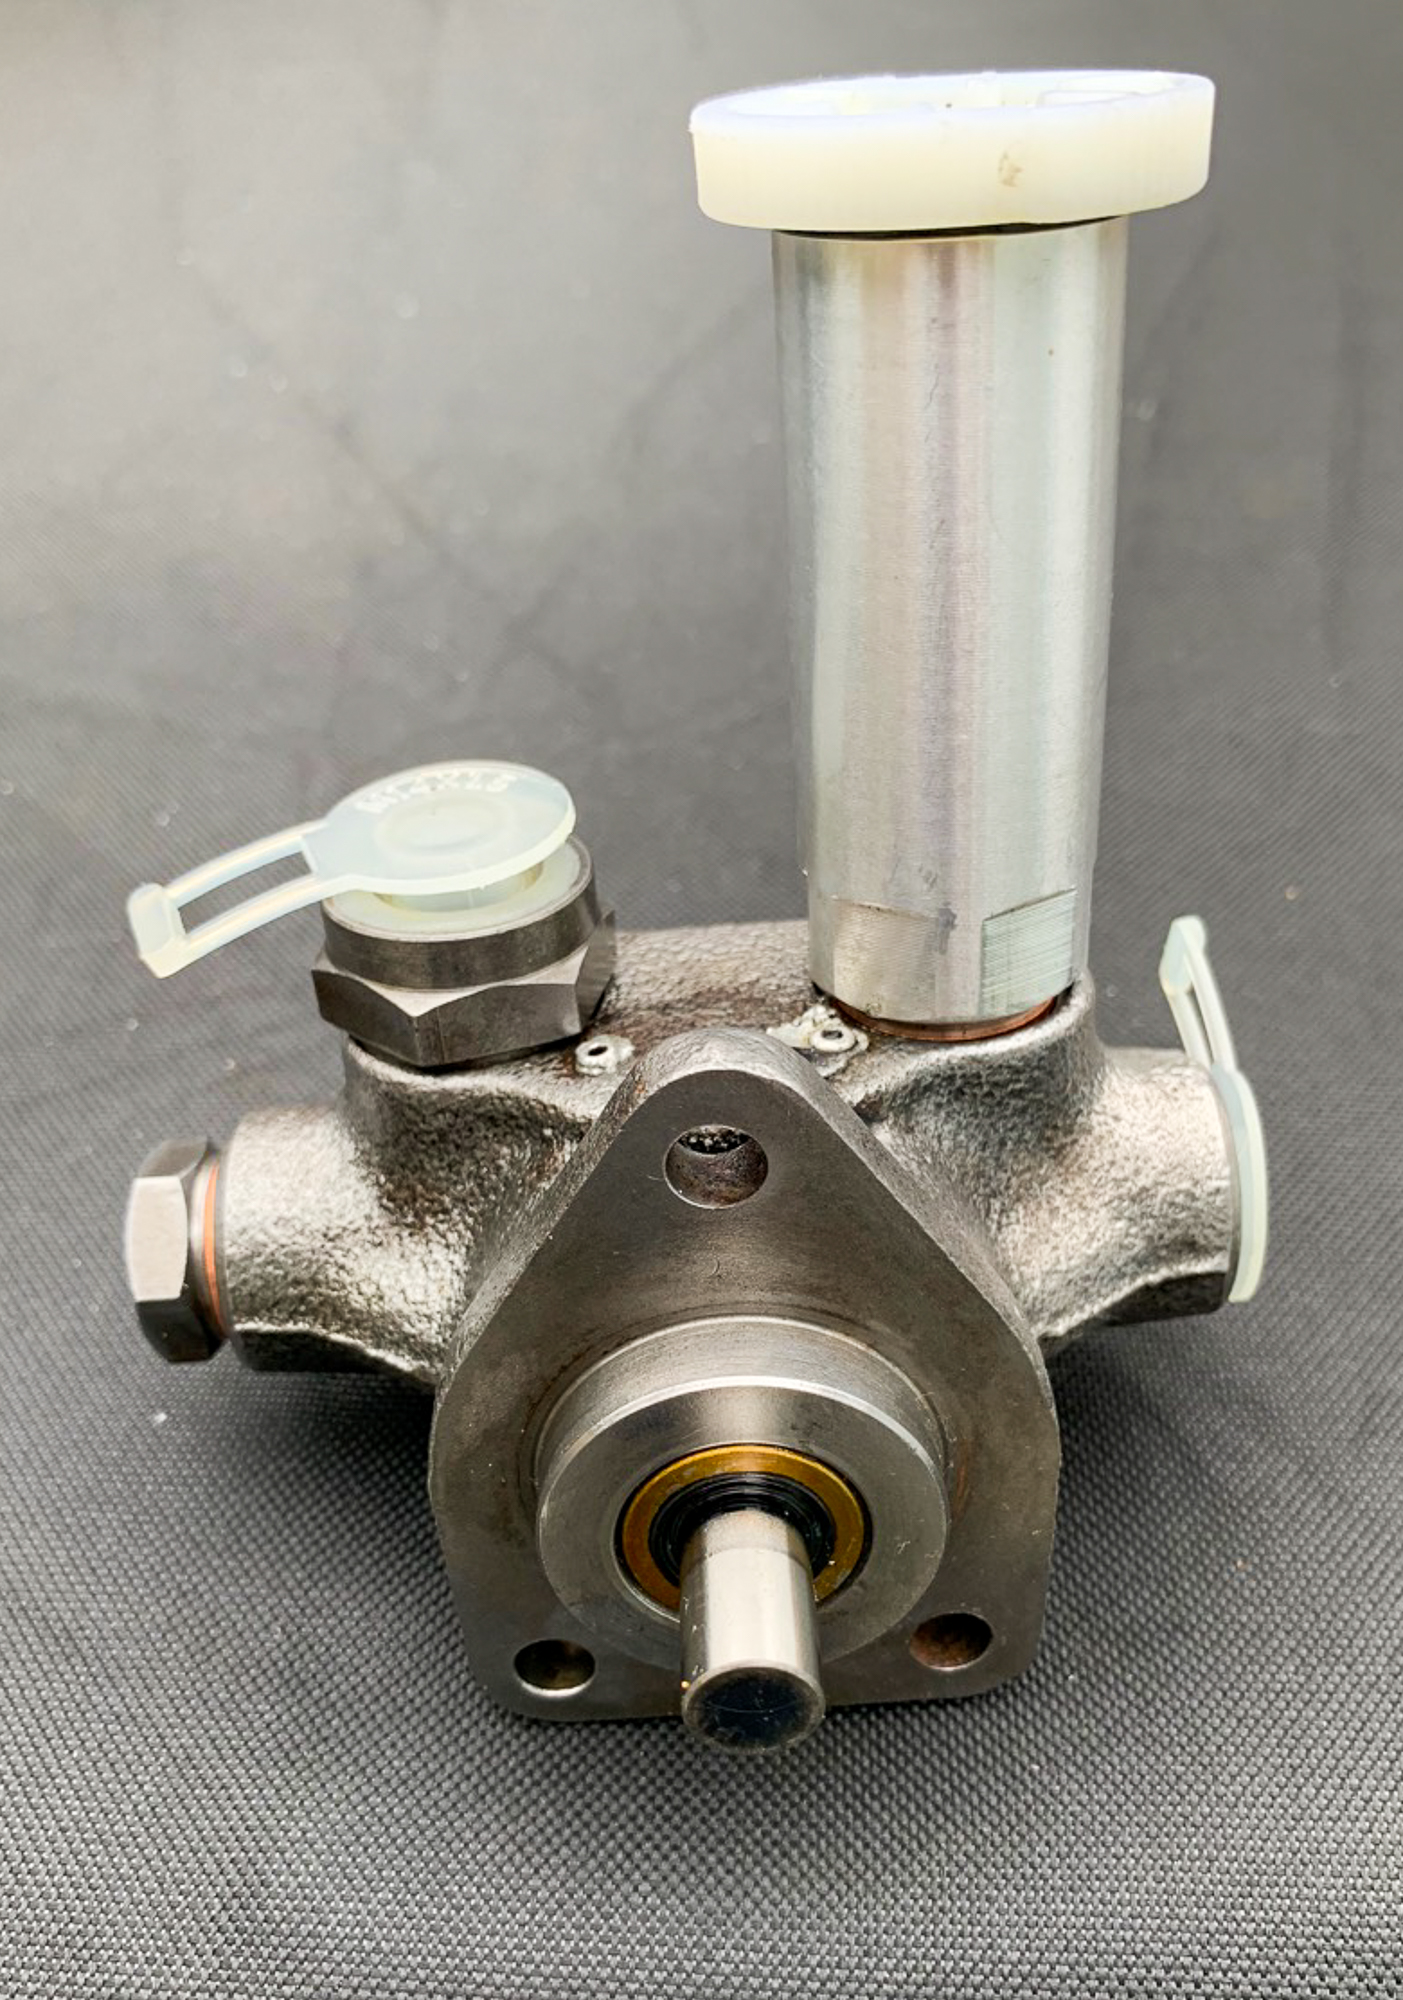
Old and newly re-built above, it is almost a shame to put it back on the vehicle.

The service from Darwen Diesels who did the work was fabulous. I posted it off with an old fashioned letter. They called me to confirm receipt the next day and to say that it was going straight into the workshop. Day 2, I get a call saying that the job was done and asking for the grand sum of £65.18 in return, that included postage and a pack of washers. Day 3, I have it back.

Anyway to work and back on the vehicle it goes, easy job, bleed the system again, jump in the drivers seat to fire it up and – Yep, churning and no firing Grrrrrr.

By chance my friend and Land Rover guru Darren was due to call in that morning as he was passing; he arrived at the end of the Grrrrrrrr. After a quick resume of the situation we tried to start her again, Darren reached under the bonnet and bingo we had a Perentie with a running engine. So, what was the problem.

Well, Darren had manually opened the throttle which was not opened fully, thus restricting fuel; so why was this?

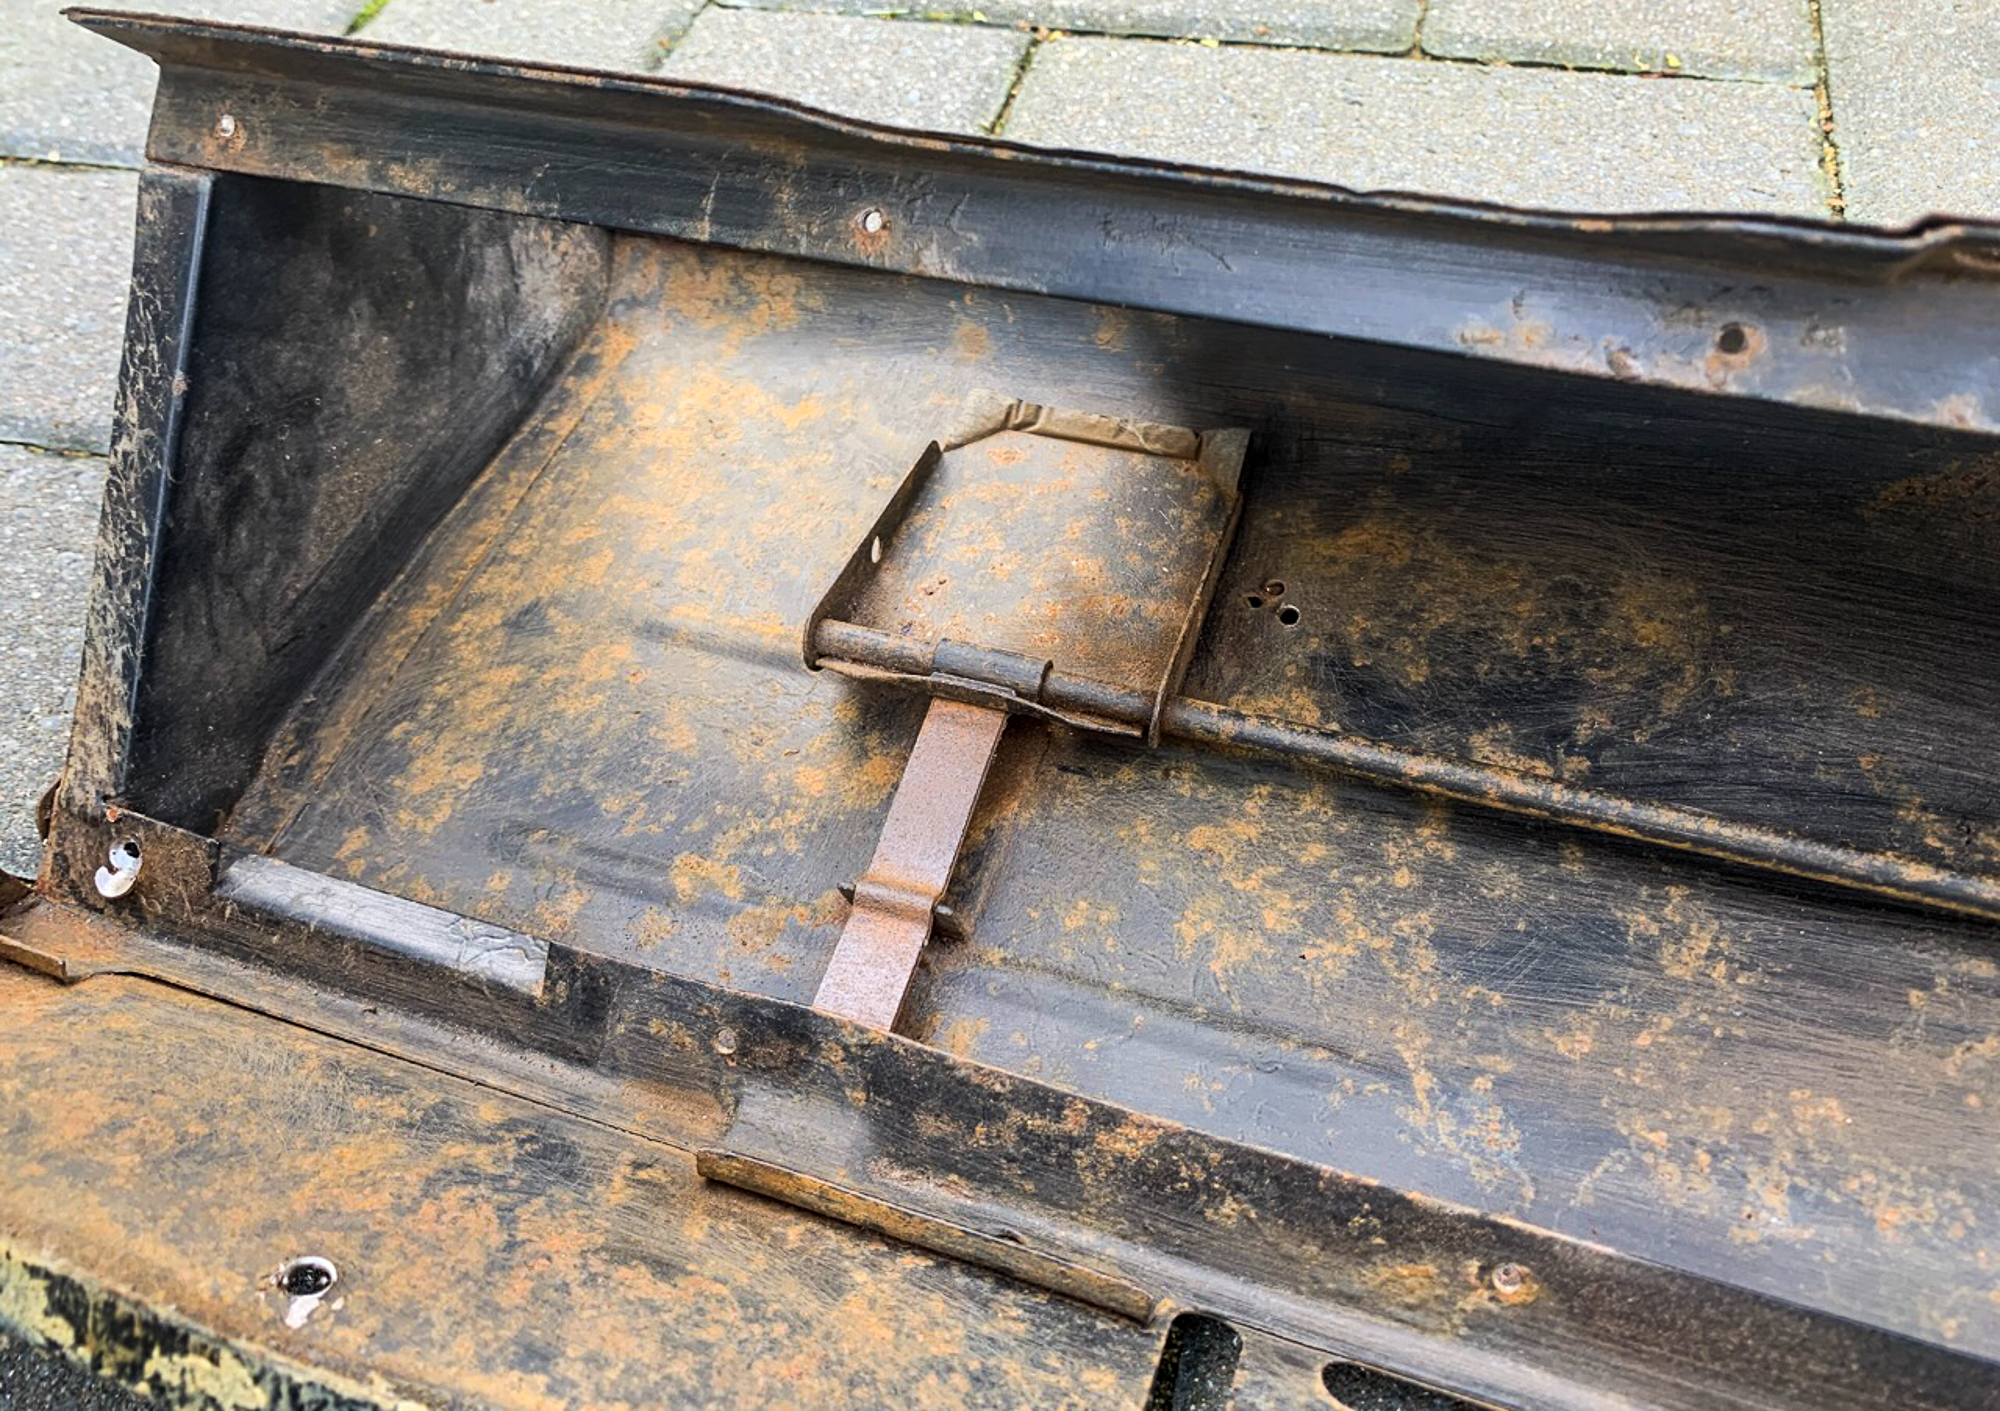
In Europe and some states in Australia Diesels are required to have an automatic fuel shut off, rather than a simple manual cable – the shut off is controlled by an EDIC Actuator which is controlled via a relay by the ignition. S0, the actuator was not opening the throttle wide enough.

EDIC Actuator

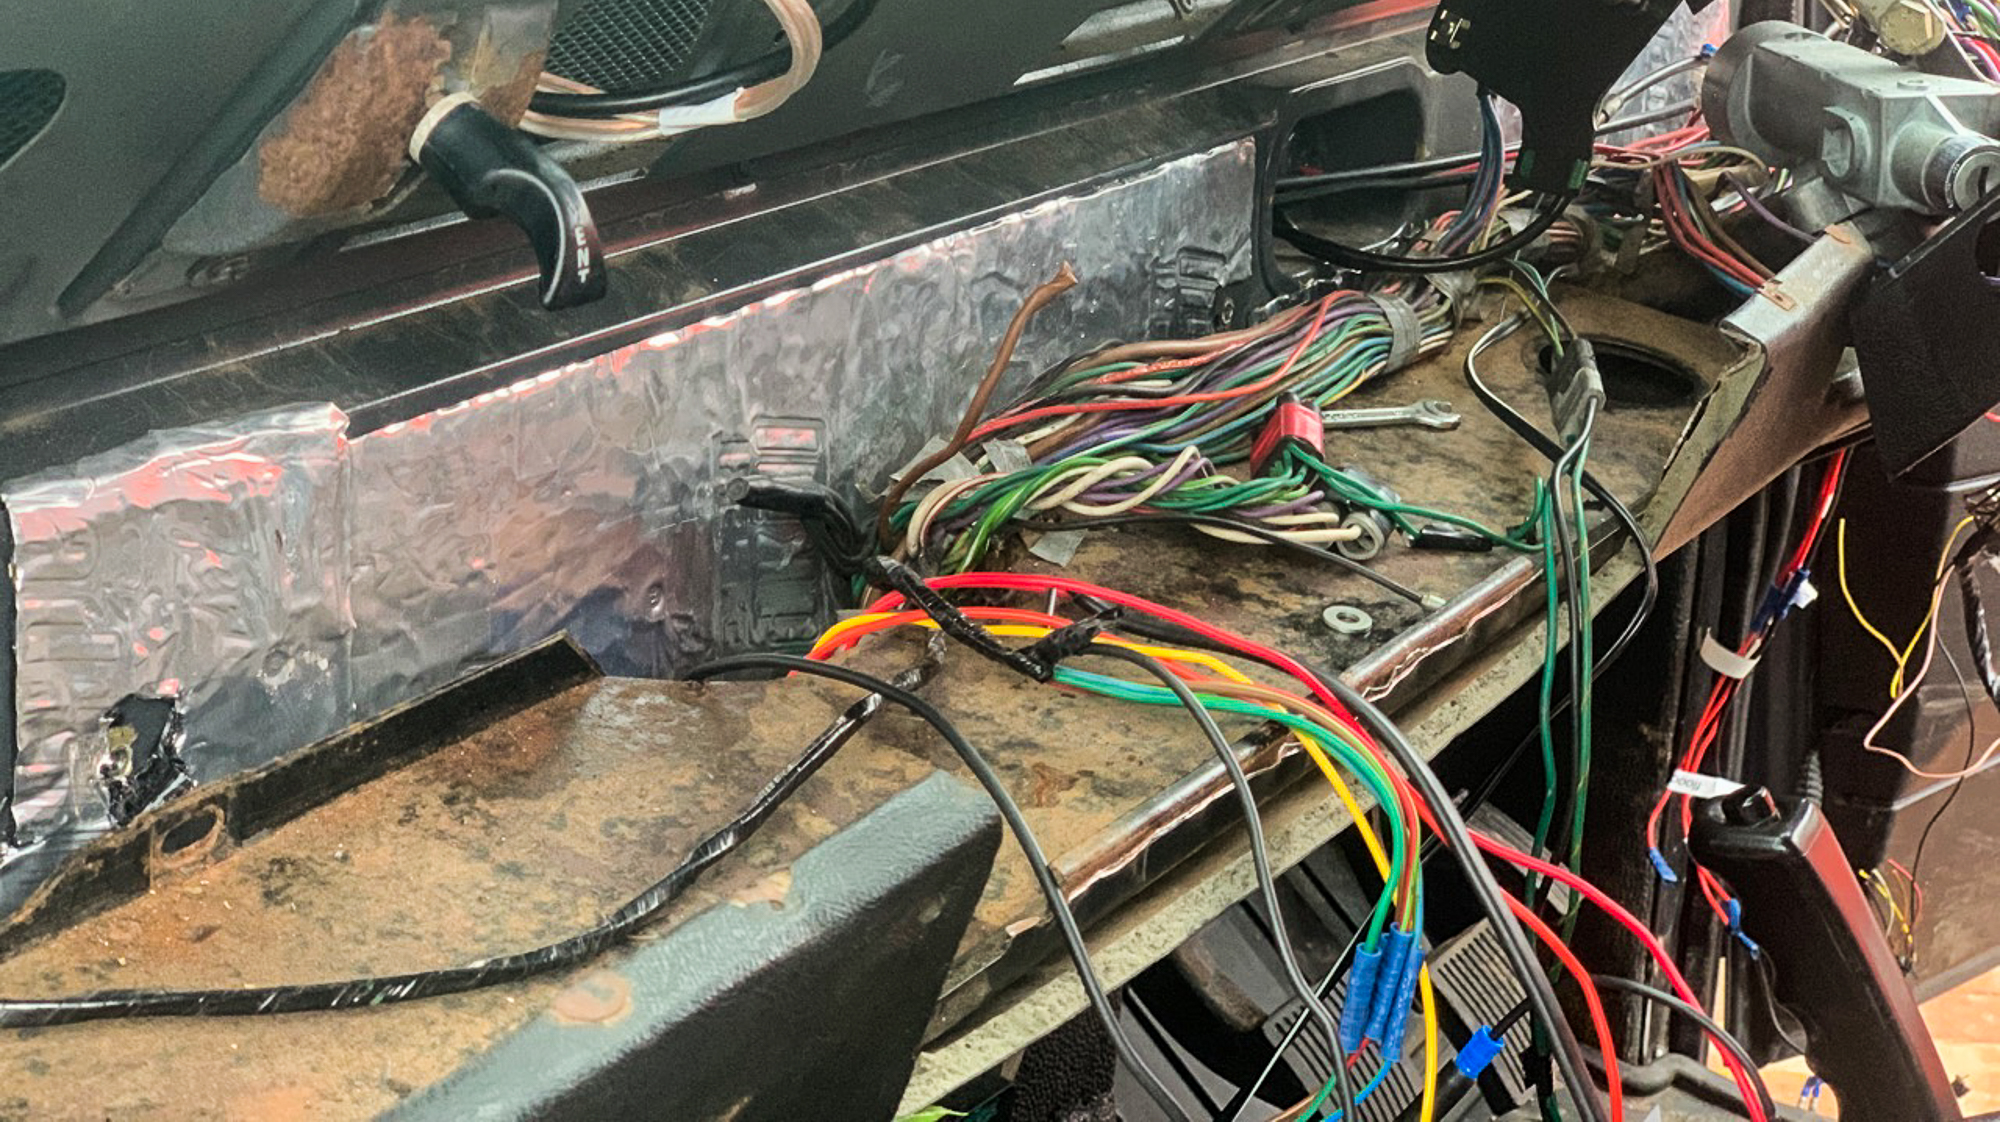
I started to follow the cables back from the actuator to see if a problem was obvious. Most of the wires were covered in insulation tape which was now beginning to unwrap itself, including a relay which I assumed controlled the actuator.

EDIC Relay

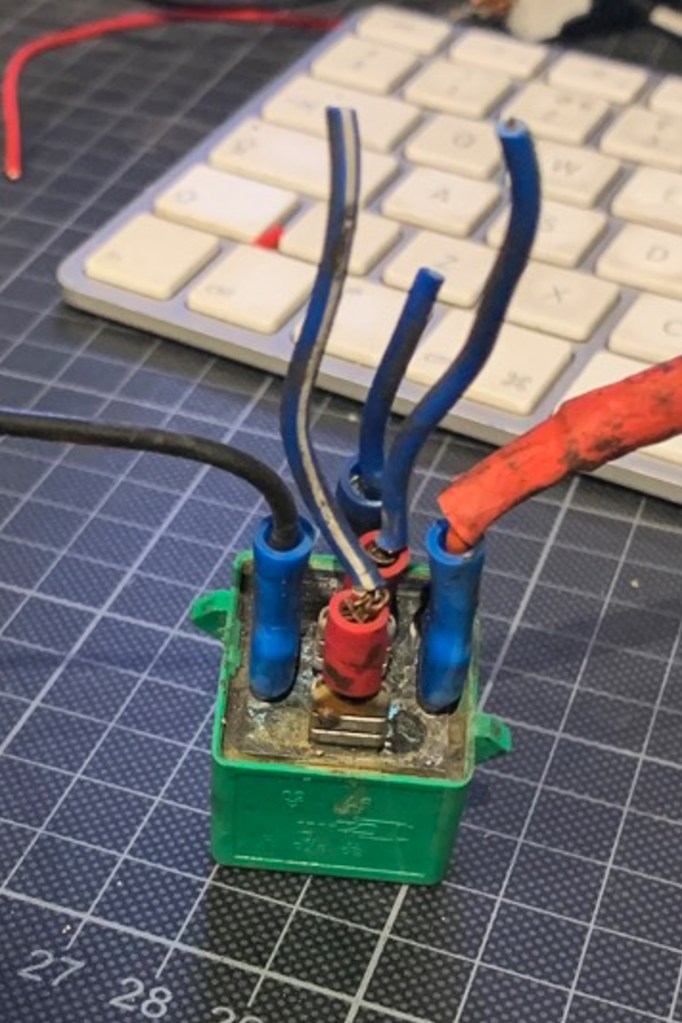
Give it a squeeze and the actuator works, so the badly made and oxidised connections were the crux of the problem as a quick re-wire of the connections proved correct.

Darren at this stage points out that the Glow Plugs are not wired up – the Ozzies don’t bother – don’t need em Mate!

If you have read previous posts you will remember from “Can you smell Burning” that this is not the first wiring issue that has turned up! So I spend an afternoon tracing and and unwrapping cables finding lots of loose ends, some of which are live, and dodgy connections as I go (most just wires twisted together). I trace the ignition wires to behind the dash and find a similar story. Digging deeper, I now realise that it is only the EDIC and the ignition that is running through relays and that only about 8 circuits are fused, despite fuses being present visually in the fuse box. Six of those were the lights Full Beam, Dip Beam and Side lights………Left and Right – Thats safe then!

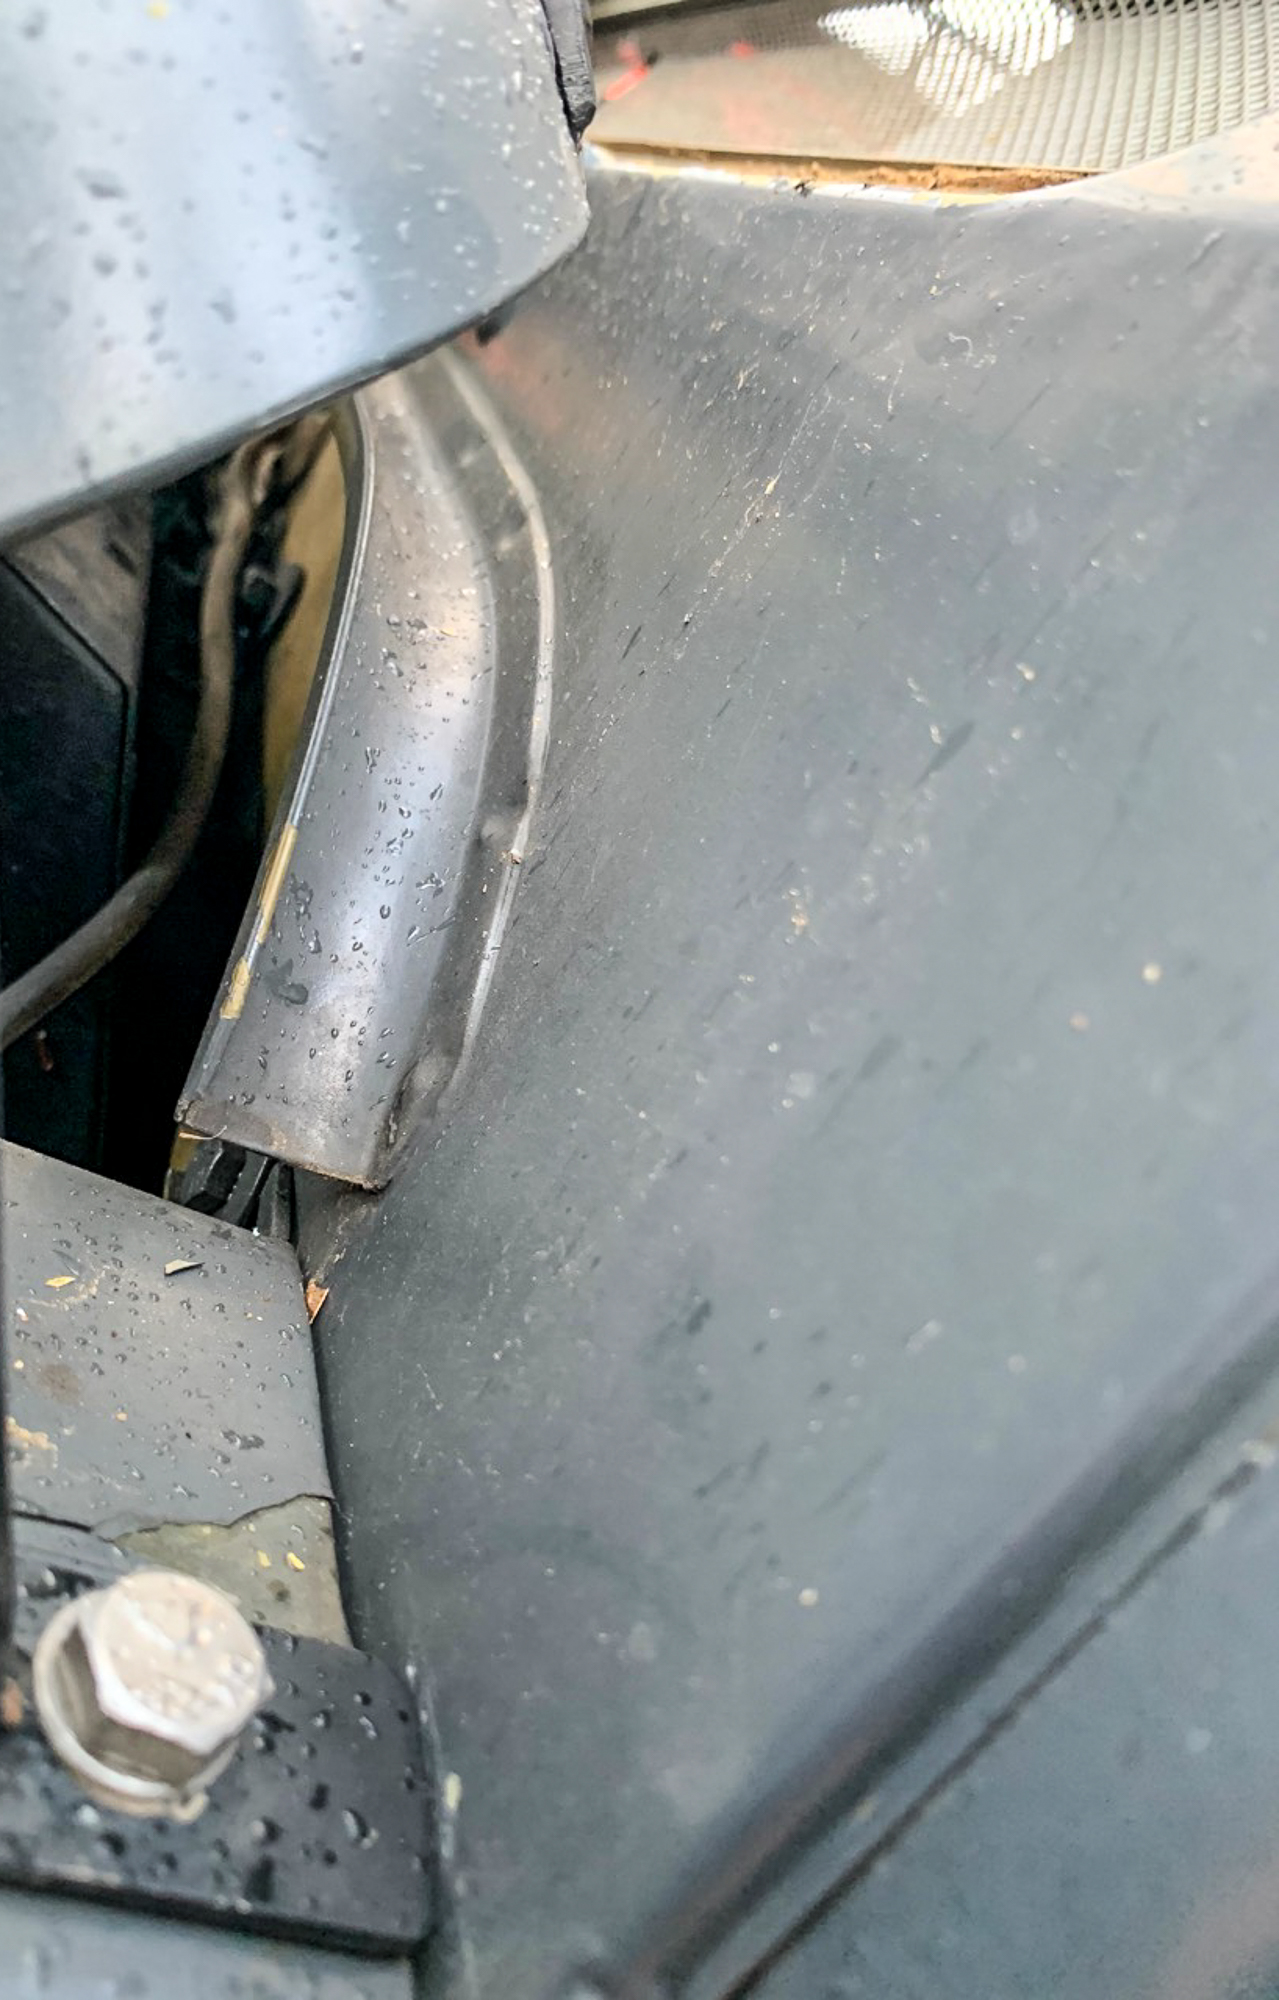
The discovery of a few cables that were starting to melt made me realise that this was not going to be a quick fix.

Melting Wires and a loose ignition feed (white)

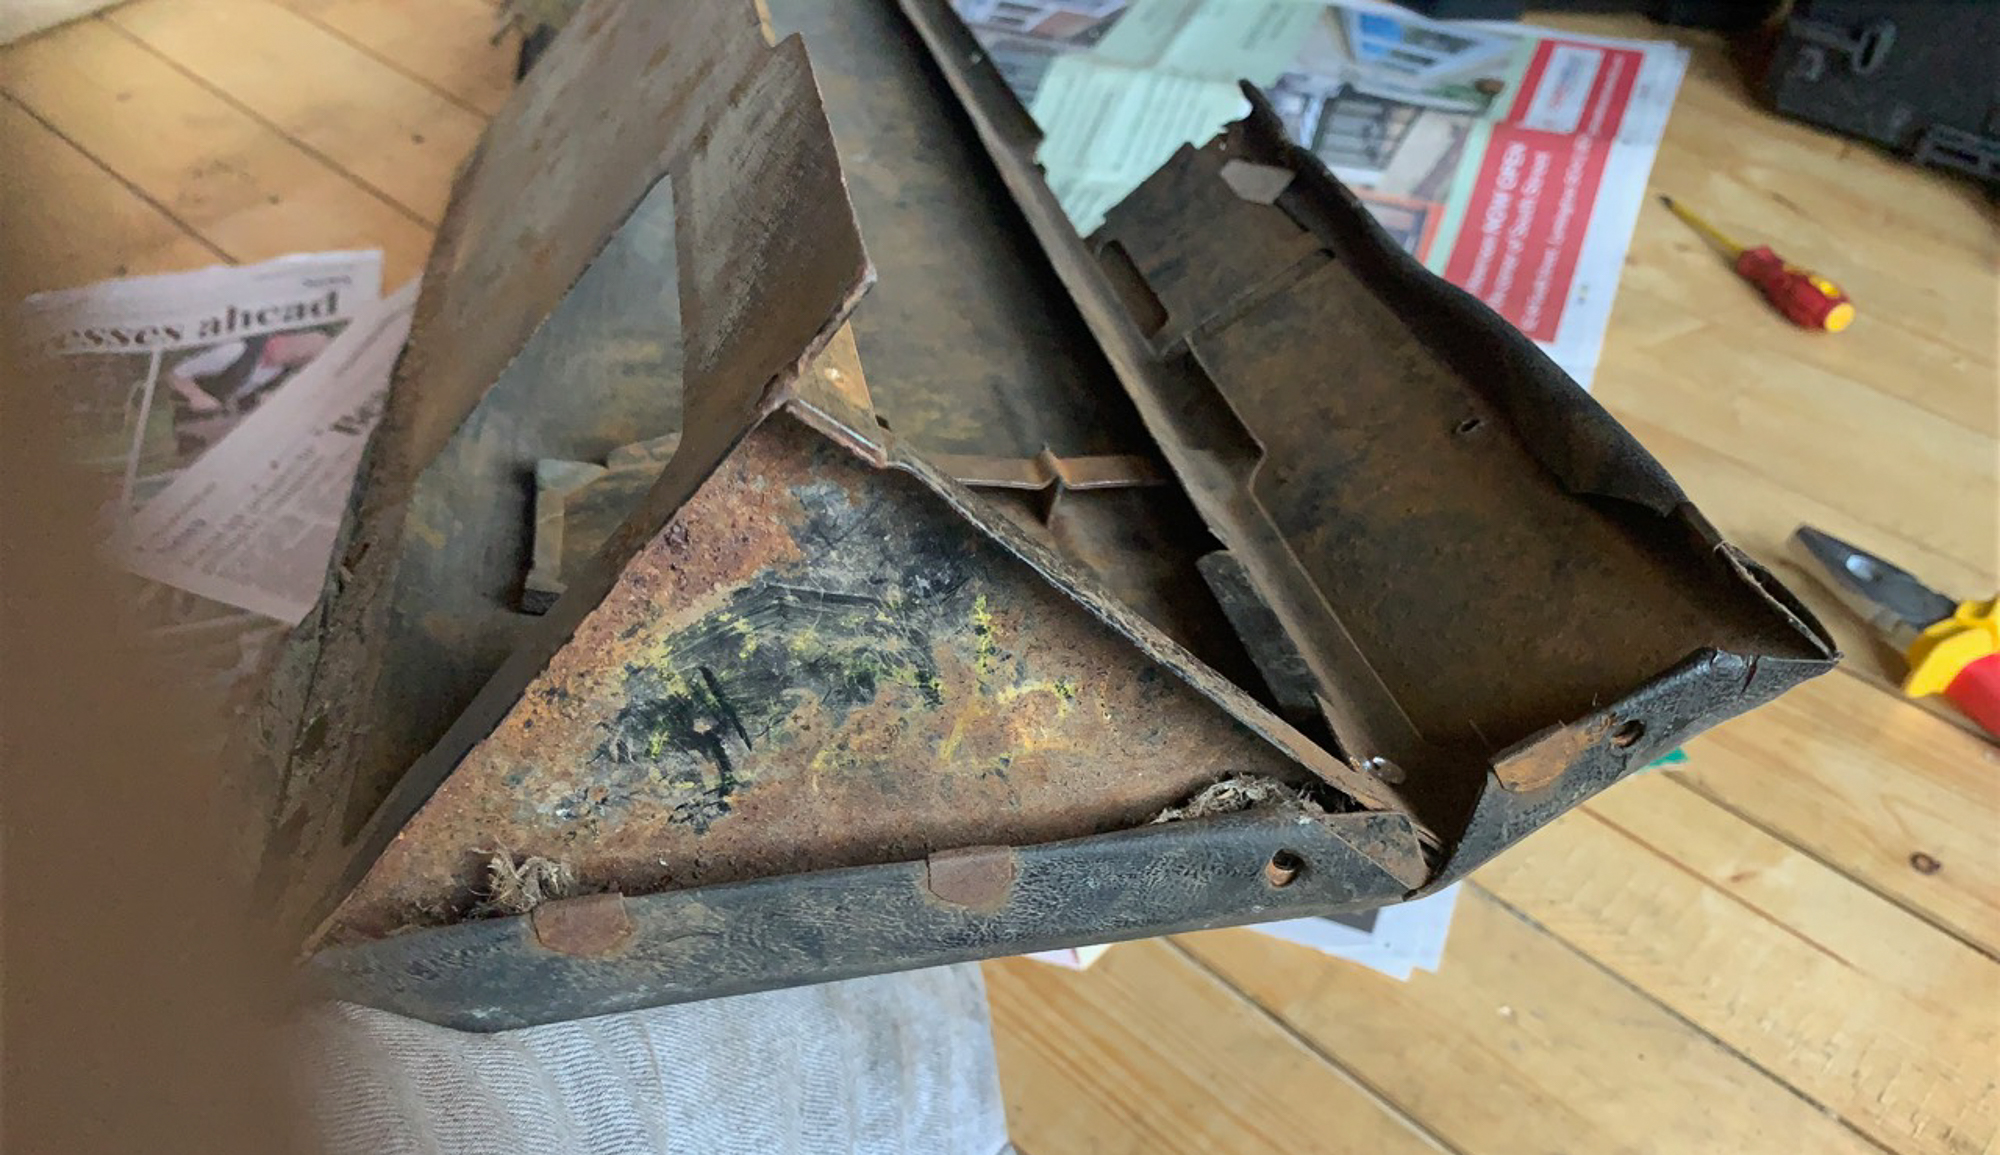
I could not risk even using the Perentie given my discoveries, let alone add the additional circuits that would be needed to take her to the States and re-wiring the rear lights was already on the job list.

With no off of the shelf loom available because of the mixture of Land Rover and Isuzu wiring it would be re-wiring without a safety net.


Not starting on the button anymore……..

I had noticed that Perentie was not starting as well now, a few extra churns in the morning to get going then all OK for the rest of the day. I put it down to the colder mornings and maybe a battery that was reaching end of life and made a note to check this out.

We had to drop Benita’s Audi TT down to Neil Read Performance in New Milton to have the suspension looked at one morning. Perentie took a bit longer to start but soon got going – I mentally promoted “check the battery” to do later that day. The trip to New Milton was fine but Perentie refused to start after we had dropped the Audi – just turning over and not firing – Hmmmmm – fuel problem maybe?

Neil heard us struggling and came out to help, after a couple of minutes of head scratching he disappeared and came back with a spray can and asked me to crank the engine whilst he disappeared under the bonnet – after some protesting the engine fired up – albeit not exactly purring. Amazing what a dose of brake cleaner can do…………..The engine than cut out again and we repeated the procedure. I went around the block and the engine was well down on power and I could only just prevent stalling when the revs dropped.

We either called the breakdown service (I knew we would need to be towed) or try to make the 5 mile journey home. Executive decision made and off we went, with much revving to prevent stalling and good timing to ensure I did not have to stop or slow down too much as junctions we made it home – very stressful!

After a little more diagnosis and lack of starting, without the brake cleaner, I was sure that this was a fuel issue. I checked all of the pipes, cleaned the sediment filter (for the first time in a while looking at the muck that emerged), peered into the tank to ensure it was clean (it was) and bled the fuel system to a point just after the pump – still nothing – new pump anyone?

The fuel pump is easy to access, but the tag with the part number is unreadable, but I could figure out that it was a Zexel Bosch and some of the part number.

On the trail for part numbers, I started with the Australian Rover Owners Club which is a rich source of information. I soon discovered that this particular fuel pump has a small filter hidden away inside the banjo bolt on the inlet side of the Fuel pump – this must be the problem I thought…………..

I was delighted to see a blocked filter which was sure to be the source of my problem…….this was soon cleaned out and the system, re-bled. Did it start – no chance!

After a few parts searches and calls I concluded that a pump was not available in the UK, but could be ordered from Australia which was not a problem. However, I found a company that, as long as the pump was not completely past it – would re-build it for me. The pump was duly dispatched to Darwen Diesels in Blackburn. Fingers crossed the next post will tell all.

Neil Read Performance in New Milton, Hampshire provided services that you will not get in your average garage, tuning, fabrication – you name it. Great service and an all round great guy. I will be taking the Perentie there to have the addition fuel tank installed, but that is for later.

Some Perentie History

A couple of weeks ago Benita and I met up with Darren a fellow Perentie Owner and general Land Rover guru, who just happens to live in the New Forest!

Given that there is only a handful of Perentie’s in the UK this is very fortuitous……but if it were not for the Australian Perentie Owners Club Facebook group, we have never met; the wonders of social media!

We met up a Setley Vineyard near to Brockenhurst for tea, cake and a Perentie viewing session. Darren’s Perentie is a FFR (fitted for radio) and is in excellent condition, still in its Military paint and with all of the original radios in place. – Wonderful!

This led us into a conversation about the history of Benita’s Perentie, about which we know very little……..so off to the Register of Ex-Military Land Rovers to find out more!

Little information was available, we found the ARN (Army Registration Number) though, this led us to the entry in the auction catalogue when the vehicle was sold. This told us than the vehicle with the RAF in Richmond NSW and had done overseas service with the Australian quarantine Service……this was where is was damaged and was apparently sold as such, as a non runner. – Oh Dear.

Darren suggested that a company called Agricultural & Cross Country Vehicles Ltd would probably have imported the vehicle. I took a look at there web site only to find a picture our very own Perentie………

Recognisable as ours, it has already been painted Gray and has LED front lights – still has the Military Wheels and open back.

Anyway, I contacted Agricultural and Cross Country who confirmed that they has painted the vehicle and replaced the engine and gearbox, which was the reason for the non running. This explains the Turbo version of the 4BD1 engine which was not standard for the 4×4 version and the LT85 Gearbox rather the the stock LT95 – more Gearbox posts later!

They also provided some images of the Perentie post auction in its Military clothing…………the Gearbox in the back confirms the story.

Anyway, moving forward we may find out more, Darren has some contacts in Australia, so more information may turn up in time. I will also contact the auction house in Oz, to see if they still have the Military log book, which sadly, did not come with the vehicle.

De-misting and Dashboard trimming

Did I mention that the Perentie did not de-mist the windscreen very well. I probably didn’t because no Land Rover can de-mist or indeed heat the cabin with any degree efficiency. This is because the heaters are completely rubbish.

Basically the heated coolant in the engine permanently flows through the heater box, you don’t turn the flow on and off with the heater. You can of course amend the plumbing to enable this, but it is a fix that is most, often, not done.

The hot air passes into the lower part of what is the dash board, effectively in front of the bulkhead in front of where your knees go!

When you need heat you pull a lever, that pulls a long wire that opens two small flaps one on each side of the car, this allows a very weak stream of warm air to enter the cabin, pushed along by a low powered fan on heater box in the engine bay; if you are lucky some of it may make it to the windscreen up two very basic tubes. part from bad design and a small fan I guess the car is always heating cod airframe the outs so it will never be great. Ultimately I will upgrade the heater box and fan, but not now.

I needed to remove most of the dash to get at the wiring and soon realised that the wires that opened and closed the flaps were not connected inside the lower dash. One flap is connected to the other with a rod, so just the one connection from the lever. There was no easy access so the whole thing had to come out which was a painfully slow job as all of the fixing were rusted in – the dash also looked a sorry state.

If you look closely at the picture top left you will see a brown wire sticking up in the air, this is a permanently live battery feed, that was just hanging around behind the dashboard; with all of the metal sound proofing just behind it as well – an accident waiting to happen.

Anyway, an afternoon with a wire brush and some Hammerite and all is looking much better! Some padding added and new foam on the flaps…….

All I need to do now is the covering, so some more research. This is when I stumbled across Mike at Britannica Restorations based in Canada. Mike is a true Northerner and a old school properly trained mechanic, his You Tube channel has dozens of fantastically detailed videos about how to fix your Landy – you must visit!

So Mike had a couple of videos about how to recover dashboards, with varying levels of success. Following his tip, I sourced some of the 4 way stretch vinyl used by manufacturers. This is the proper stuff and needs to be treated by vinyl sealent (VP1 Primer) before being stuck to the dash itself, not cheap, probably £100 for the vinyl, sealer and adhesive. Benita and I did the covering one Sunday afternoon as it is not a one person job, we made a effort I think.

I attached a new wire, hopefully it will never come off again, as I have no intention of removing the dash ever again as I was also a pain to get back on!

I followed the same procedure with the top dash which had holes drilled through it in the past.

Later, once I have a proper diesel heater fitter, I suggest the I will use this in the winter instead of the inefficient Land Rover system.

Whilst the dash was off, I replaced the windscreen wiper motor, the wheel boxes and the tube to the windscreen washers.

I also replaced the pipework to the windscreen, the originals were not properly sealed into the lower dash, so the air had no chance of making it to the windscreen.

A Land Rover that leaks, surely not!

Well no surprise there, we all know that Land Rovers leak, even my Puma gets the occasional puddle in the passenger footwell if the wind is blowing in the wrong direction.

This is nothing compared to the Biblical floods in the front of the Perentie, and thats just on a cloudy day…..

With the Dashboard all out, what a perfect time to investigate such leaks, with full access to the bulkhead.

So, with the help of my dad with a hosepipe outside of the car, I sat on the inside to identify position of the leaks. Well so much water came in that I had no hope of spotting all of the problems in one go. We tried again, gradually moving water flow up from the bottom of the footwell, to the windscreen – lots of work to do than!!!!!

Someone in the past had added the silver foil type sound insulation to absolutely everything with gay abandon including the inside of the bulkhead and the footwells, preventing the easy removal of the plates under the mat and the gearbox tunnel. If you have ever tried to get this off you will know that it is a long and arduous job, the mastic sealant is difficult to remove and the foil will slice through your skin given the slightest opportunity. It was cold so this did not help, a hot air gun did help a bit though, but it did add the possibility of laceration with hot foil, rather than the standard cold!

With most of the foil removed numerous holes were revealed, not the usual rotten bulkhead, that was in fine fettle having lived in Australia all of its life, but just when nuts bolt and screws had come and gone over the years.

The windscreen seal was leaking as were the seals on the front vents. There was no storm seal on the bottom the doors and the actual door seals has split where they have to bend around the door frames.

There was no seal on the bulkhead behind the rear of the bonnet. As you can see below there is a bit of a design fault as the water running from the channel under the windscreen runs straight into the front of the vehicle, seal or no seal!


The brackets that hold the windscreen surround to the body were also a major source of water, so these would have to be removed. Note to self, if you ever do this again, do one side at a time – note to get back on……..is an understatement as the top of the car rises slightly. I had Benita sitting on the roof to get them back in.

So these are the brackets, for a start the seal that goes between the car and the bracket is missing. Also, the bolts are a much smaller diameter than the hole that they go through. Can’t be right I thought, must be the wrong bolts, no wonder it leaks. No I was wrong, according to Paul Light Land Rovers, they were the correct bolts, they give you sufficient wiggle room the get the brackets back on, if they were a perfect fit you really would struggle………I filled the holes with Sikaflex when I put it all back together. Not pretty, but it does not leak.

I also took the opportunity to paint them Tangiers Orange as a nod to the G4 vehicles, not sure is was the right decision, but they are done now.

Painted Bracket


I replaced all of the rubbers and took the opportunity when the screen was out to replace it with a heated one – wiring to be done later.

Guess what – no leaks – job done.

Paul Light Land Rovers are based in Hordle, Hampshire and a mile from where I live. Perfect, half way through a job and need a part – you have it 10 mins later. Paul deals mostly with Series Land Rovers and Defenders now and specialises in Re-Builds. If he does not have the part in stock, and mostly he does……….it can be obtained overnight.

A fantastic person and business, always happy to help and give advice.


Paul does not have a web site, he does not need one, but can be reached on 01425 620626


Can you smell something?

OK, so I noticed the the near side rear side light was out, the weather was dreadful so it was a day or so before I got to take a look.

New LED lights had been fitted prior to my ownership, so I must admit I was not expecting problems, also the usual “lets change the bulb” was not going to be an option.

I had already removed the rear mudflap at the rear as it was torn, but there is a metal plate that runs from the mud flap fixing points to the rear cross member, the idea being that it provides some weather protection to the wiring for the rear lights. In this context “some” means absolutely none, a complete waste of metal in my opinion. However, the plate needed to be removed to gain full access to the wiring.

After a good dose of WD40 and 20 minutes of my time, the plate was removed. It could have been worse, at least I did not have to cut any of the bolts off.

Well frankly, I am surprised that any of the lights worked………

There had obviously been a small fire as I was seeing a mass of bare wire wires with no insulation. As I moved the wires so that I could see more clearly, there was a spark, some smoke and a small fire! So a quick battery disconnect was in order.

Once everything was safe I managed to identify each cable, untangle the mess, cut out the damaged section and rejoin the wires with a temporary repair.

There were a couple of cables with bear ends that I isolated for safety.

I checked the off-side wiring for safety, it looked reasonable, so no immediate action needed.

With the battery re-connected all lights were back working perfectly!

Once I have figured out where the loose wires belong, I will remake the rear part of the loom and use waterproof connectors to the lights.

Finding parts, a taste of things to come……….

Well, if you have been with me since the first post, you will know that the Land Rover Perentie was a special project for the Australian Military built by Jaguar Land Rover Australia – a super tough Land Rover for the rough conditions in the outback.

S0 in a nutshell, power comes from an Isuzu 3.9 Diesel, but pretty much everything from the clutch back is Land Rover – all mounted in the special galvanised chassis.

Now most 4×4 Perenties have a normal aspirated Isuzu 4BD1 Diesel, however, ours has a 4BD1 Turbo, usually found in the 6×6 version – The reason for this will be covered in a later post.

So, the first job on a relatively new vehicle is change the oil and filters, as we all know. A quick call around to usual sources drew blanks as I did not know the part numbers. The existing filters were all so old and dirty that the numbers could not be read. A call to the “not so local” Isuzu truck dealer also drew a blank when I gave them the engine number…….

Isuzu suggested that I book it in for them to take a look and try and trace the engine on their computer. Given that they would also check the engine over and inform me of any impending doom, I bit the bullet and booked it in. At least they gave me a courtesy van; a very battered VW Caddy, full of empty crisp packets old fuel receipts and with nearly 200k on the clock!

However, to give them credit, they didn’t charge me for it and I got good use out of it over the next two weeks…………Yes, two weeks!

As an aside, it is amazing the assumptions that people make about you when you drive a sign written van…………..

So why so long………….well I very quickly got a reasonably long list of what was wrong with the Land Rover (Most of which I knew) and confirmation that the fuel and air filters had been obtained and changed. No really bad news, so I took that as a positive.

The problem was with the oil filters, yes there is a plural. There are two, the main filter and a bypass. A series of filters ordered in apparently did not fit, including some part numbers provided by the wonderful people in the Australian Perentie Facebook Group to whom I turned for help. No idea why this was as the Australians know their stuff.

Anyway, Isuzu got there eventually after seeking e-mail assistance from Japan! – and the Perentie returned home.

However, a lesson learned; I have already started to think about sourcing other parts that I need to replace prior to our trip, but more of that later


One Chance to See the World

Insta @onechancetoseetheworld