Well, we were always going to need a heater and I must admit that I have been putting it off for a long time. But as the end of the build approaches, the job must be done.
Something always has to be last and in this case it is the heater, partly due to the cost, as it has to be professionally installed and partly, I was struggling to decide when to put the heating unit itself and the hot air outlets in the vehicle.
Early on, the thought process was, that if I put the heater in first, then it was bound to be in the wrong place. Leaving it until last, reduced the options for the installation and required a little ingenuity to get the thing fitted so it worked well, but in the end everything worked out.
Again a number of options for air heaters exist and it is easier to make a decision for an air heater, than for a water heater. Simply it had to be a diesel heater as I would always be carrying plenty of fuel for it. Eperspacher units seem to handle altitude better than Webasto, so that was the decision made.
I have mentioned Neil Read before in a few posts and I had already been in touch with Krueger a firm in New Milton that are Eperspacher installers. I did not realise initially that Krueger is opposite Neils workshop and that Neils son, Owen, works there……….
So when the Perentie was at Neils having the front roof rack sorted (Yes, in another post) we all met up and had a look at install options.
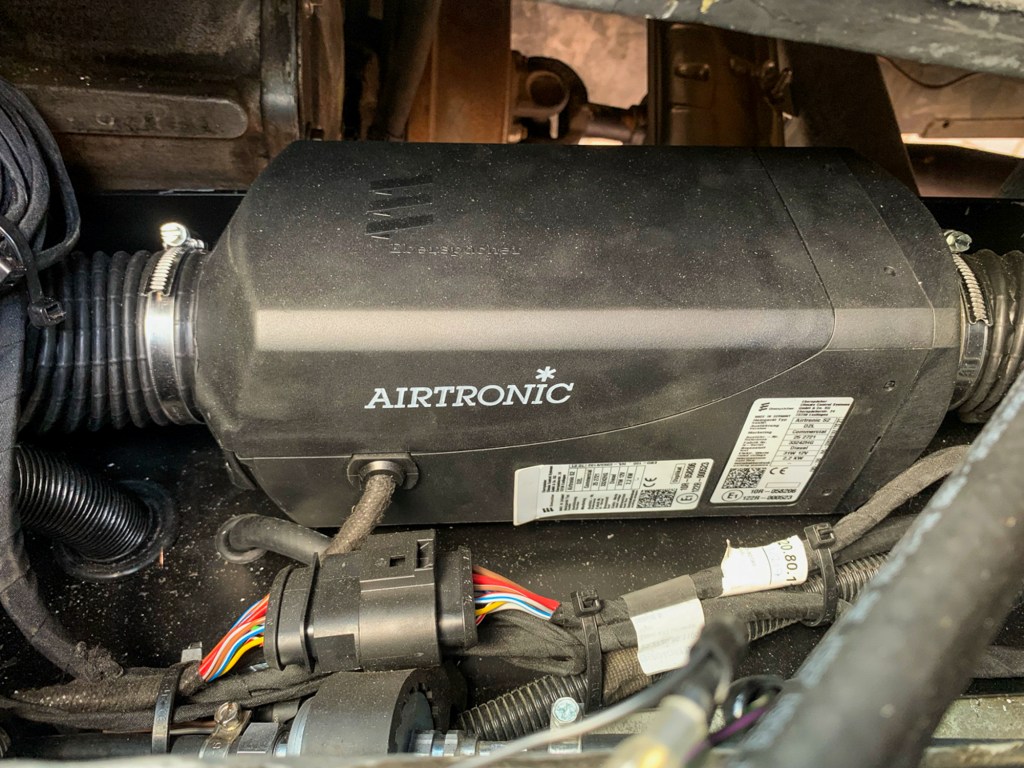
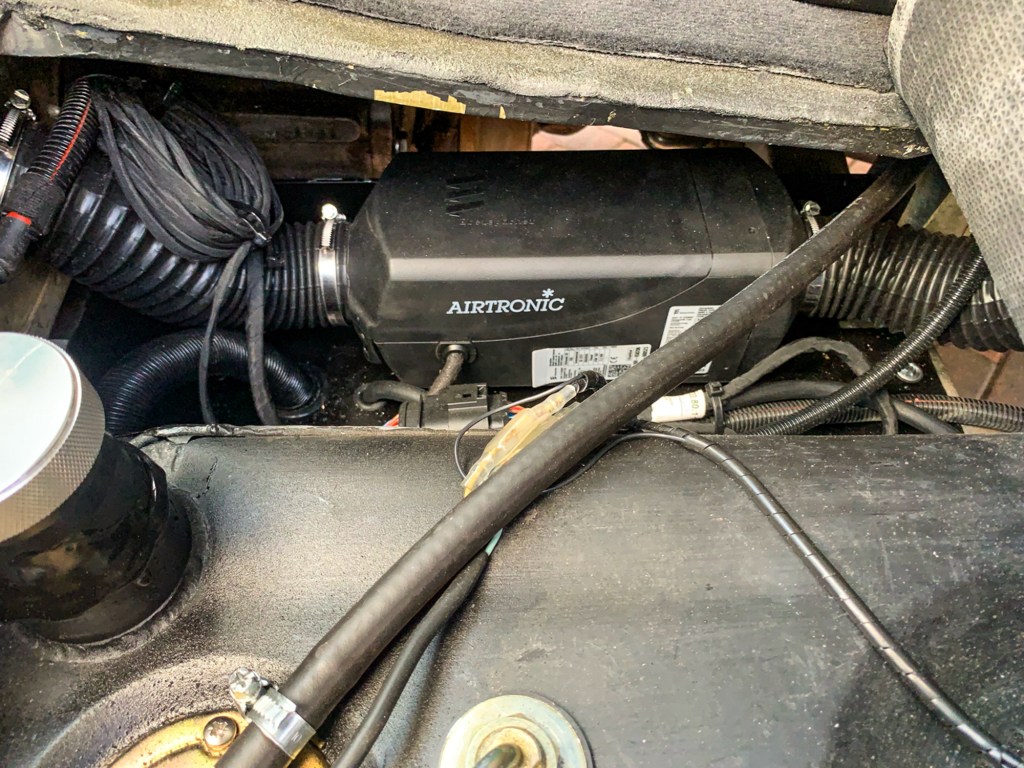
Not the easiest, but my suggestion that the heater unit was fitted on the chassis next to the second fuel tank was agreed upon. Owen figured the positions for the air intake and suggested solutions for two air outlets, one by the front passenger seat, slightly elevated and the second running towards the back of the vehicle to provide warm air at the back of the vehicle. Neil was happy to make a bracket to fix the heater to the chassis and to protect it from the elements.
I had already run a power supply from the main fusebox, so we were good to go.
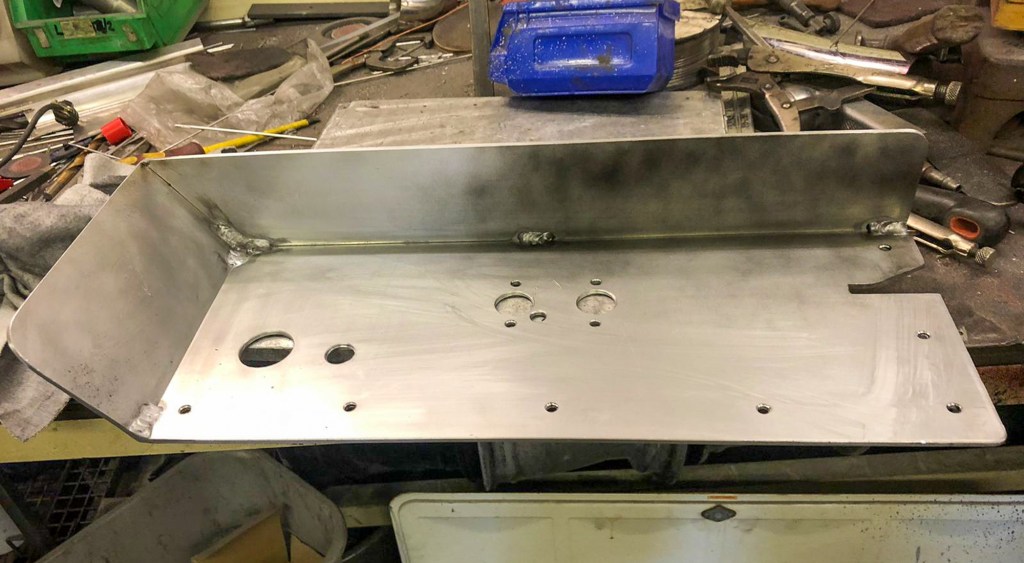
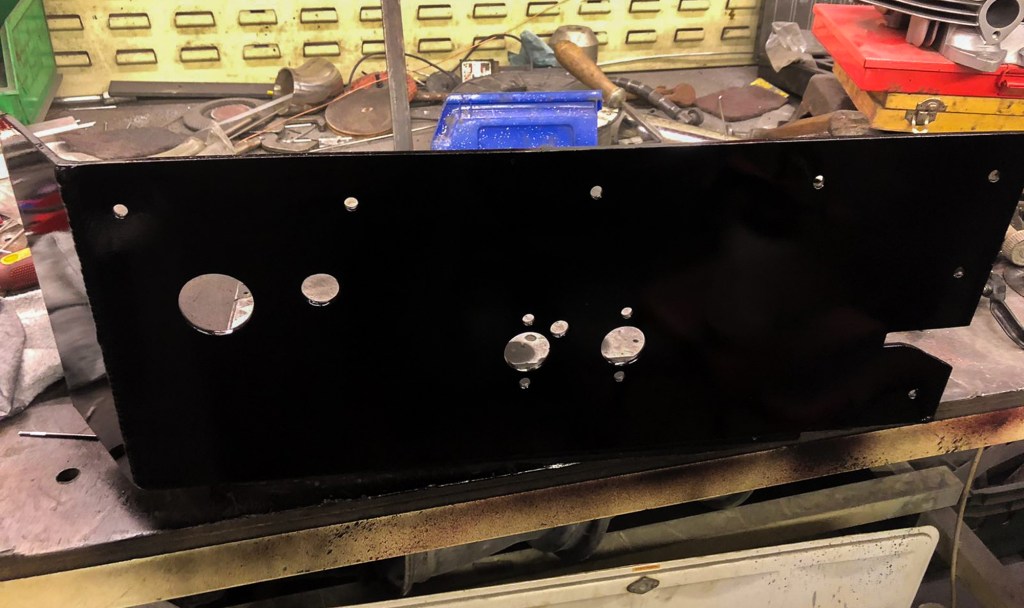
Neil fitted the bracket, having already drilled the precise positions for the mountings and the outlets.
Over to Owen to fit the heater itself, the air intake, the outlets and the exhaust – this was positioned on the drivers side, well out of the way of the awning, which is on the passenger side.
There was just enough room in the passenger footwell for the intake. Next to my newly made gearbox tunnel carpet!
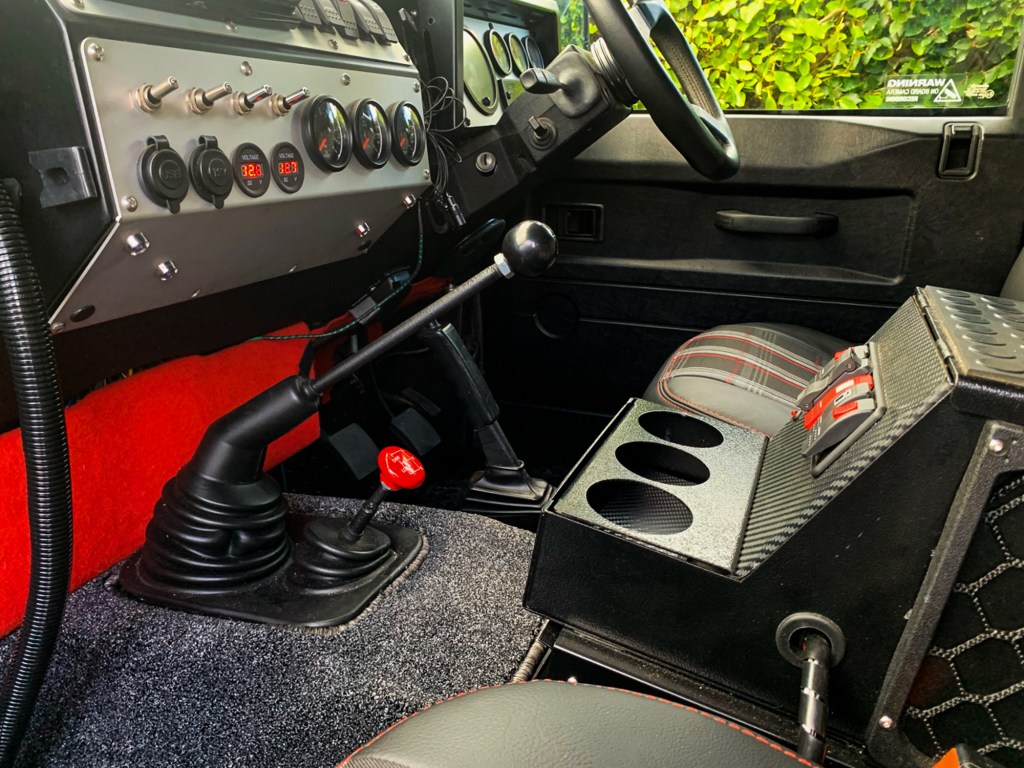

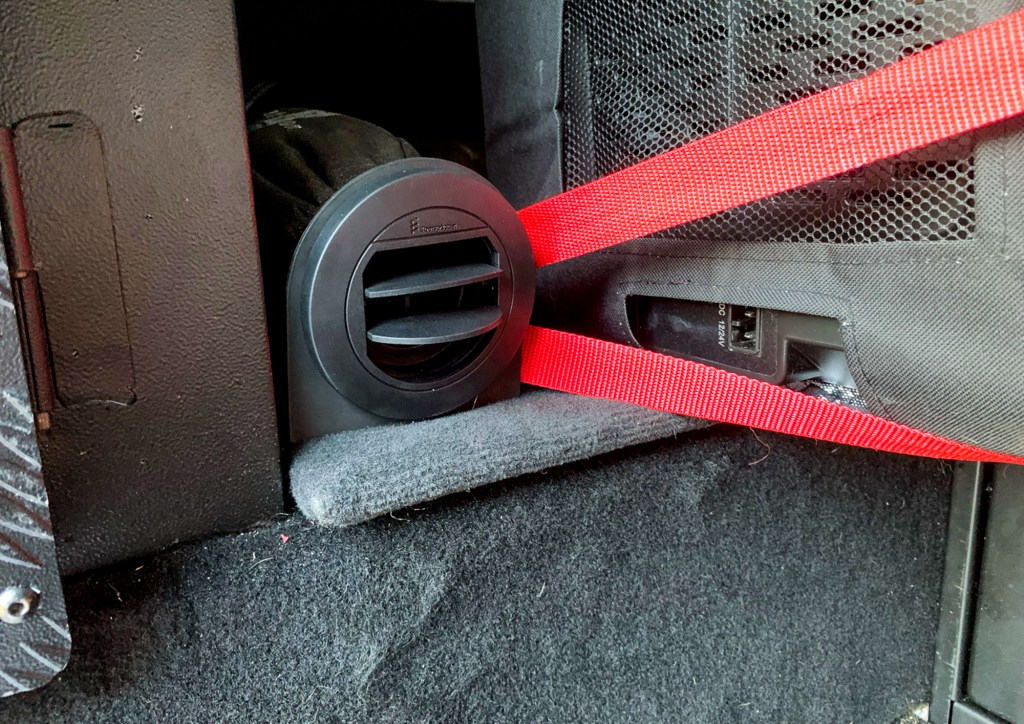
Outlets are in the rear between the fridge and the electric cabinet and next to the passenger seat for heat to the front. Land Rover heaters are notoriously rubbish, so this will be a great addition to the vehicle and used daily in the Winter.


The next issue was where to position the (small) control panel. My plan originally was to be able to turn the unit on and off from a switch on the centre console and contol detailed options from the rear. However, in reality the unit needs constant power to retain its settings, so this was ruled out.
At the moment the panel is in the rear near to my main switch panel, good for camping, but awkward in the Winter when you just want to turn the heater on for everyday driving. I could move it to the front, but then, when camping, we can’t reach it.
There is (a very expensive) solution; the App – there is an app for everything……..But the app needs a module which also need a home and approx £500!
So at the time of writing the Jury is out…………………..
