I not sure that they really needed to be replaced, but they needed to come out…….
This was because there was some surface rust on the bulkhead where they are fitted and a leak into the drivers footwell, the source of which was hidden by the said fittings – well that was the theory.
These are relatively inexpensive parts, so may as well replace them as they have been removed.
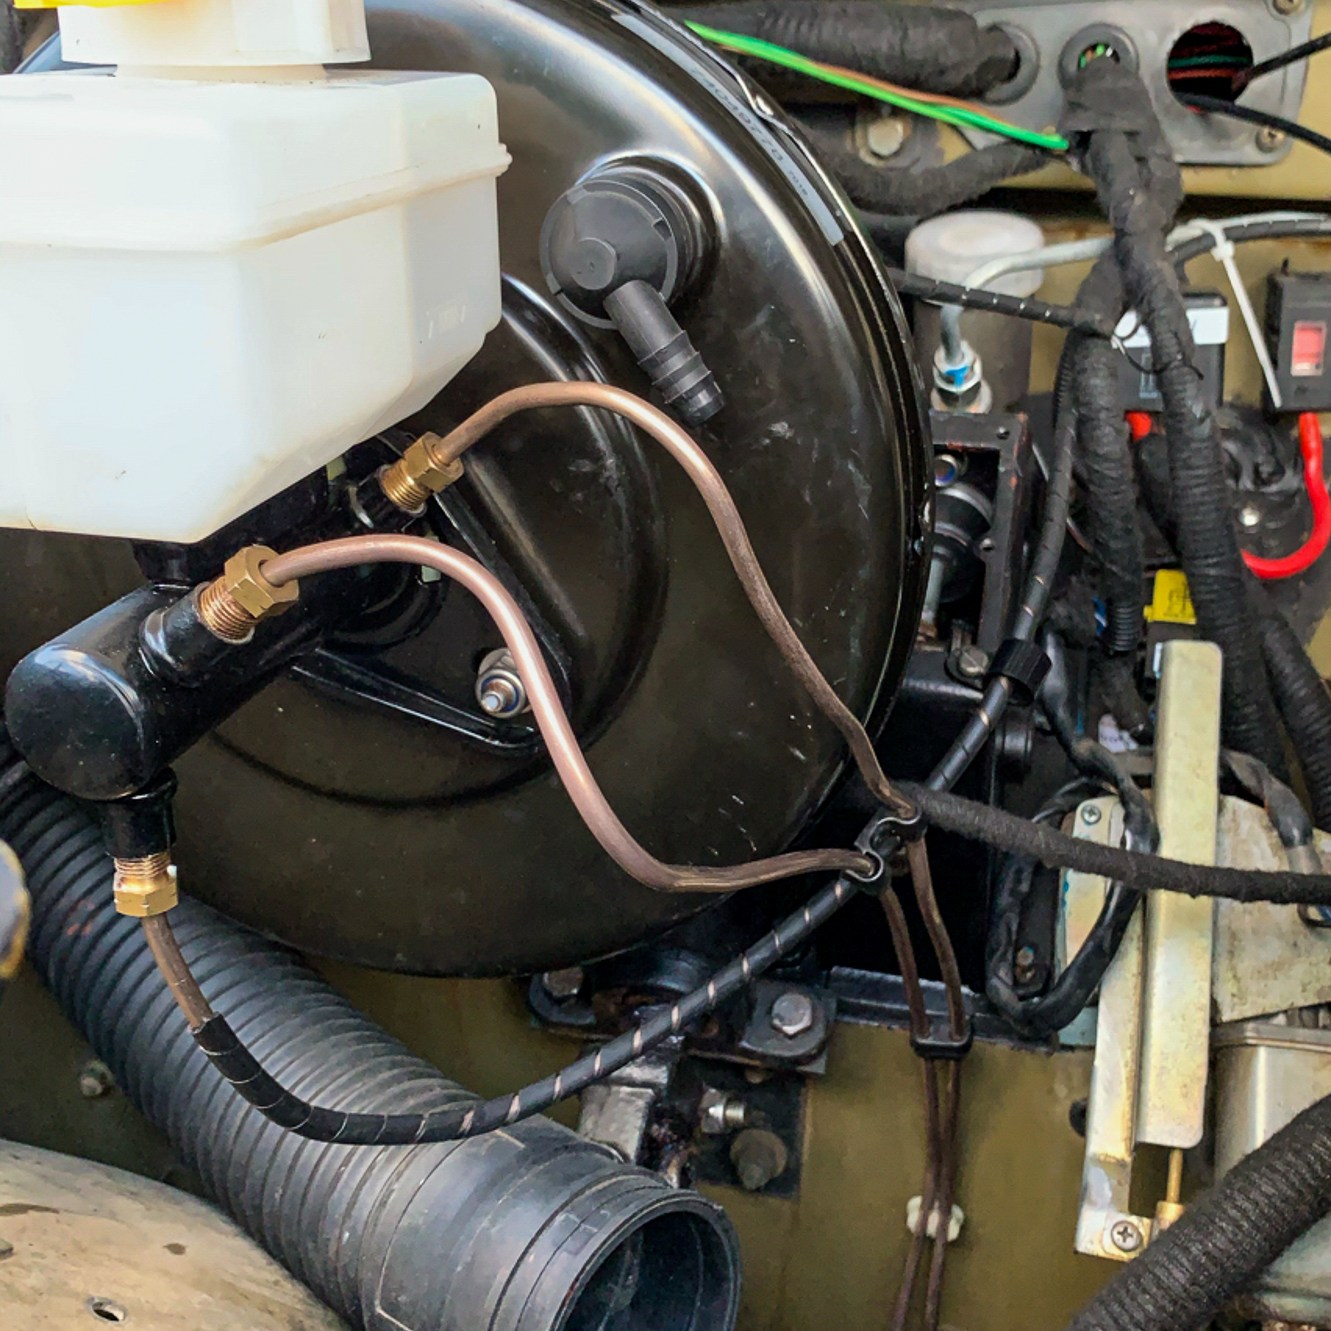
Oh! and the brake pipes, these were steel and looking sad, the fittings were also showing signs of corrosion; so these needed to be replaced. The problem here is that they are not all standard UK Land Rover parts, so I had no choice as to buy the correct tools and make my own; another learning curve.
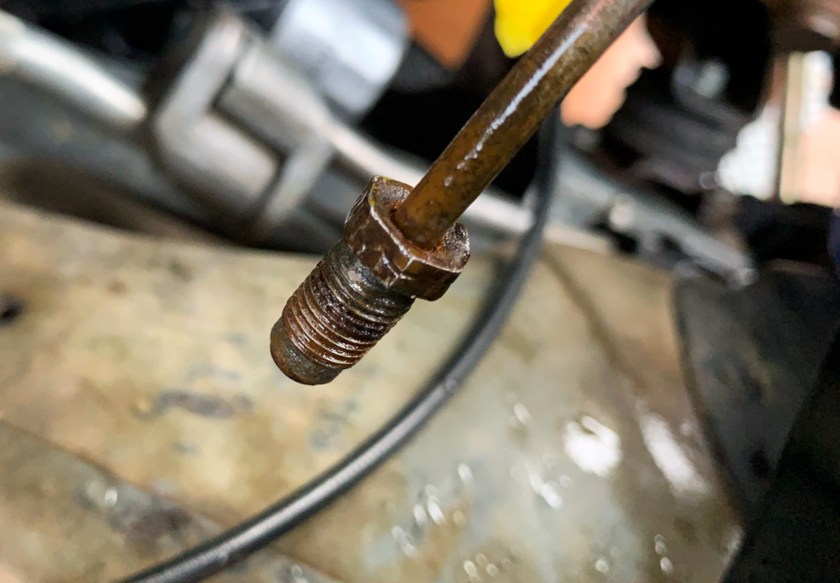
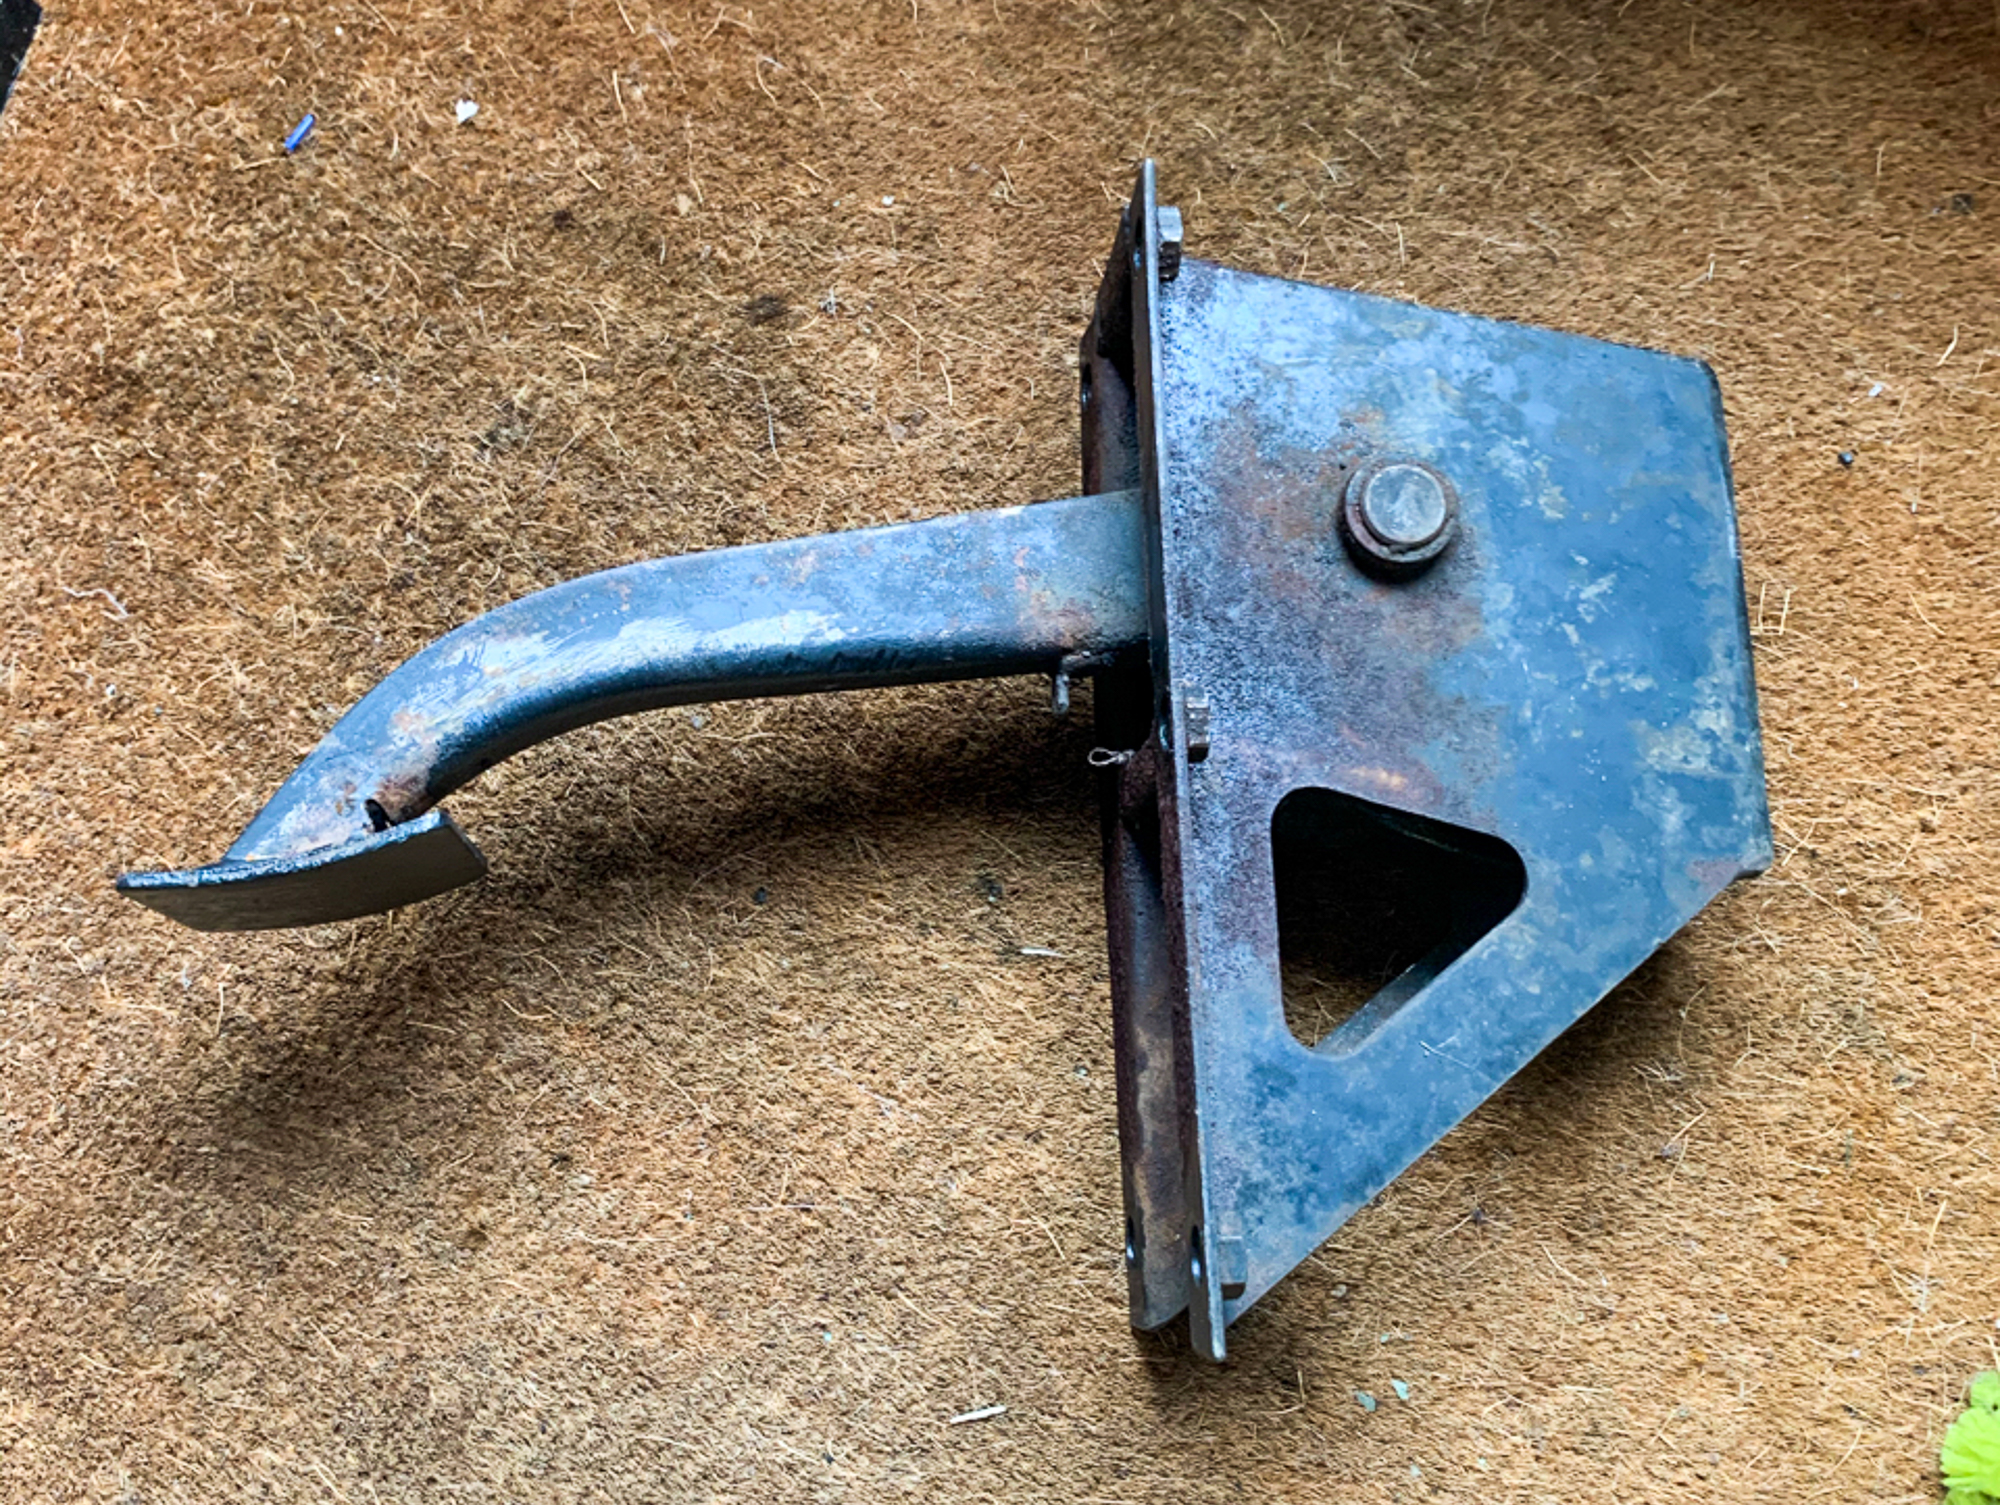
Dodgy brake fitting
The first thing to do was to take everything apart to see what we were dealing with, this went smoothly.
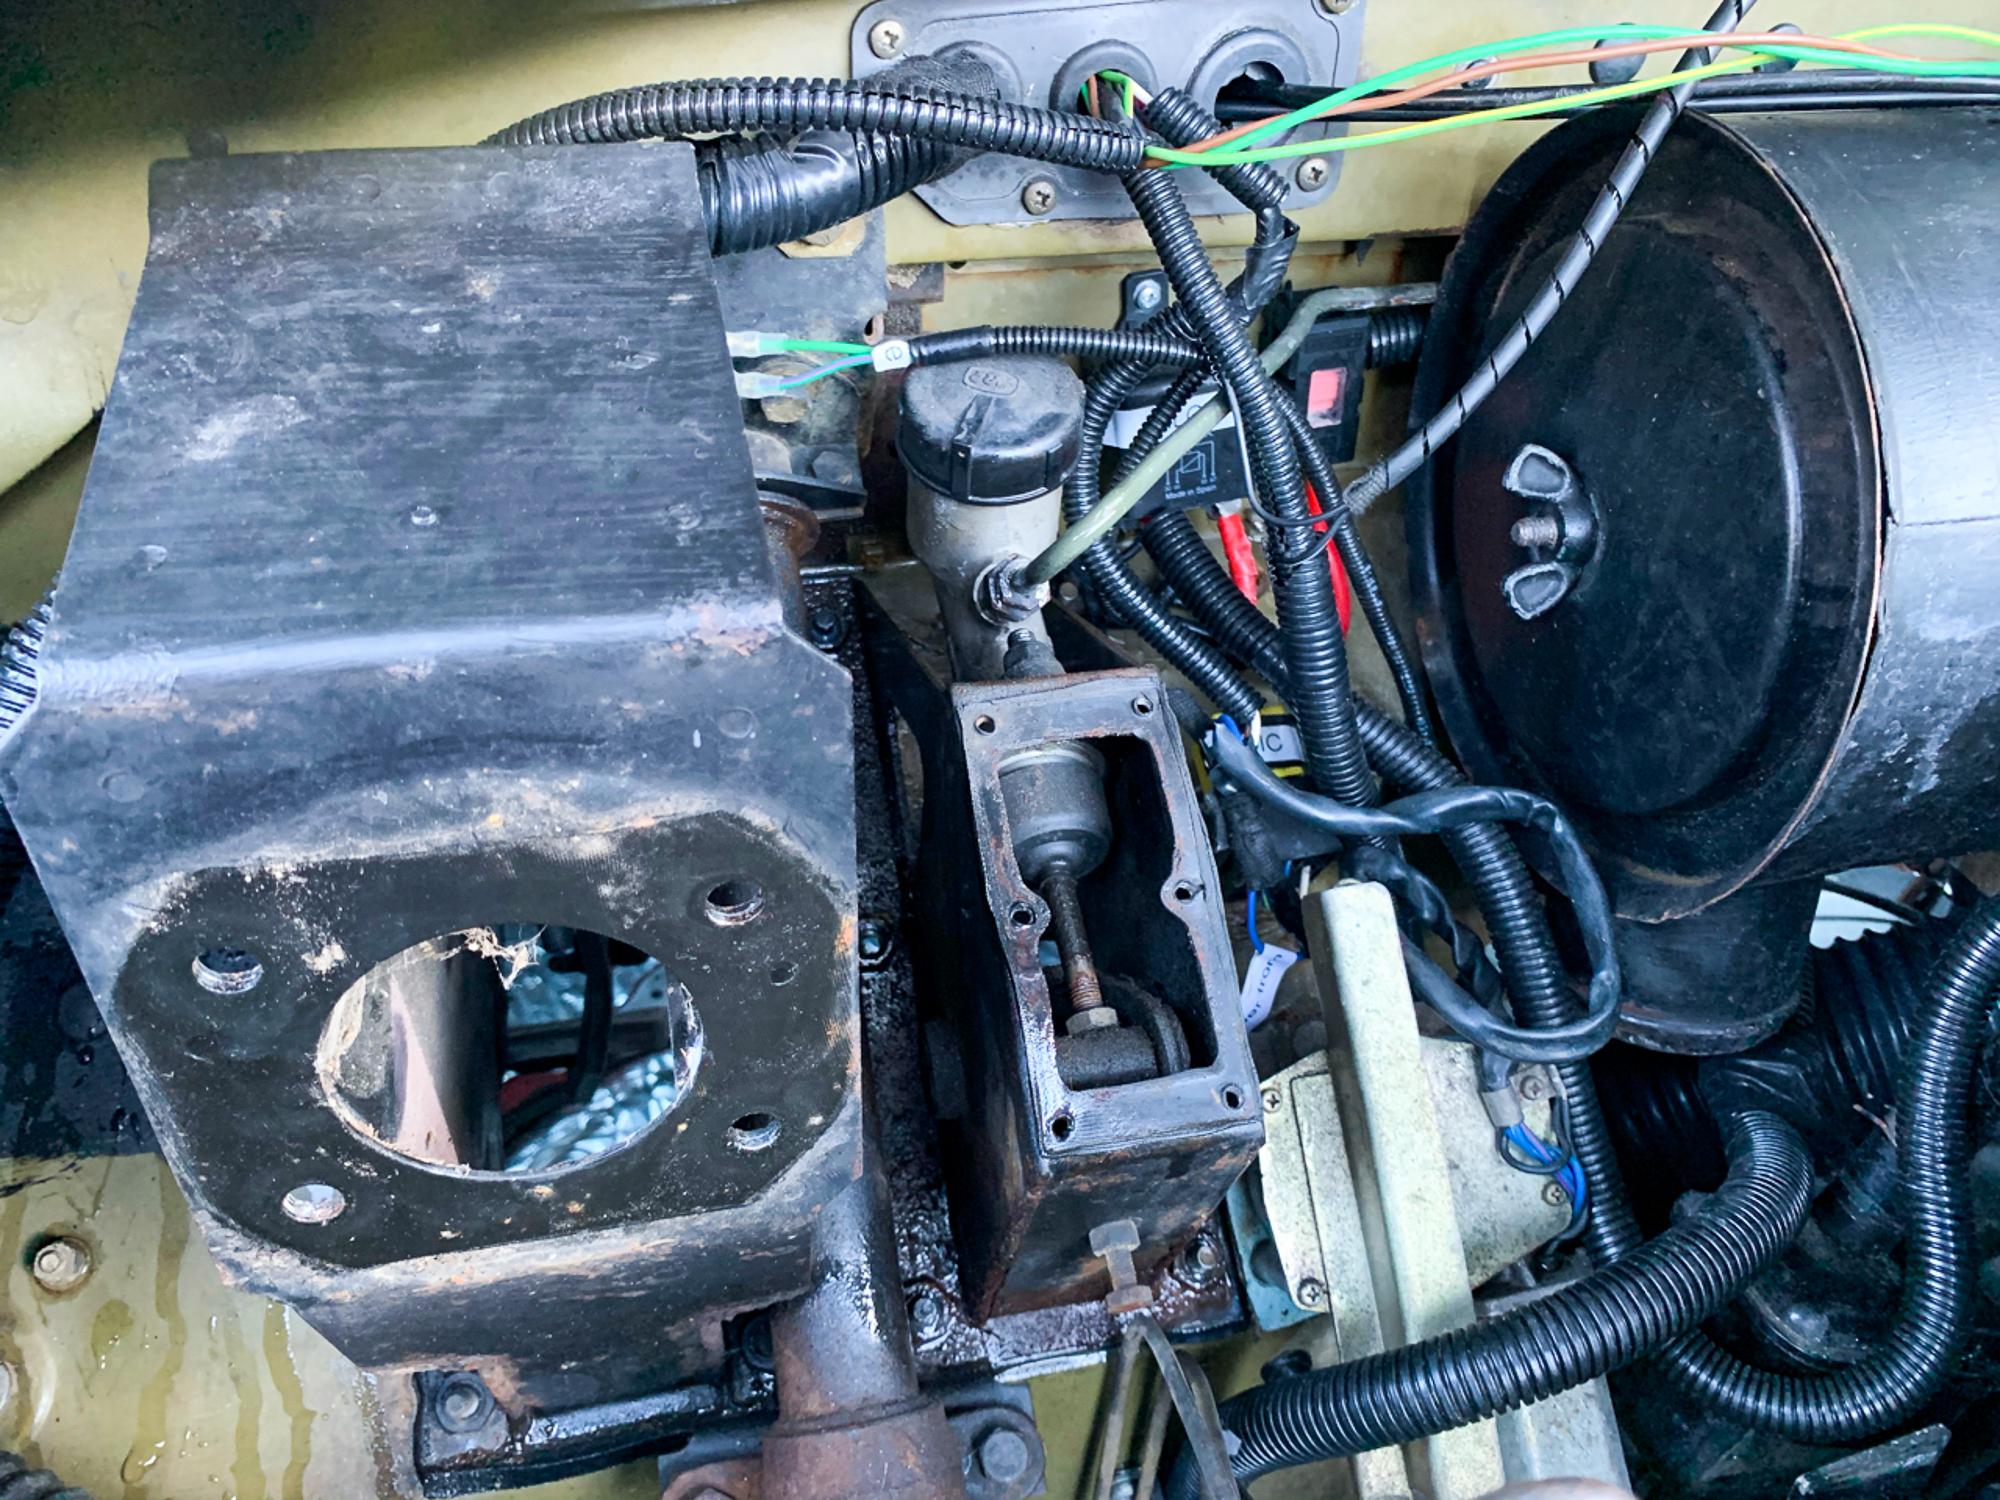
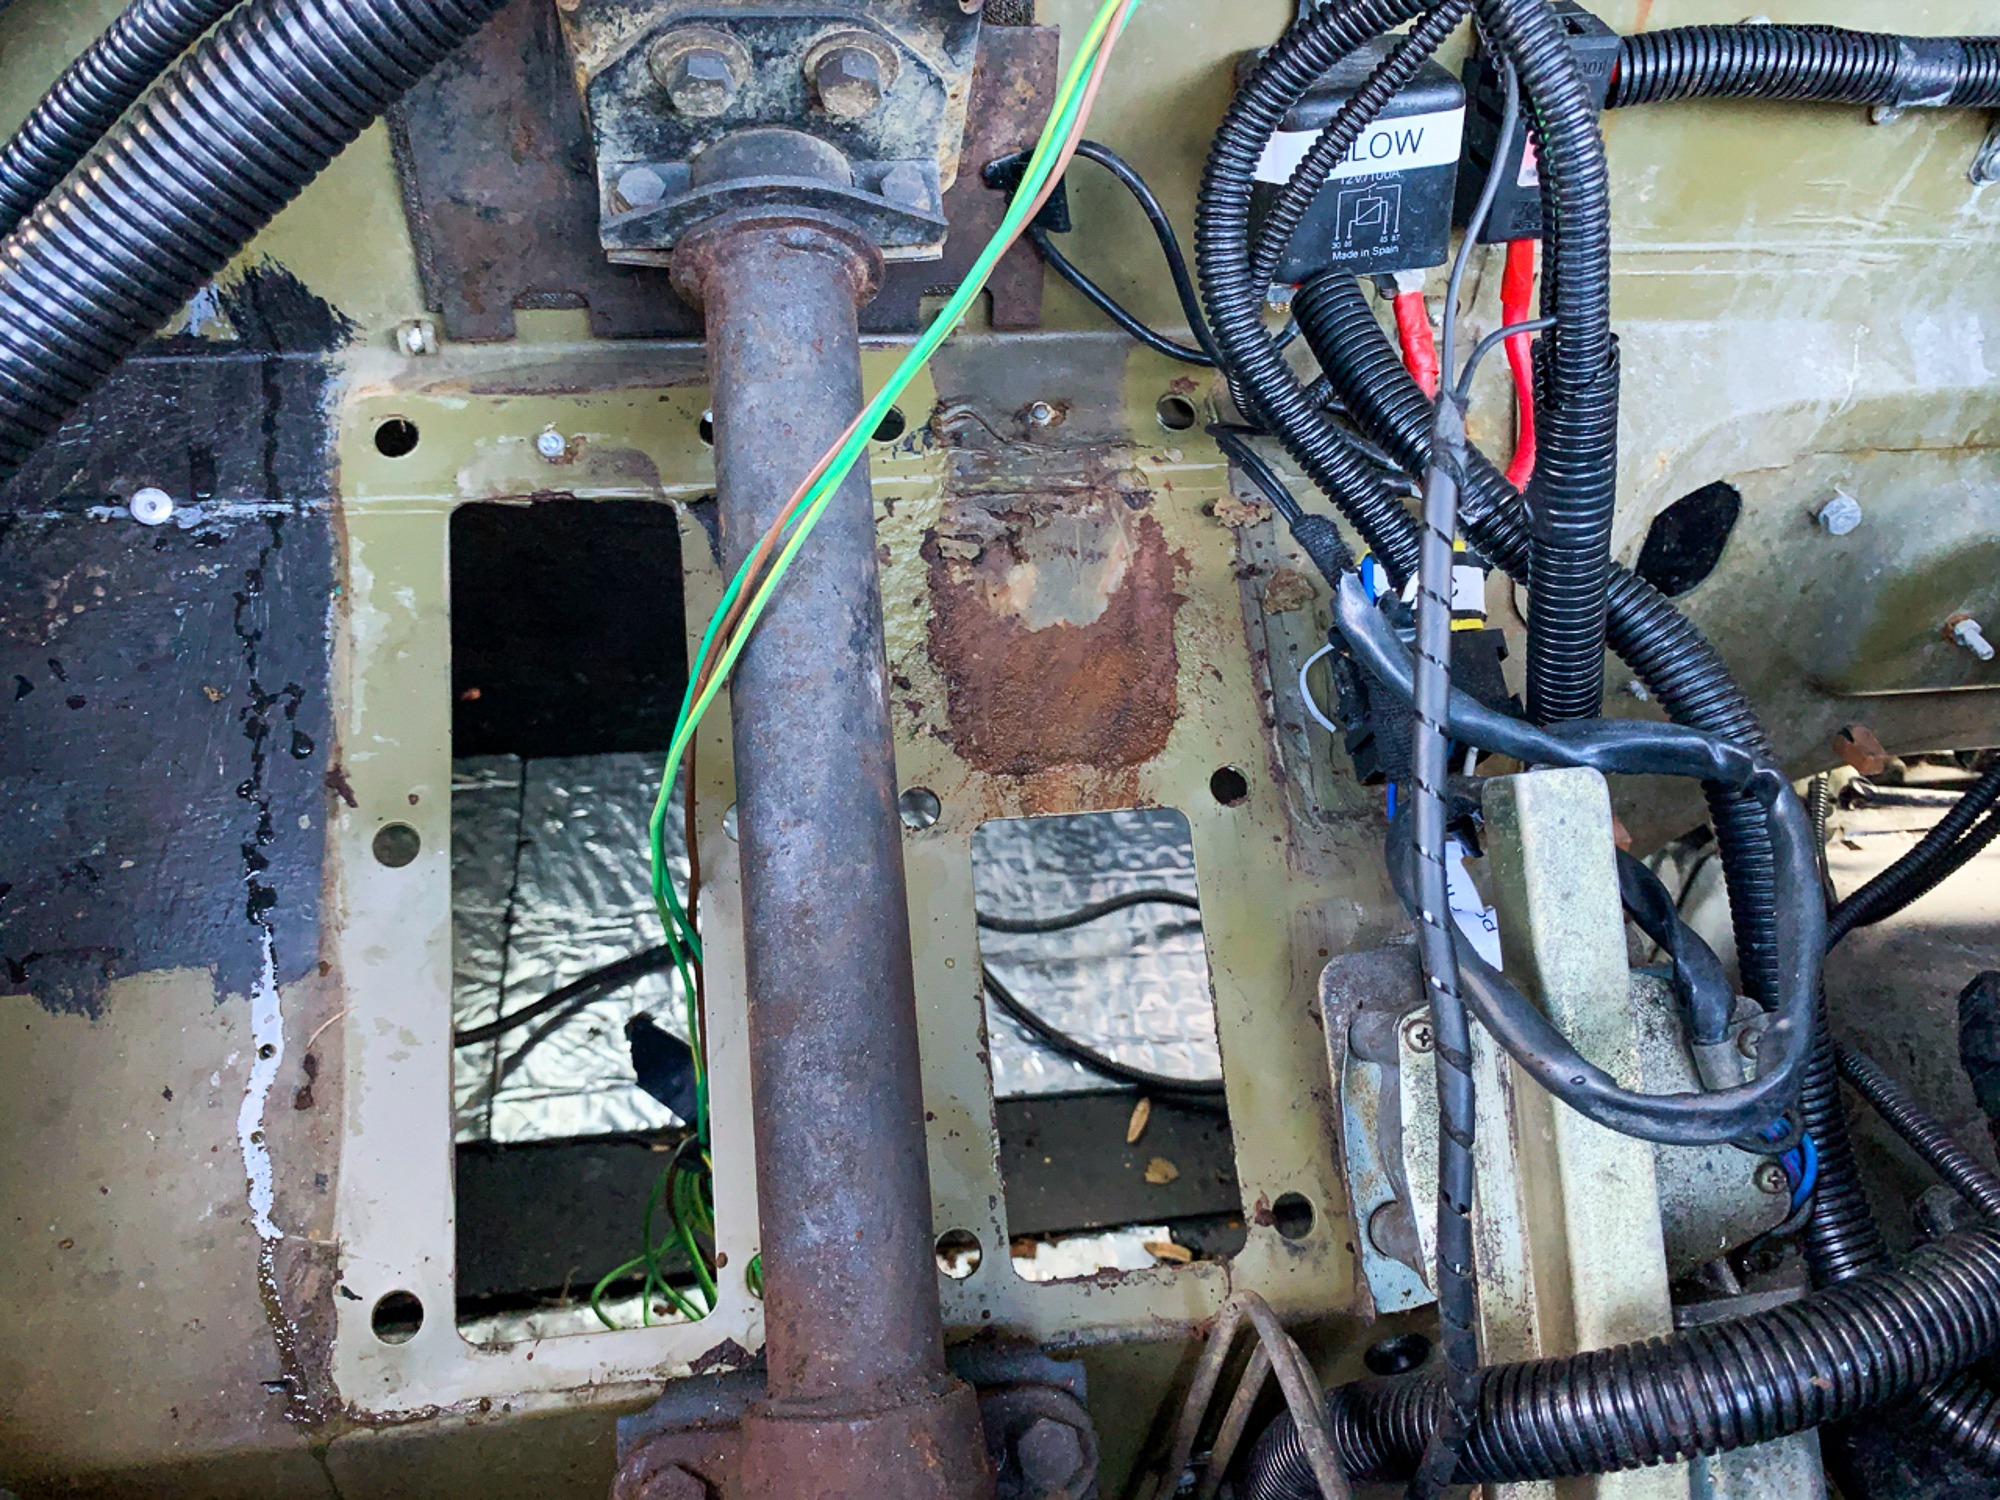
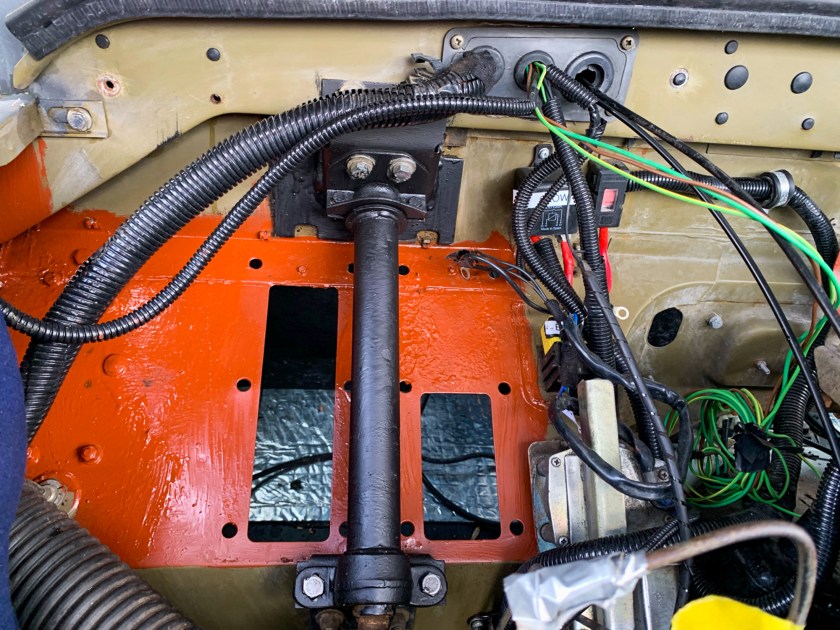
Some surface rust, caught in time, was dealt with, together with a few holes in the bulkhead where screws had once been. Also, some restoration on the pedal towers, these were replaced with new seals to the bulkhead.
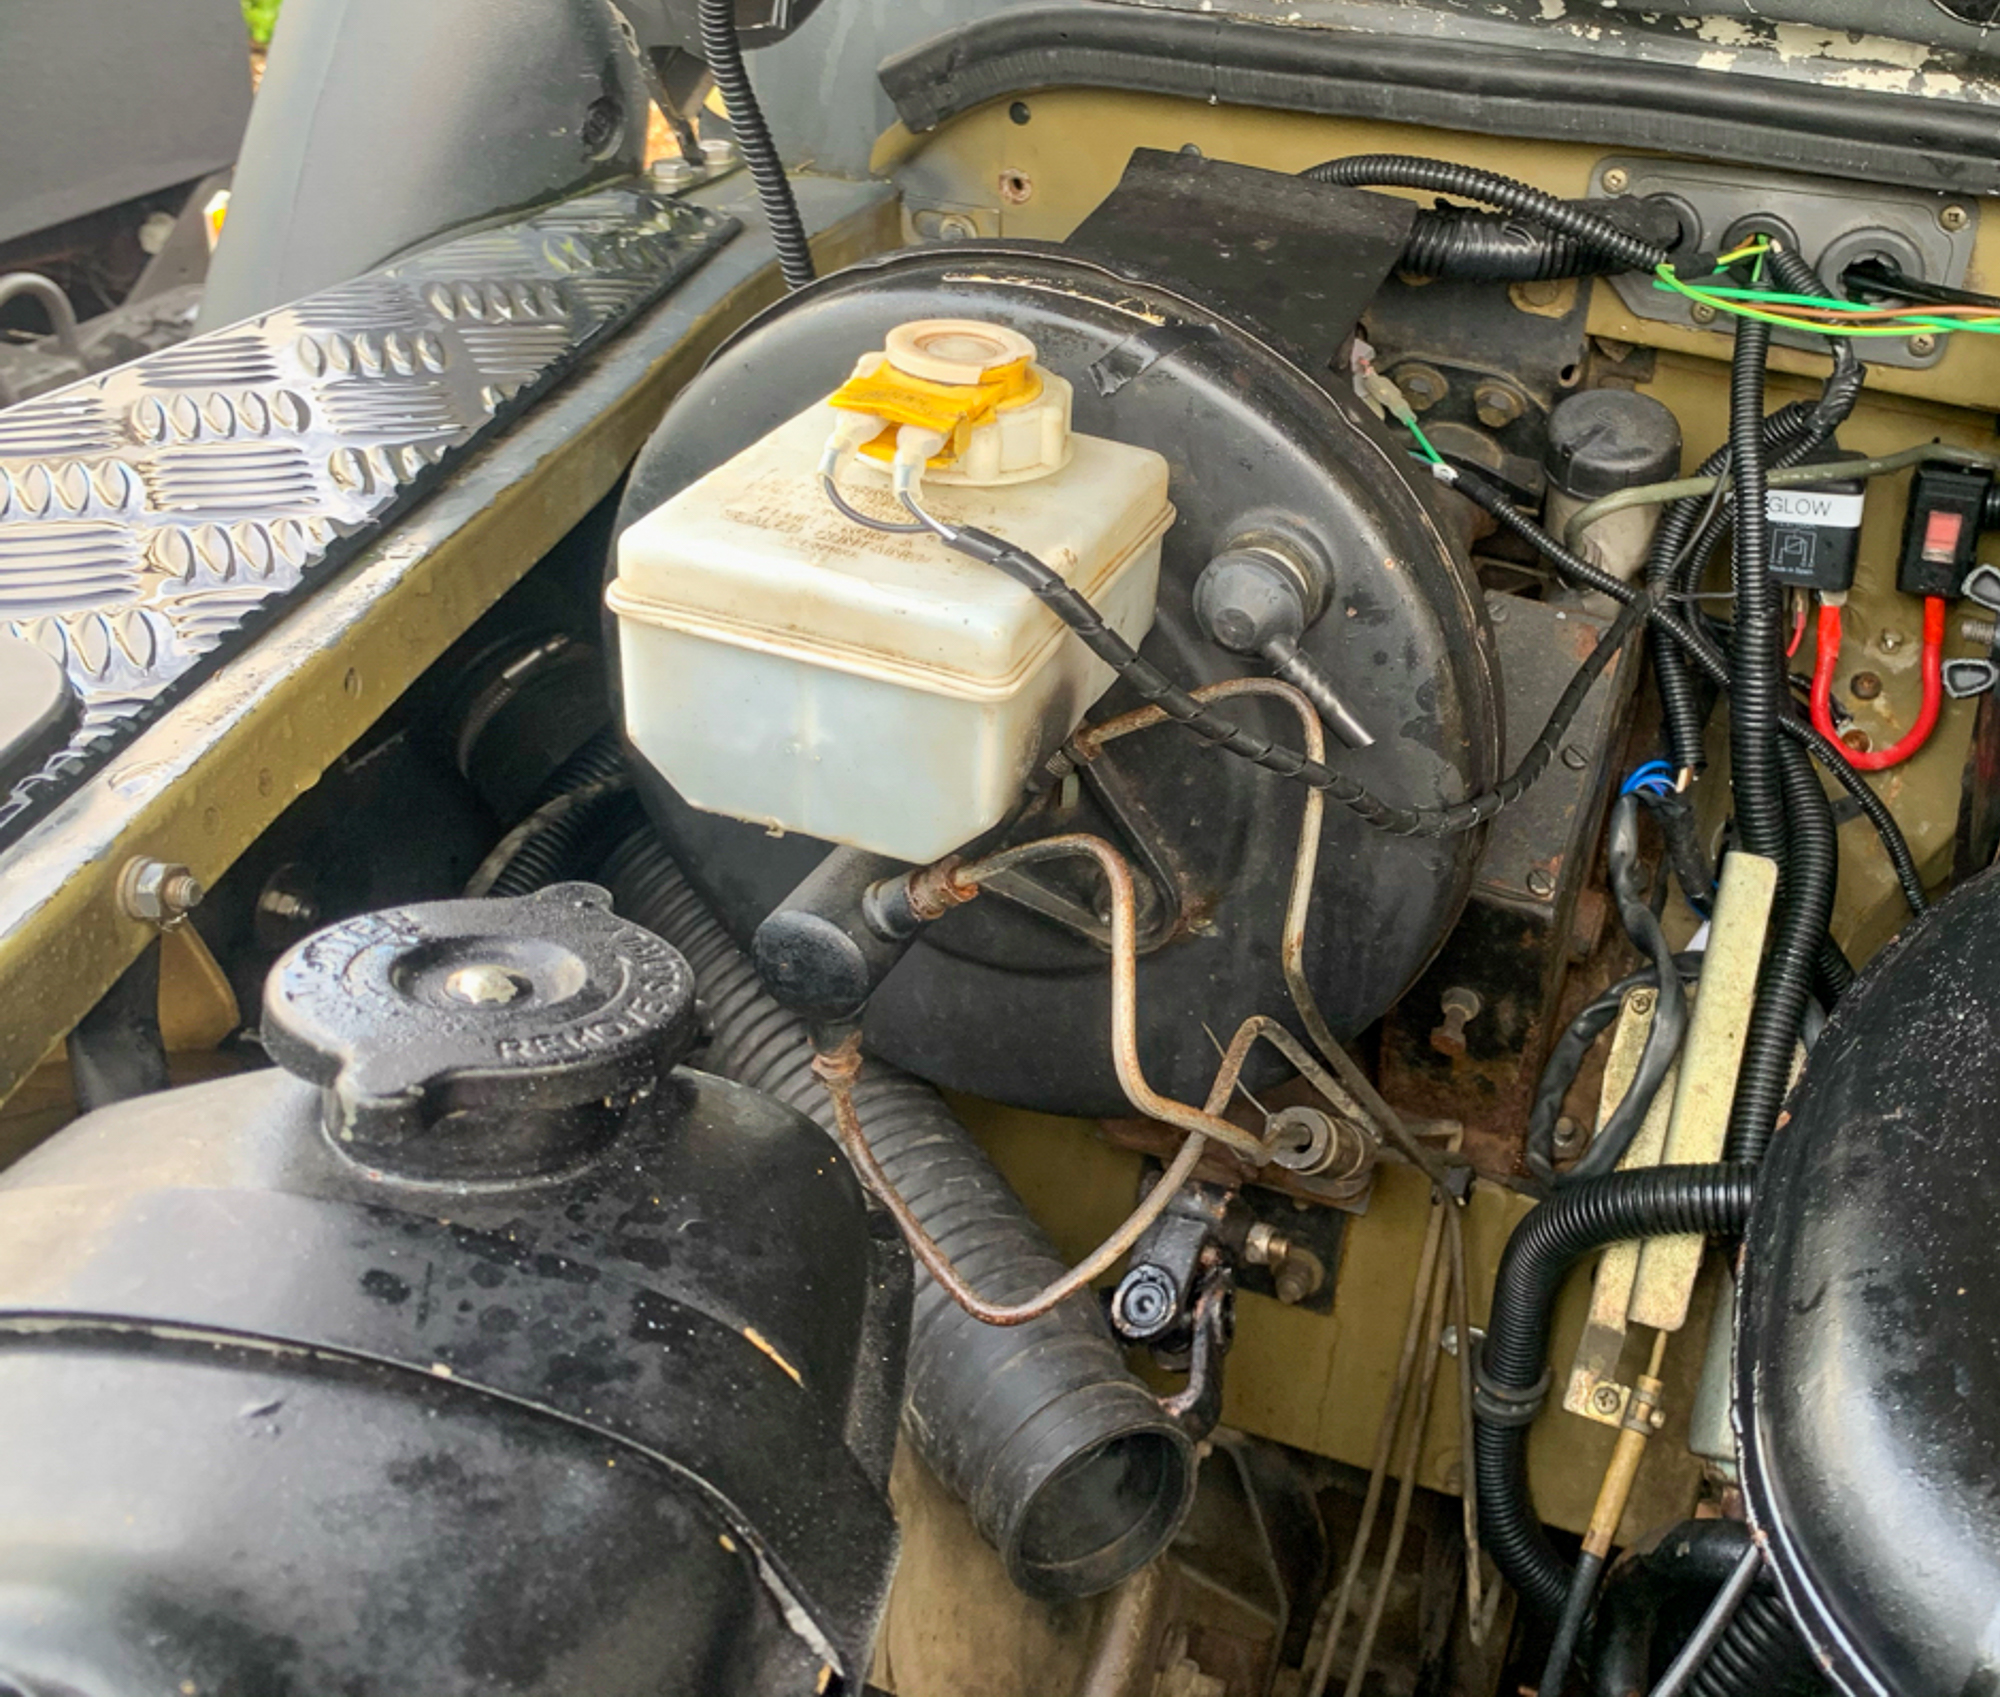
I replaced the pipe from the Clutch Master to the join with the Flexi hose from the slave, which had already been replaced.. Luckily this was a standard Land Rover part and ran up along the top of the bulkhead behind the air filter.
The other brake pipes were more bespoke, so it was out with the brake flaring tool. Now, this one one time when it is best to ignore what you see on the internet and ask someone who actually knows. There is various advice online about the flares needed and most of it is wrong. My Land Rover guru friend Darren confirmed that both inner and outer flares were required.


Making the pipes was not difficult once you had the right gear, the flexi hoses were standard, but I got the ones for a vehicle with 2 inch lift, because of the suspension and wheel changes; stainless steel so they will not corrode!
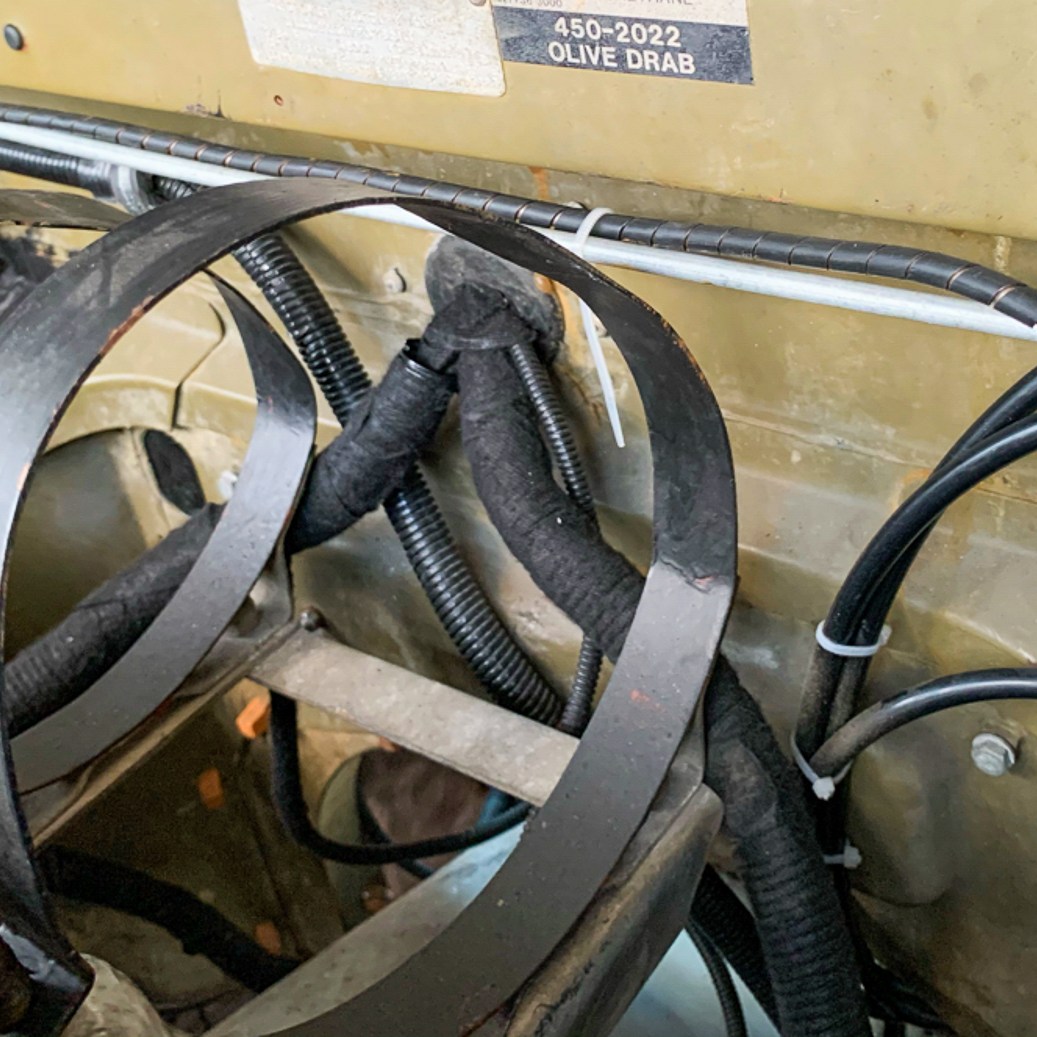
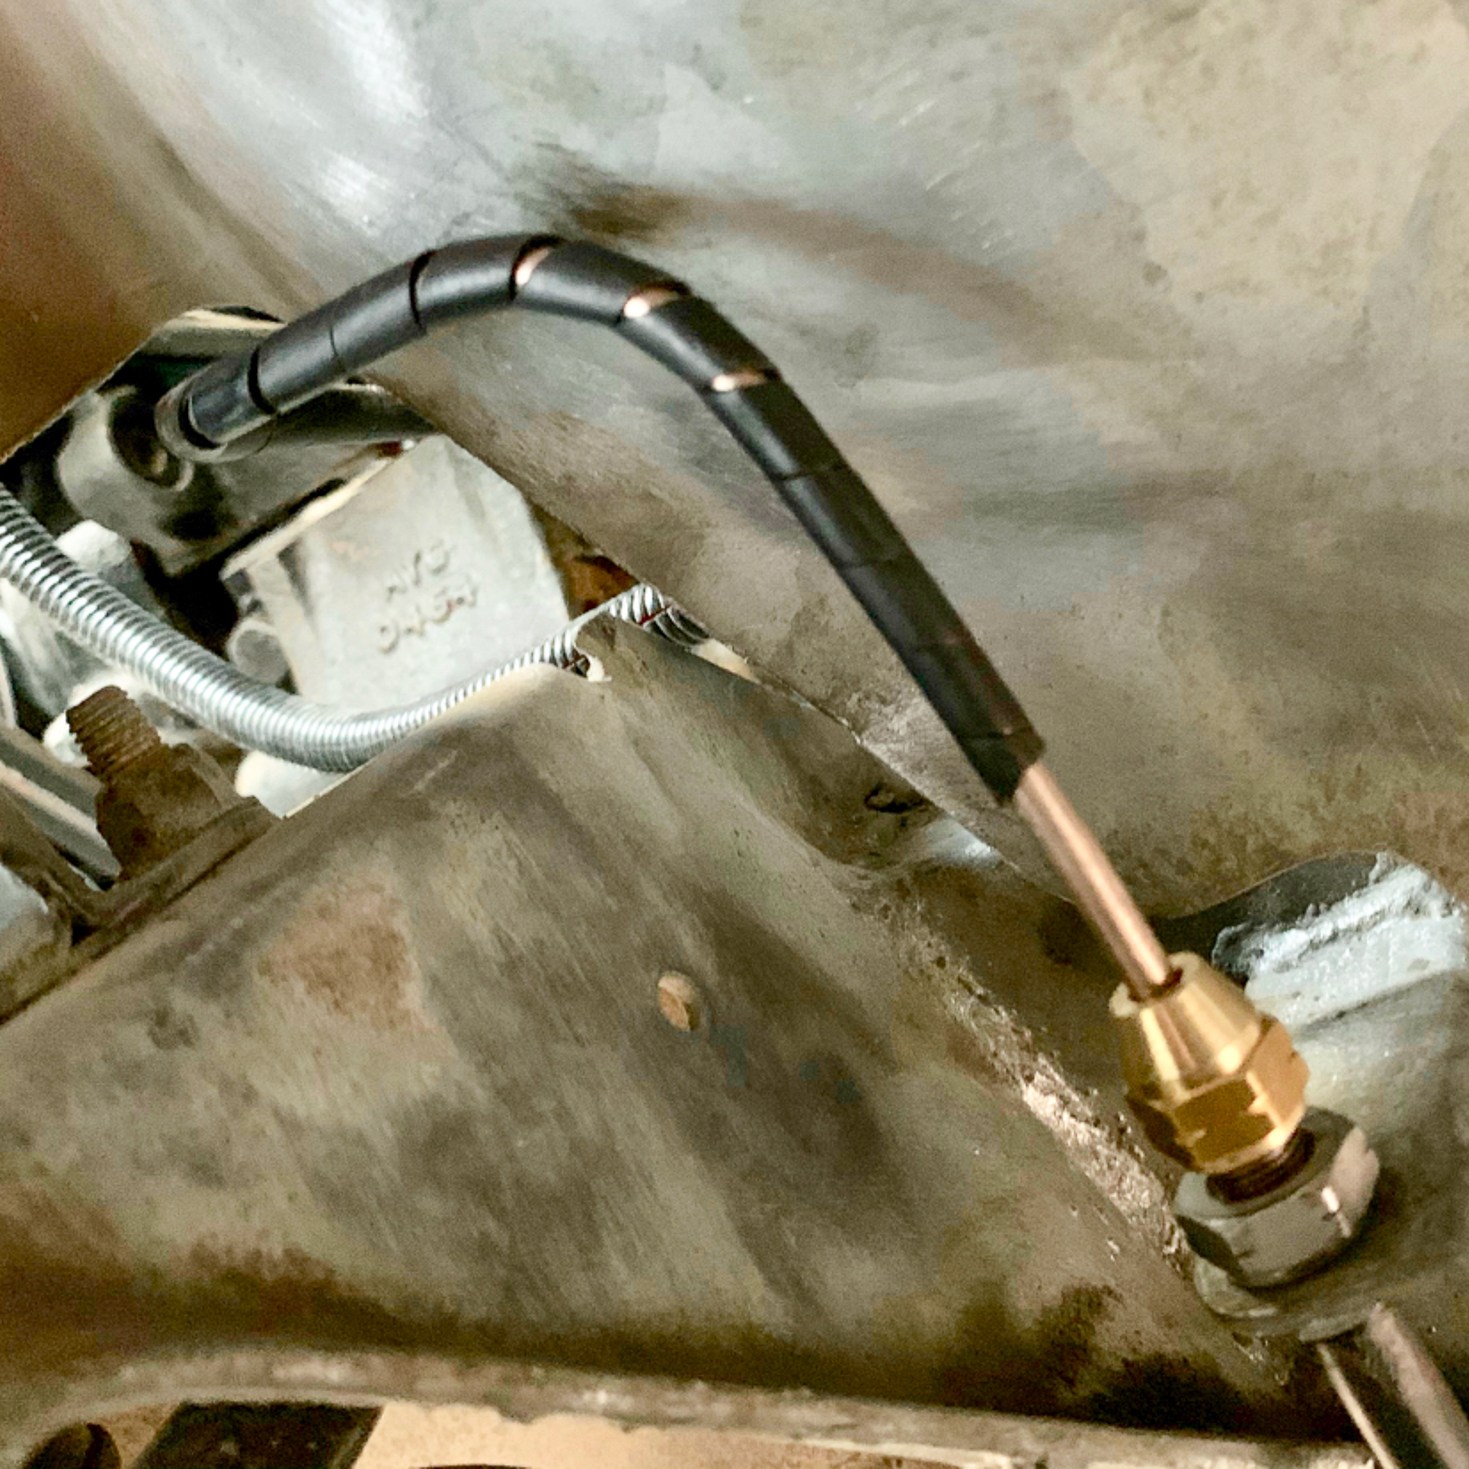
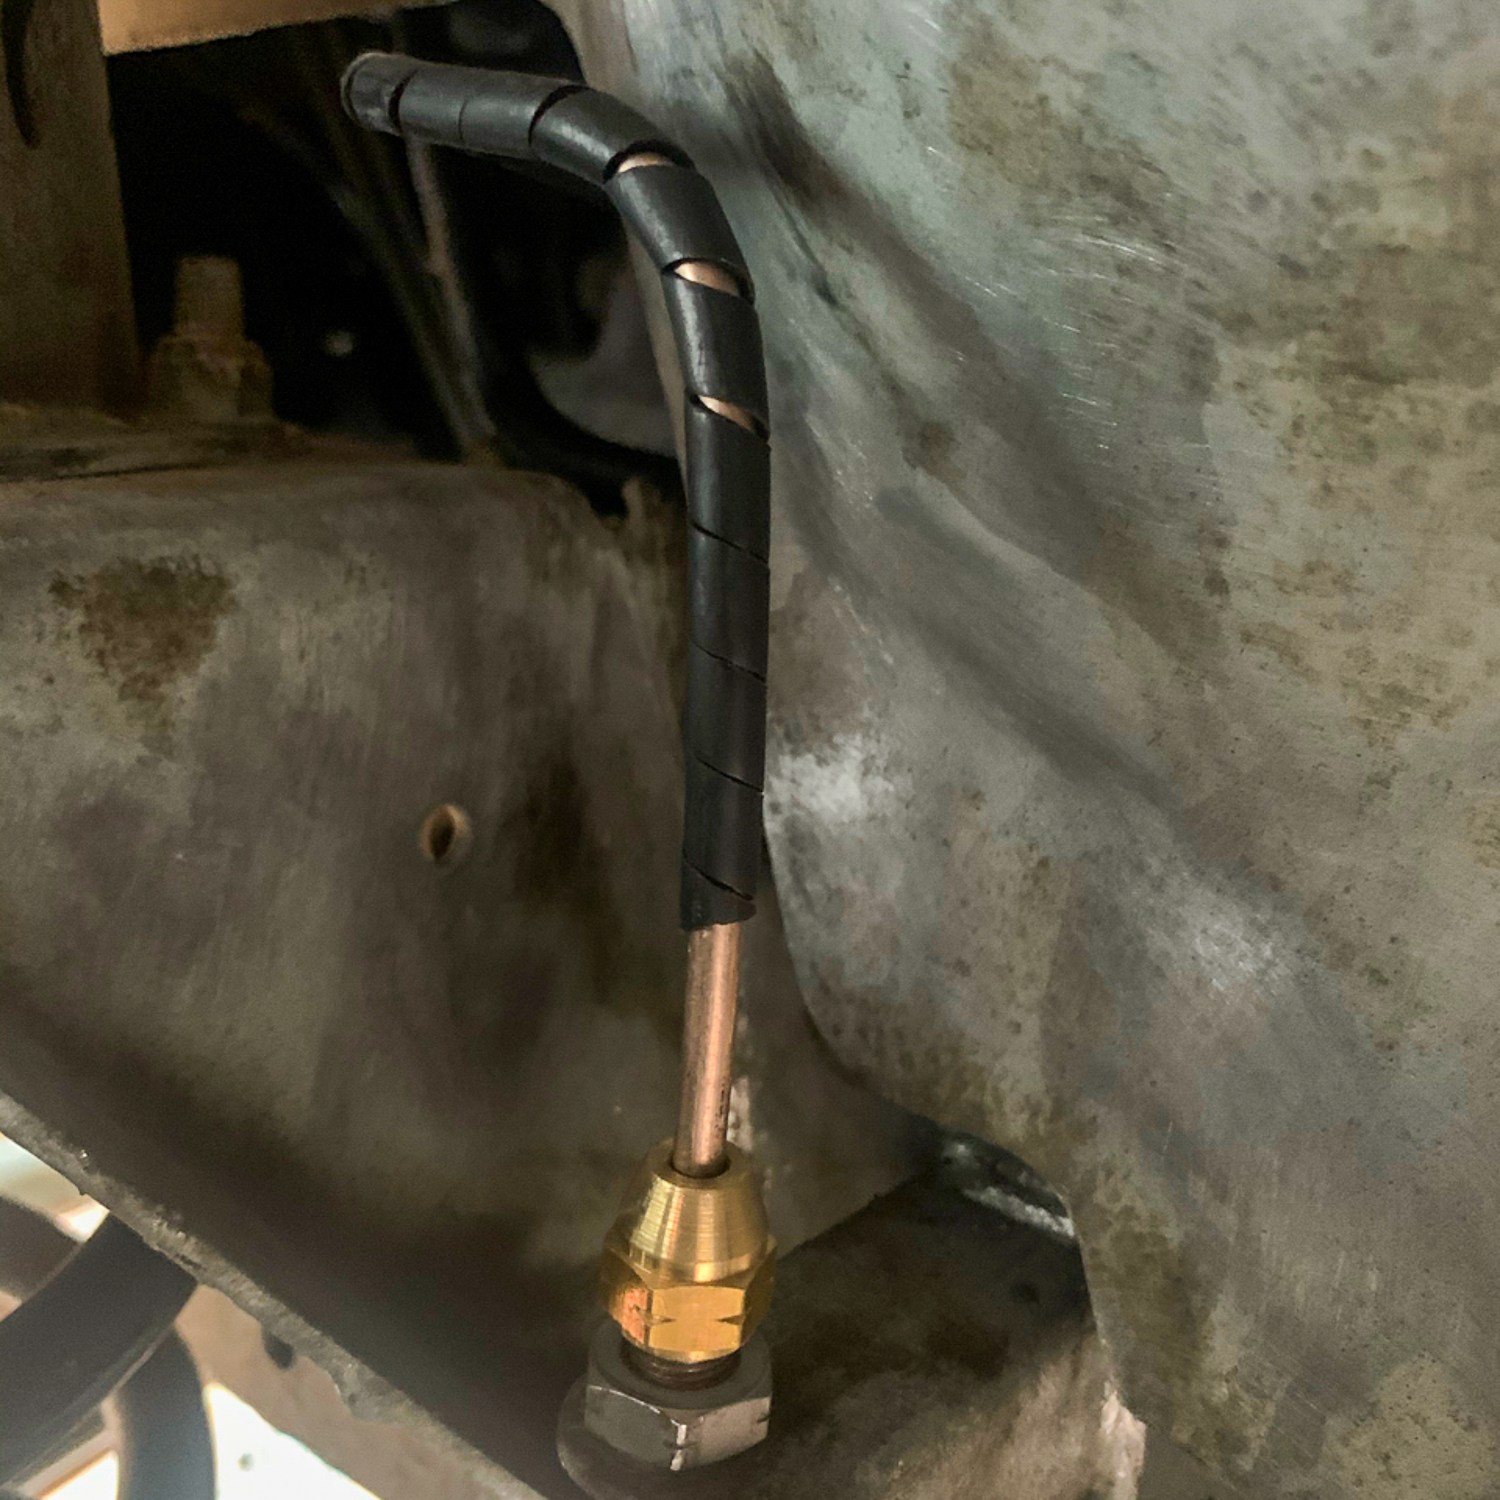
The pipe runs were a different matter as they must have be fitted originally before the engine and steering box went in. Anyway, patience prevails and these were made up and fitted.
The one which was impossible was the pipe that ran from the master down under the steering box, along the front chassis member and around to the nearside front wheel. This was mostly because I could not remove the old one, let alone wiggle a new one into place. So I decided to follow the path of the clutch pipe along the top of the bulkhead and take a different path down to the nearside wheel.
So that is where we are with the brakes.
I have new discs, pads and wheel bearings for the front, as well as the rear disc brake conversion kit for the rear, So I will wait for this work to be done before bleeding the system through and testing.
I will leave the clutch slave for now as I might change the transmission later in the year, but more of that later as well.